Miniature Painting Challenge, MPC #007
Creating a Diorama Pt. 3- Painting the Tech-Priest
Feb
Hello, and welcome to the third installment of our “Creating a Diorama” series. In this entry, we’ll discuss the Tech-Priest we used in our diorama, including the details of his creation and a step-by-step explanation of how he was painted.
If you’ve ever delved into the world of Warhammer 40k, then you’re likely familiar with the concept of a Tech-priest. To those who don’t know, they are religious engineers who are responsible for maintaining the myriad of machines in the Imperium of Man, scouring the 41st millennium for new and lost technologies. Given their reputation, it’s no surprise that one would be an ideal addition to our diorama.
Making the Priest
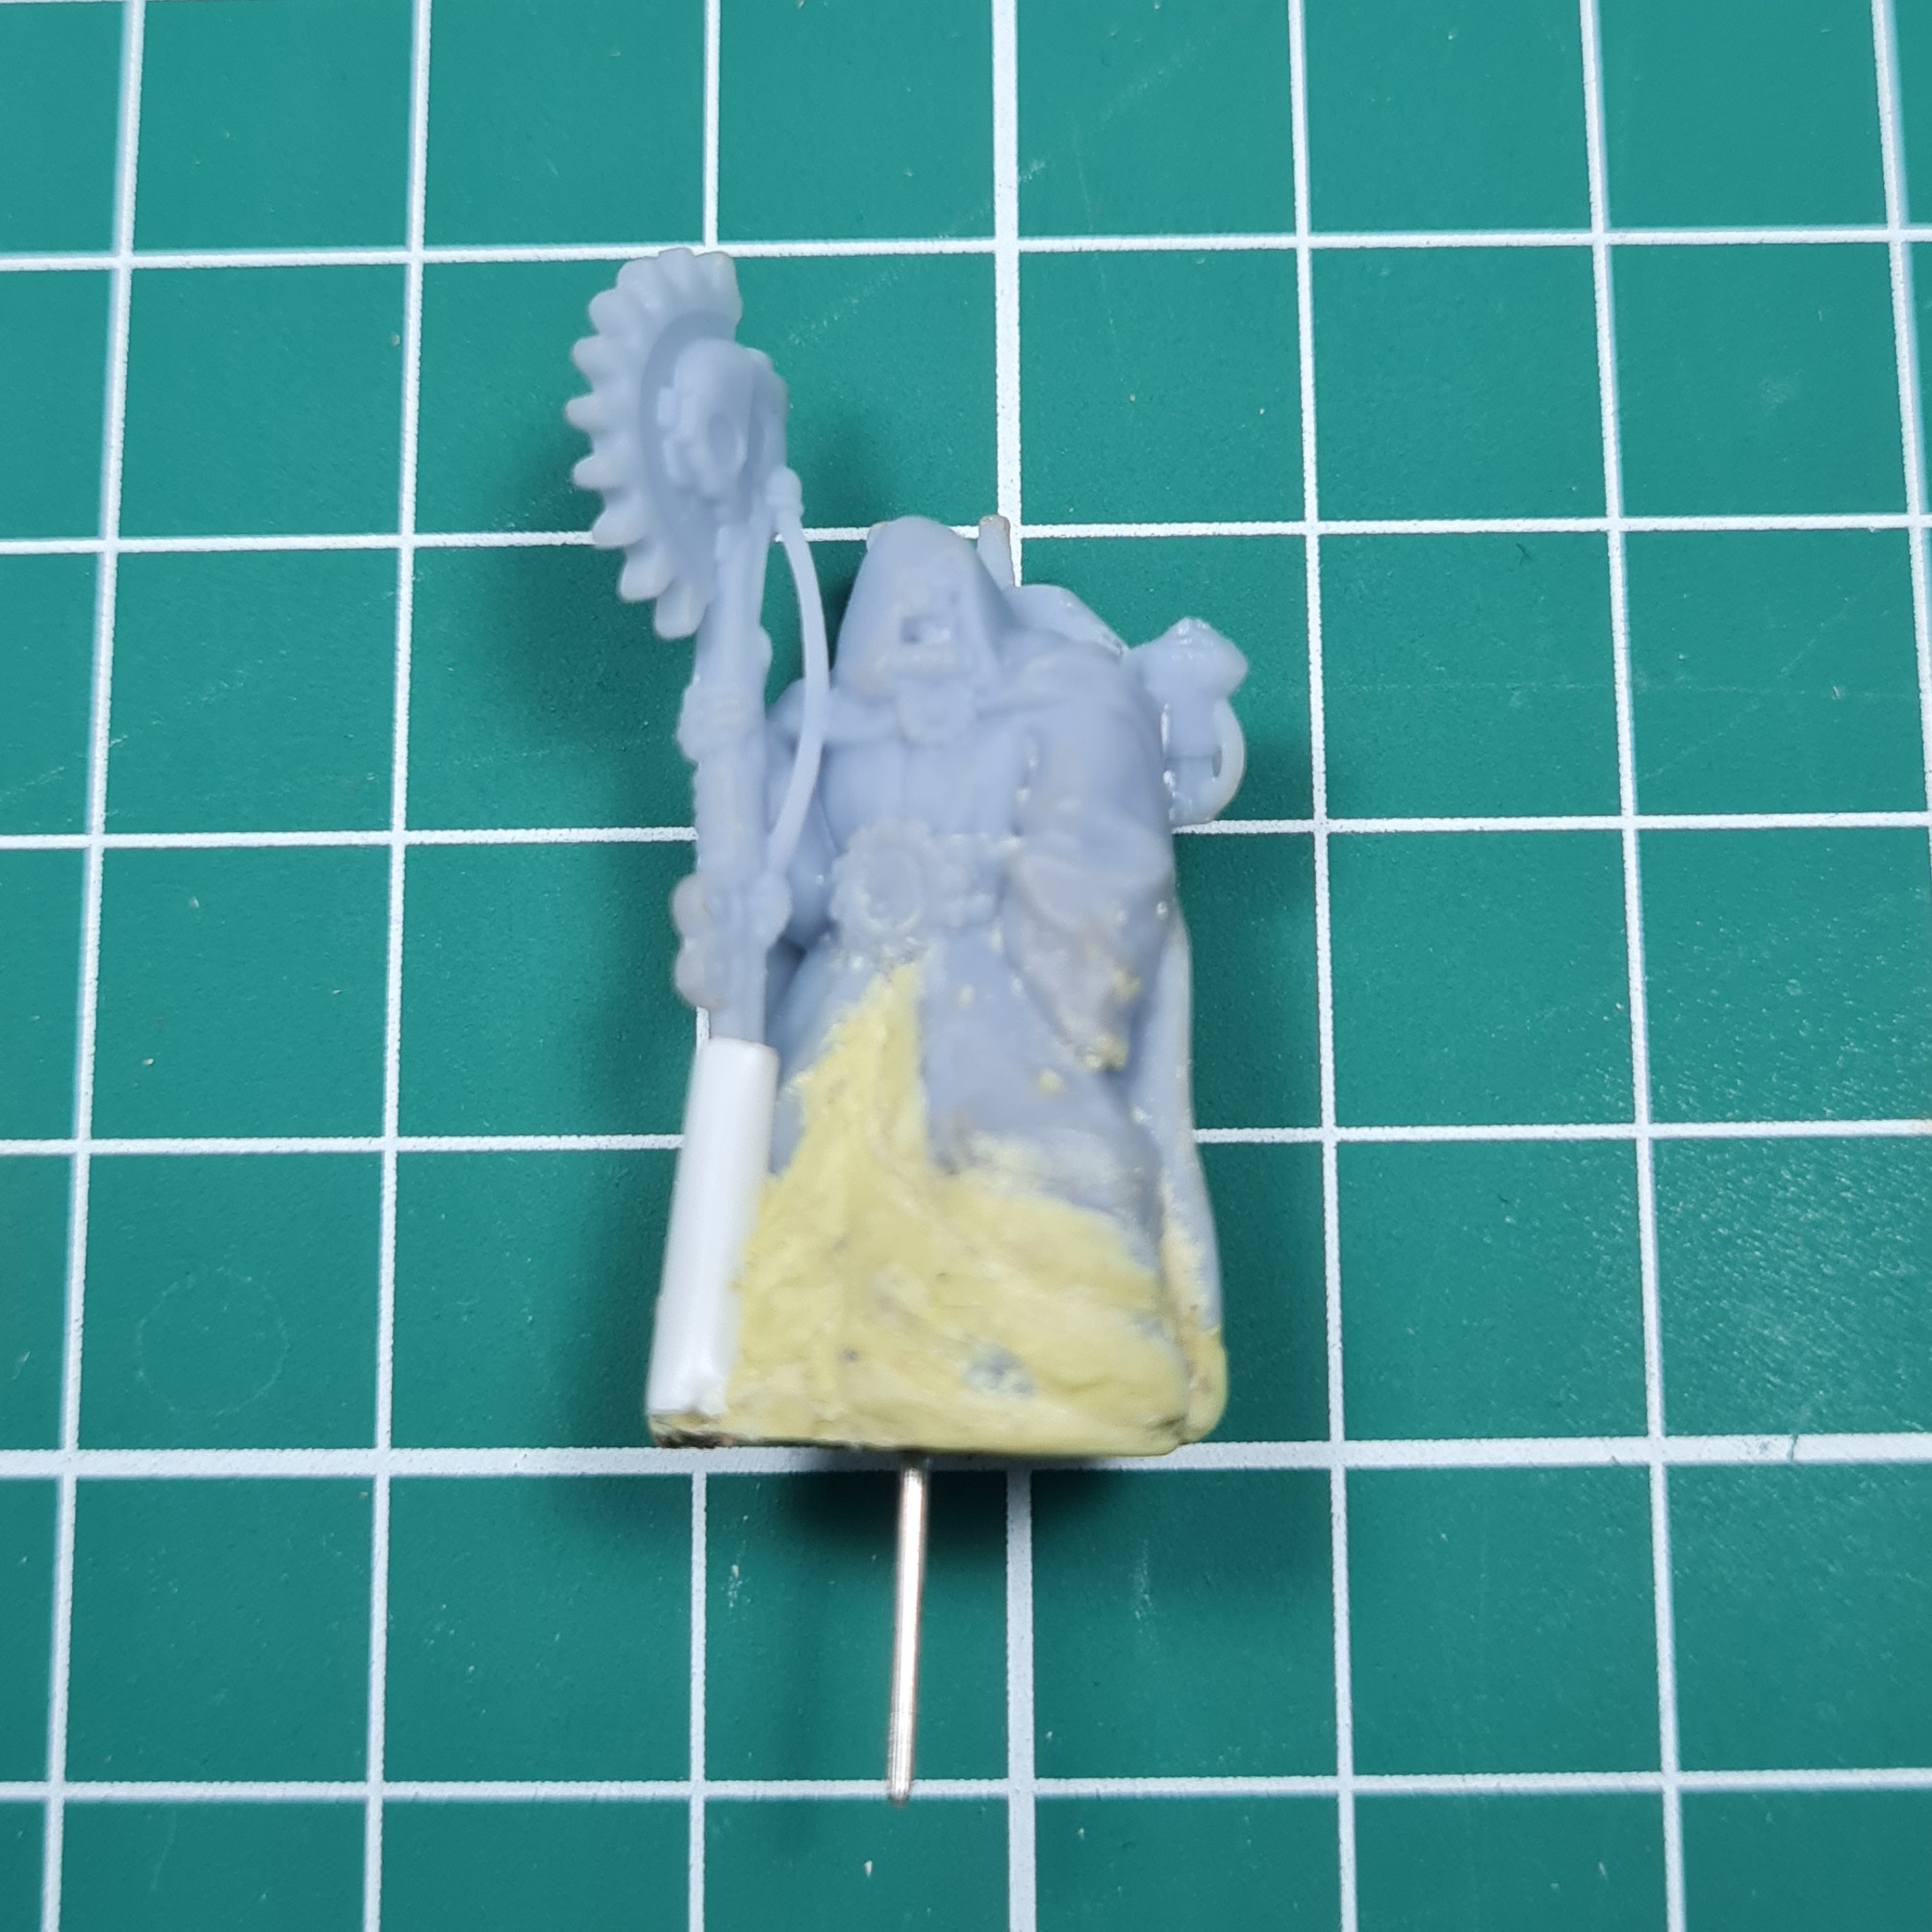
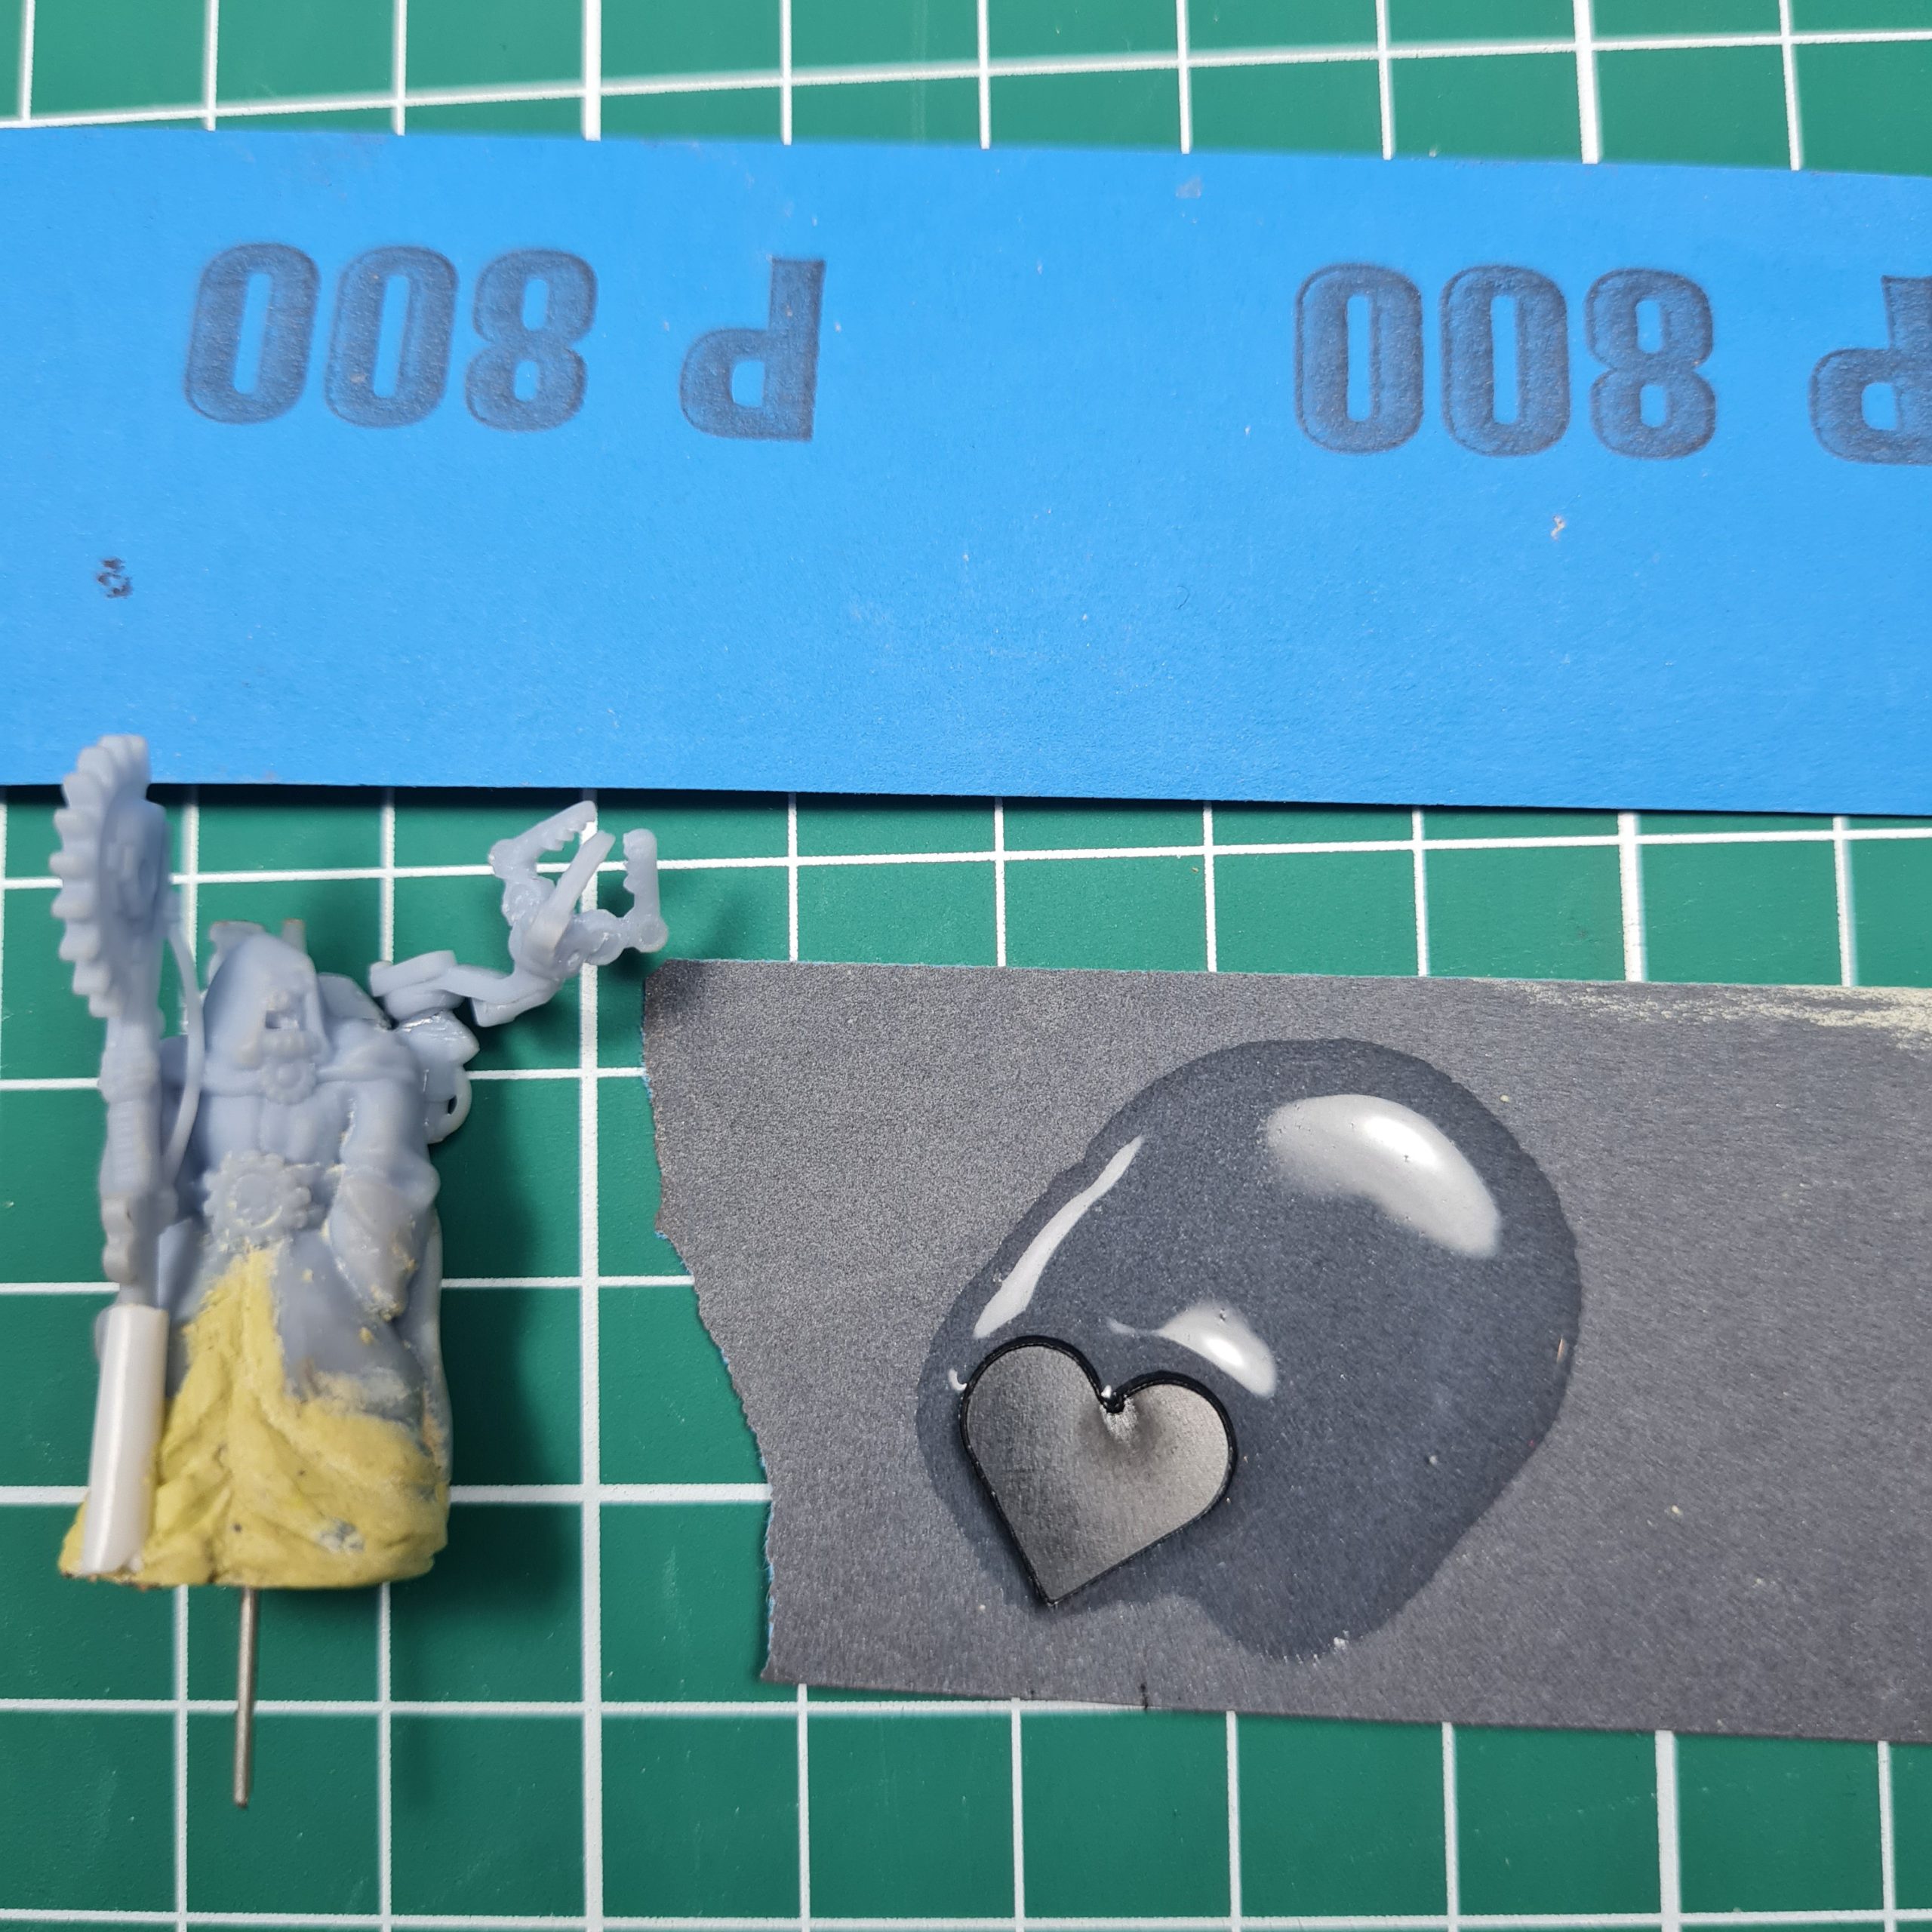
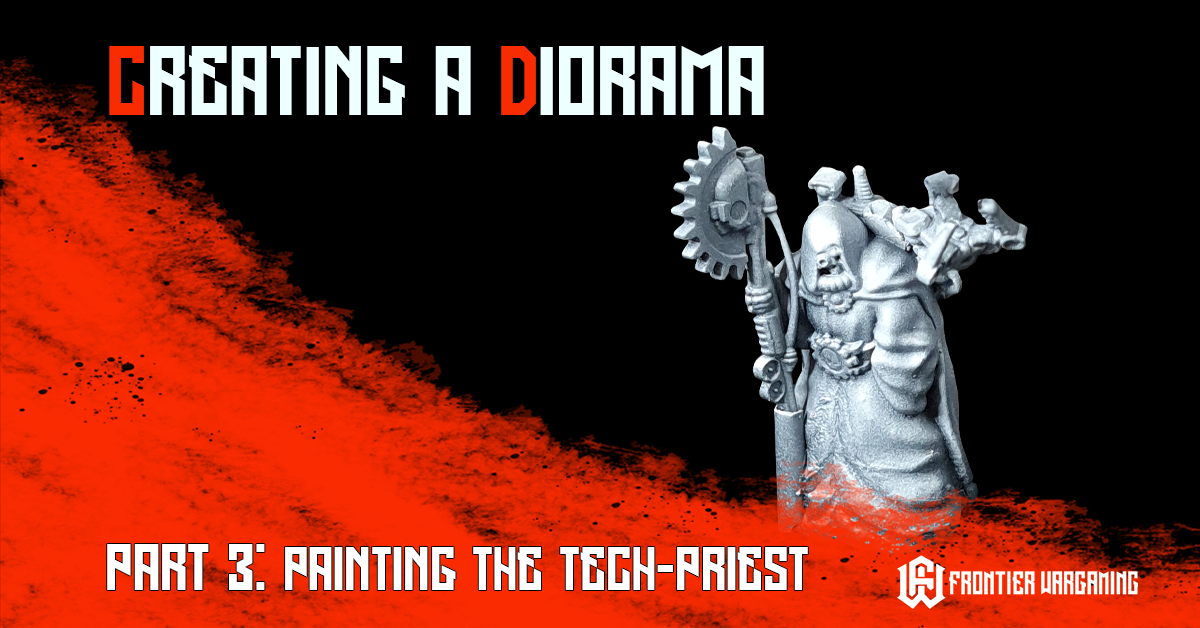
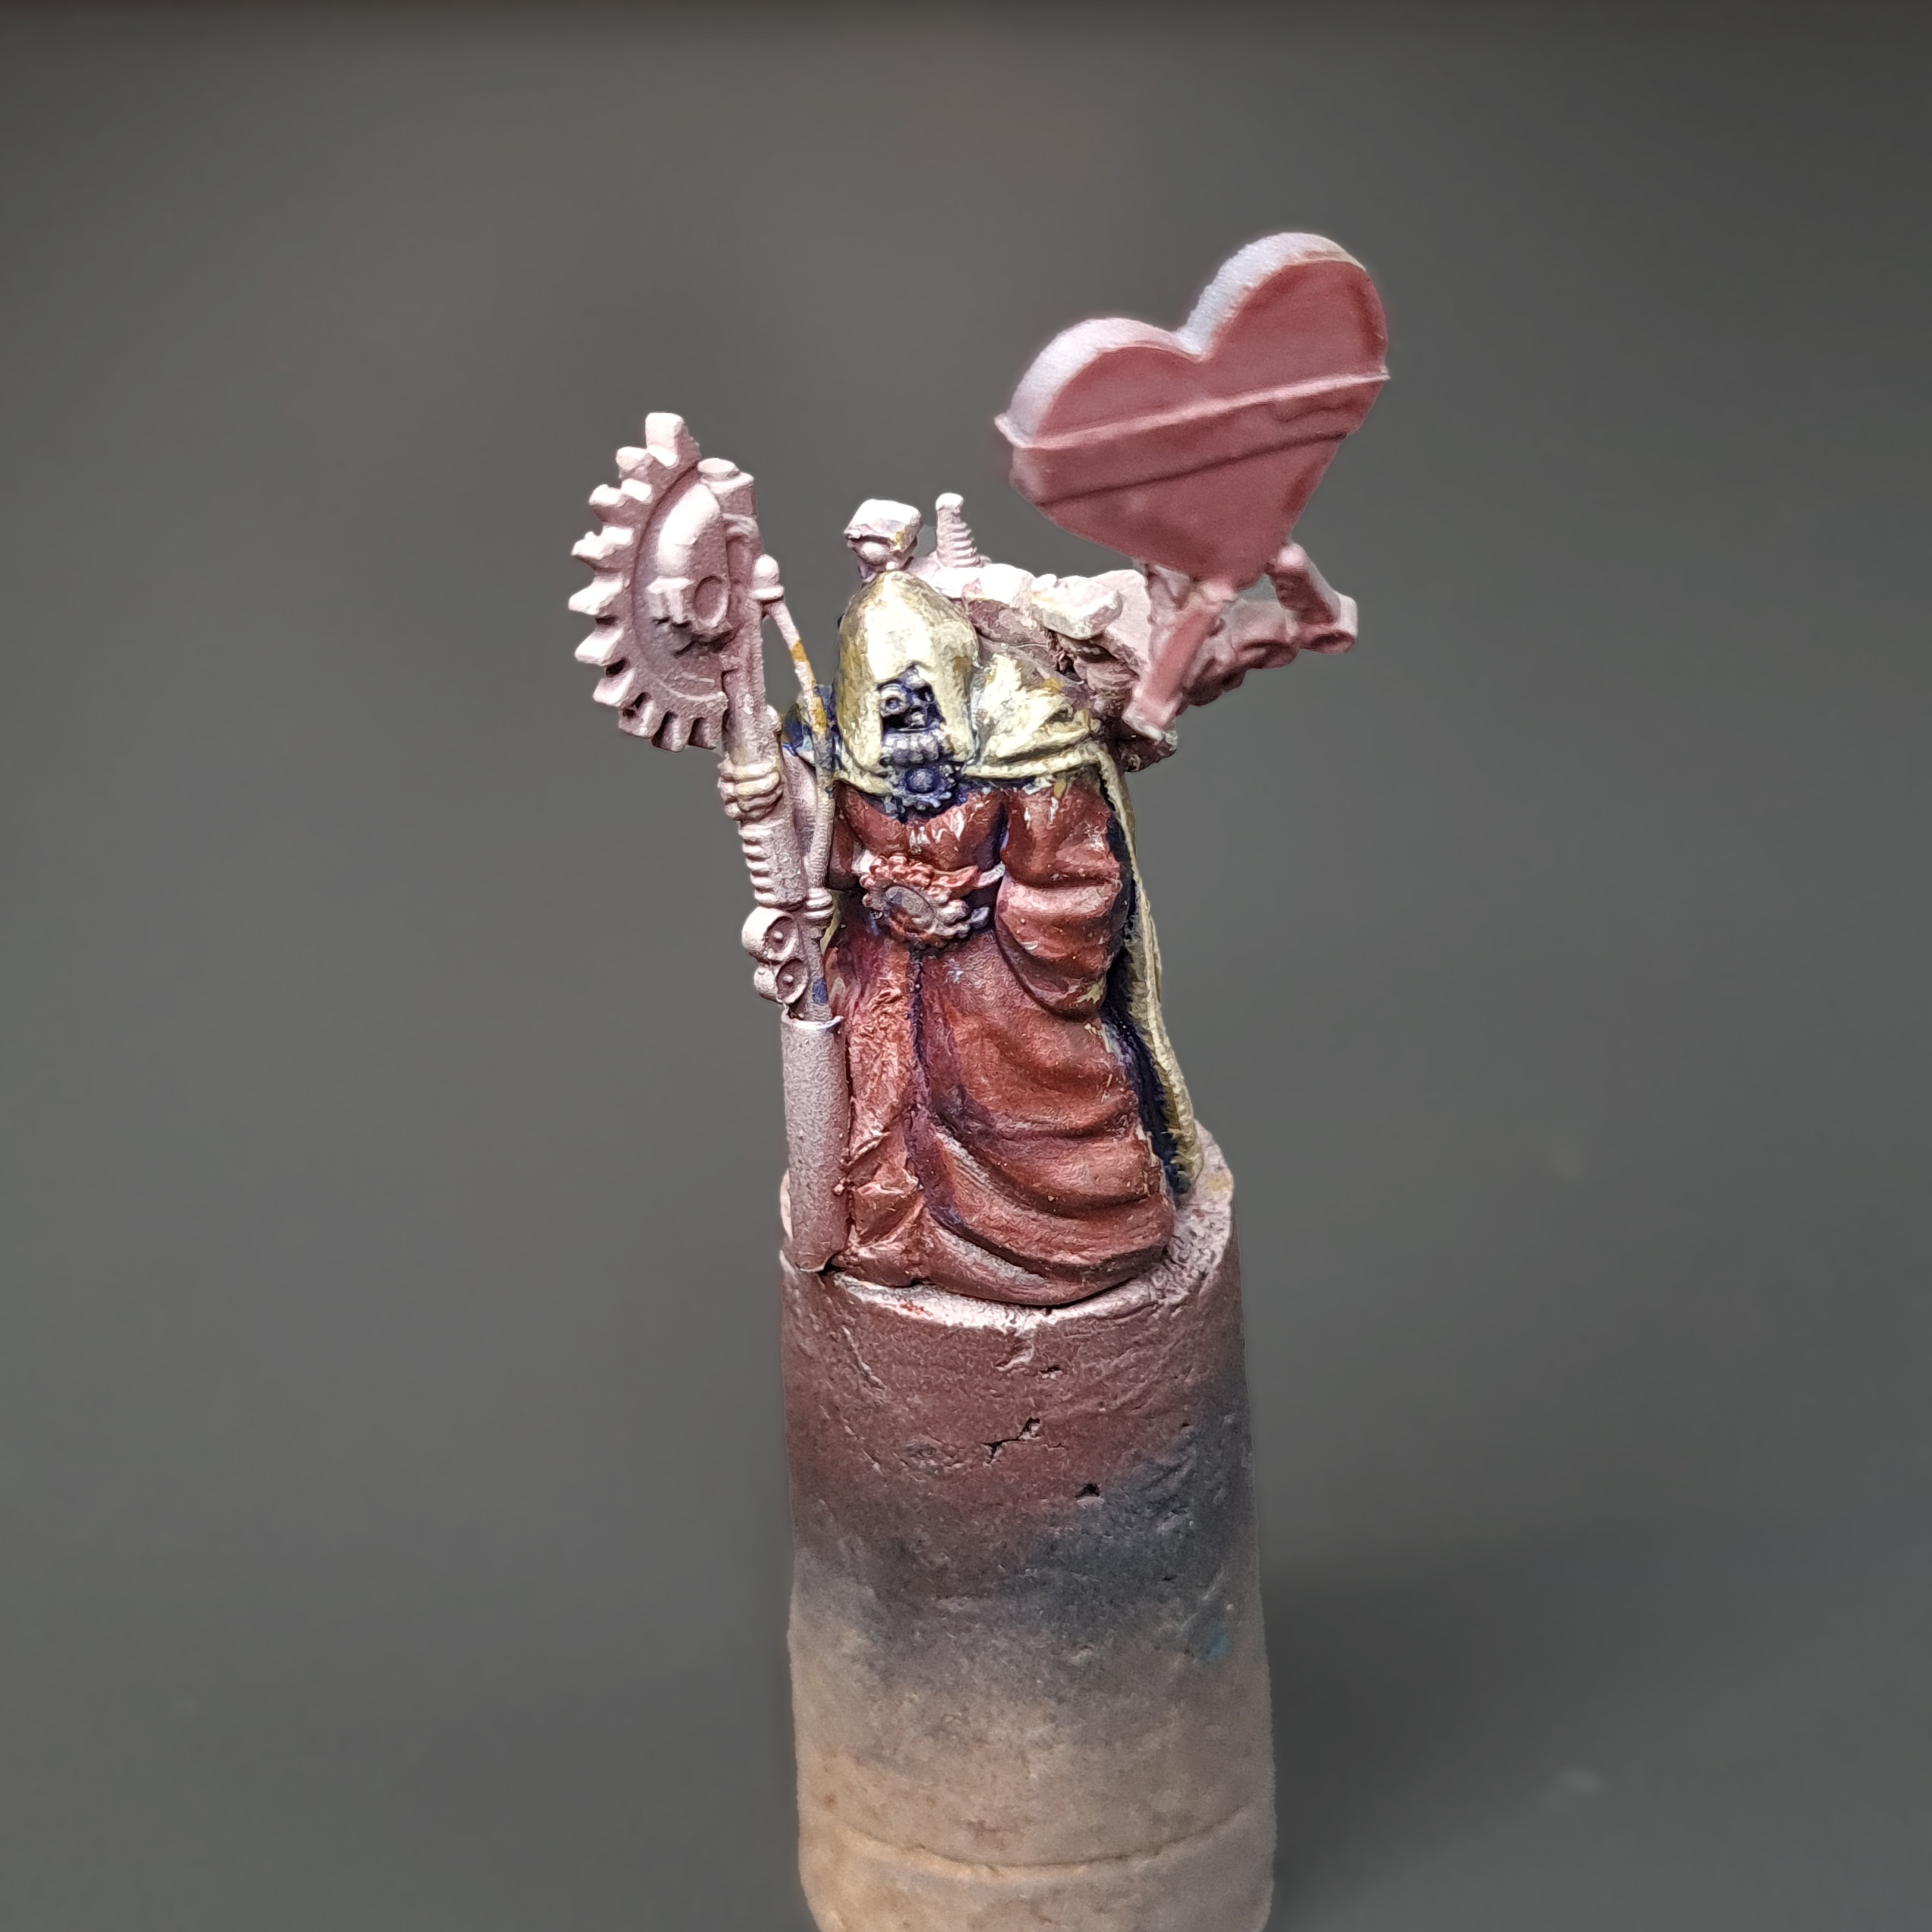
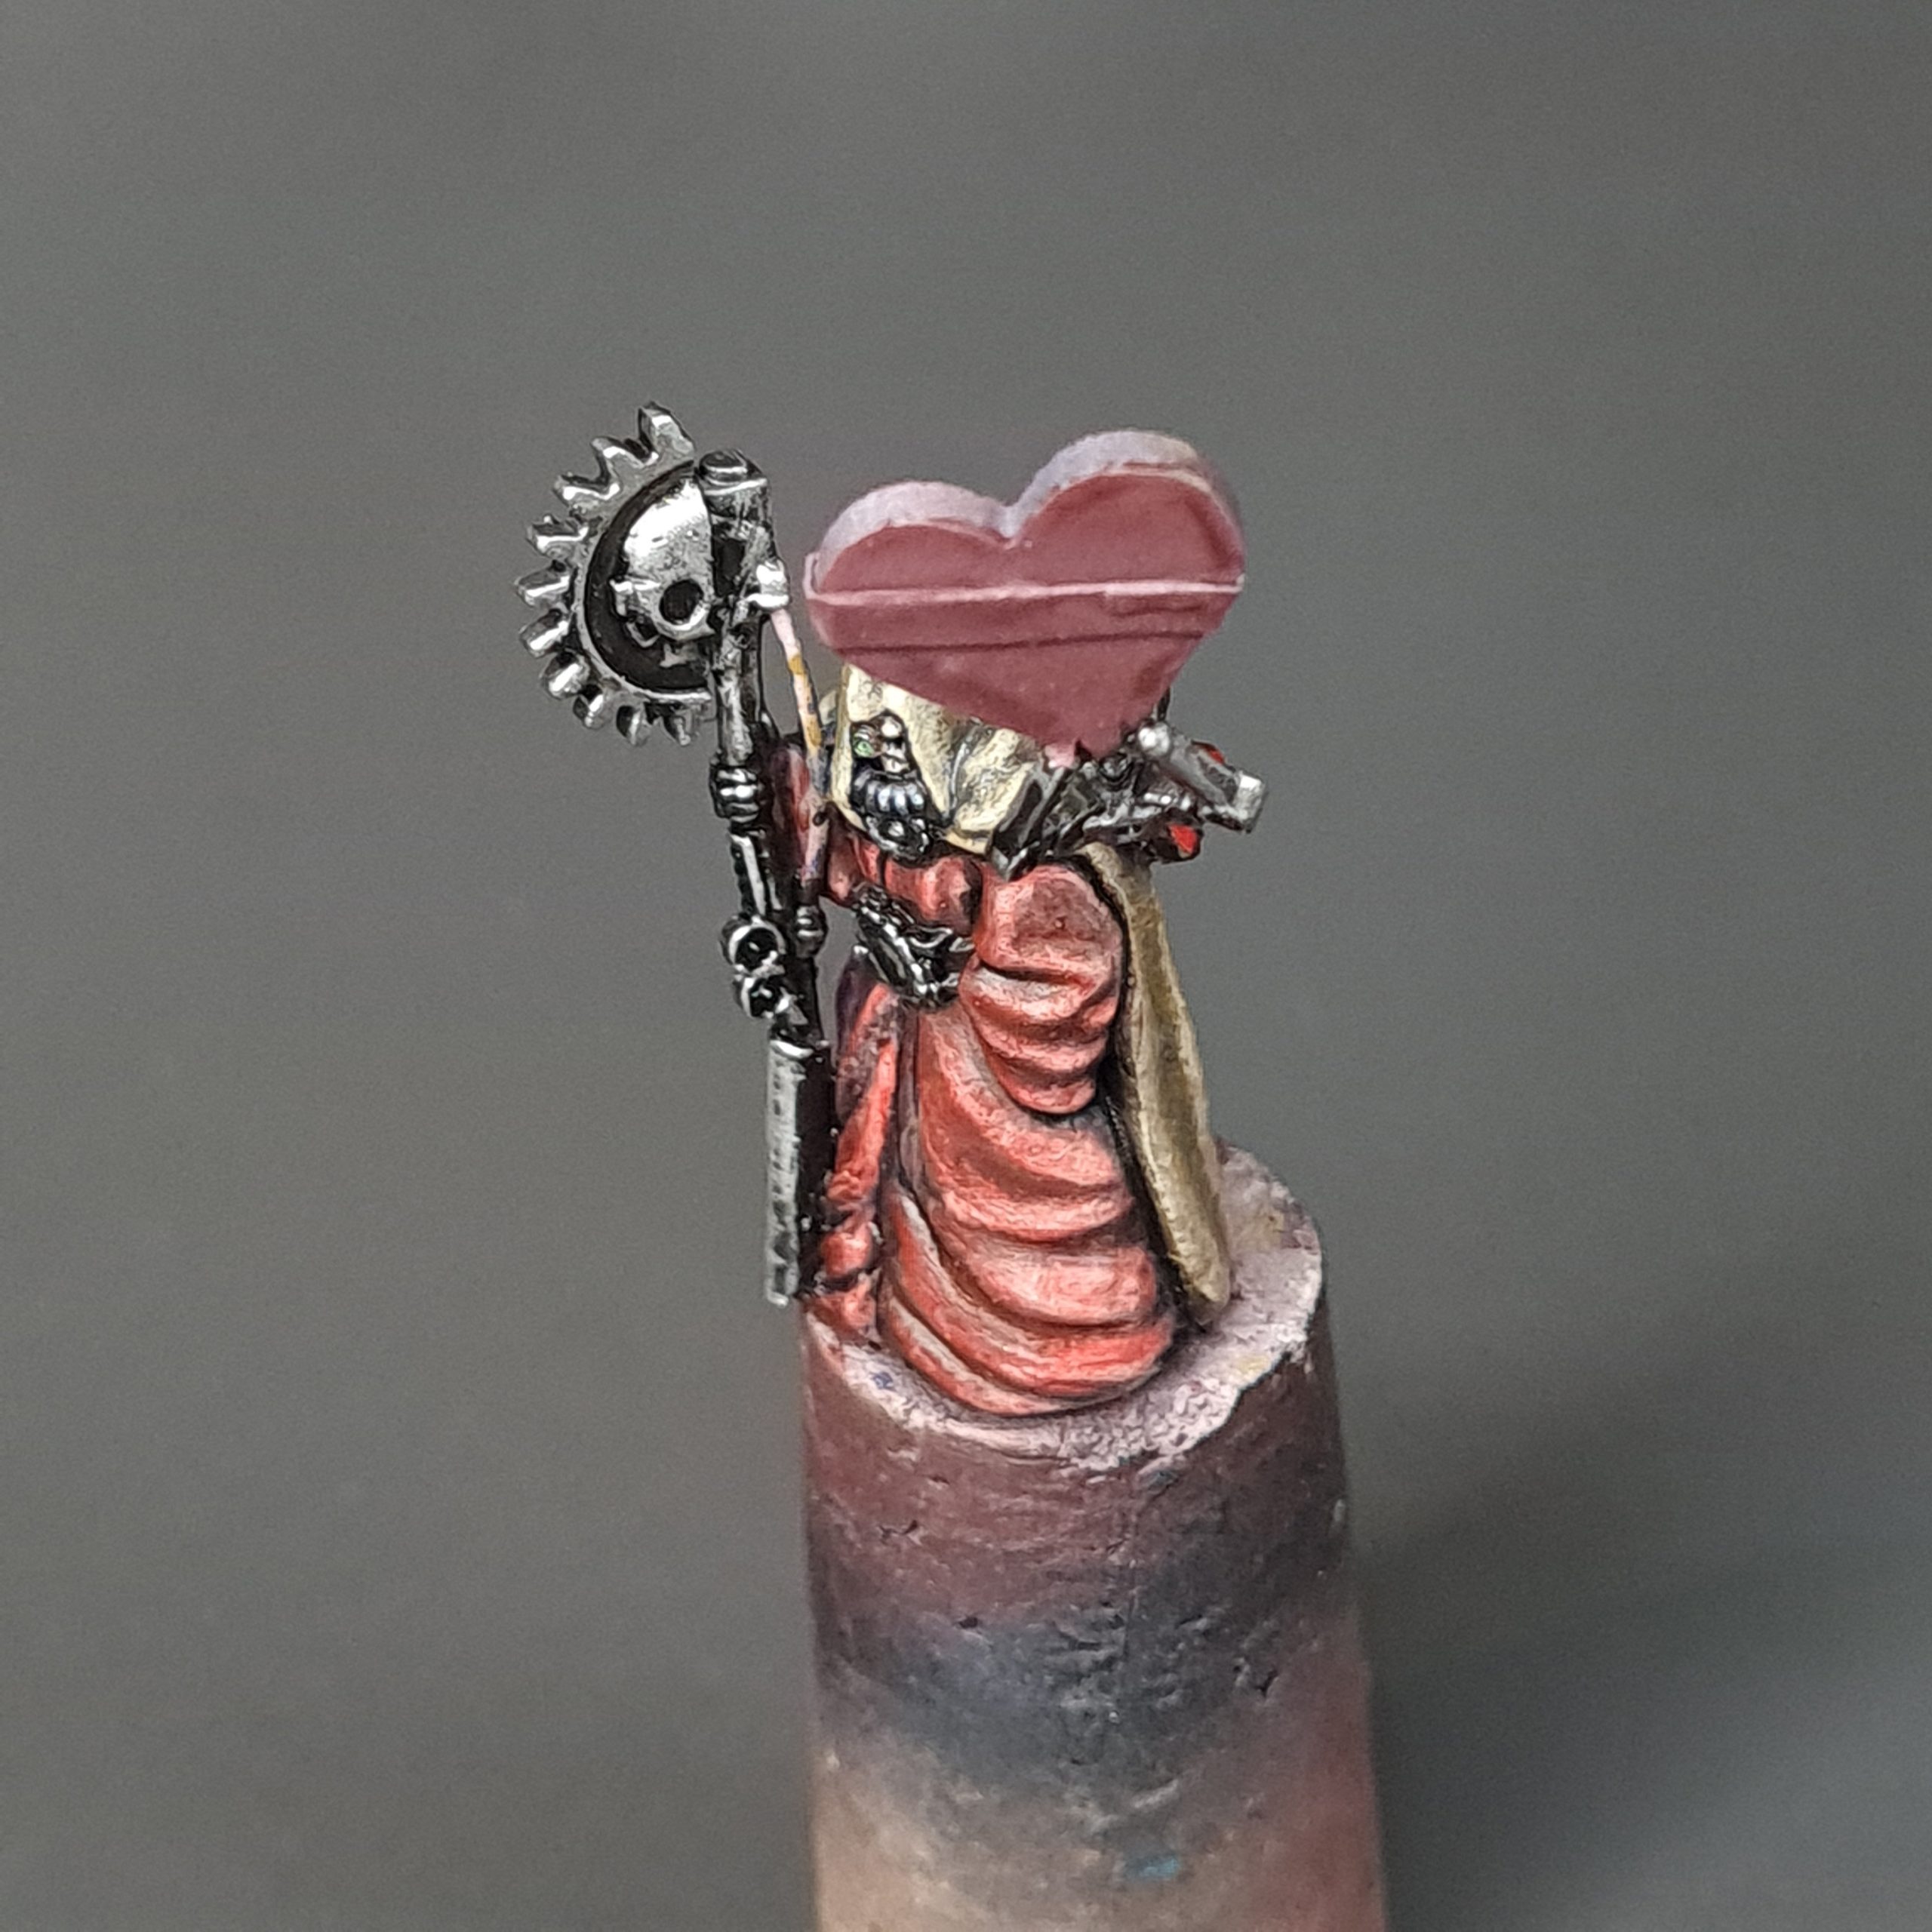
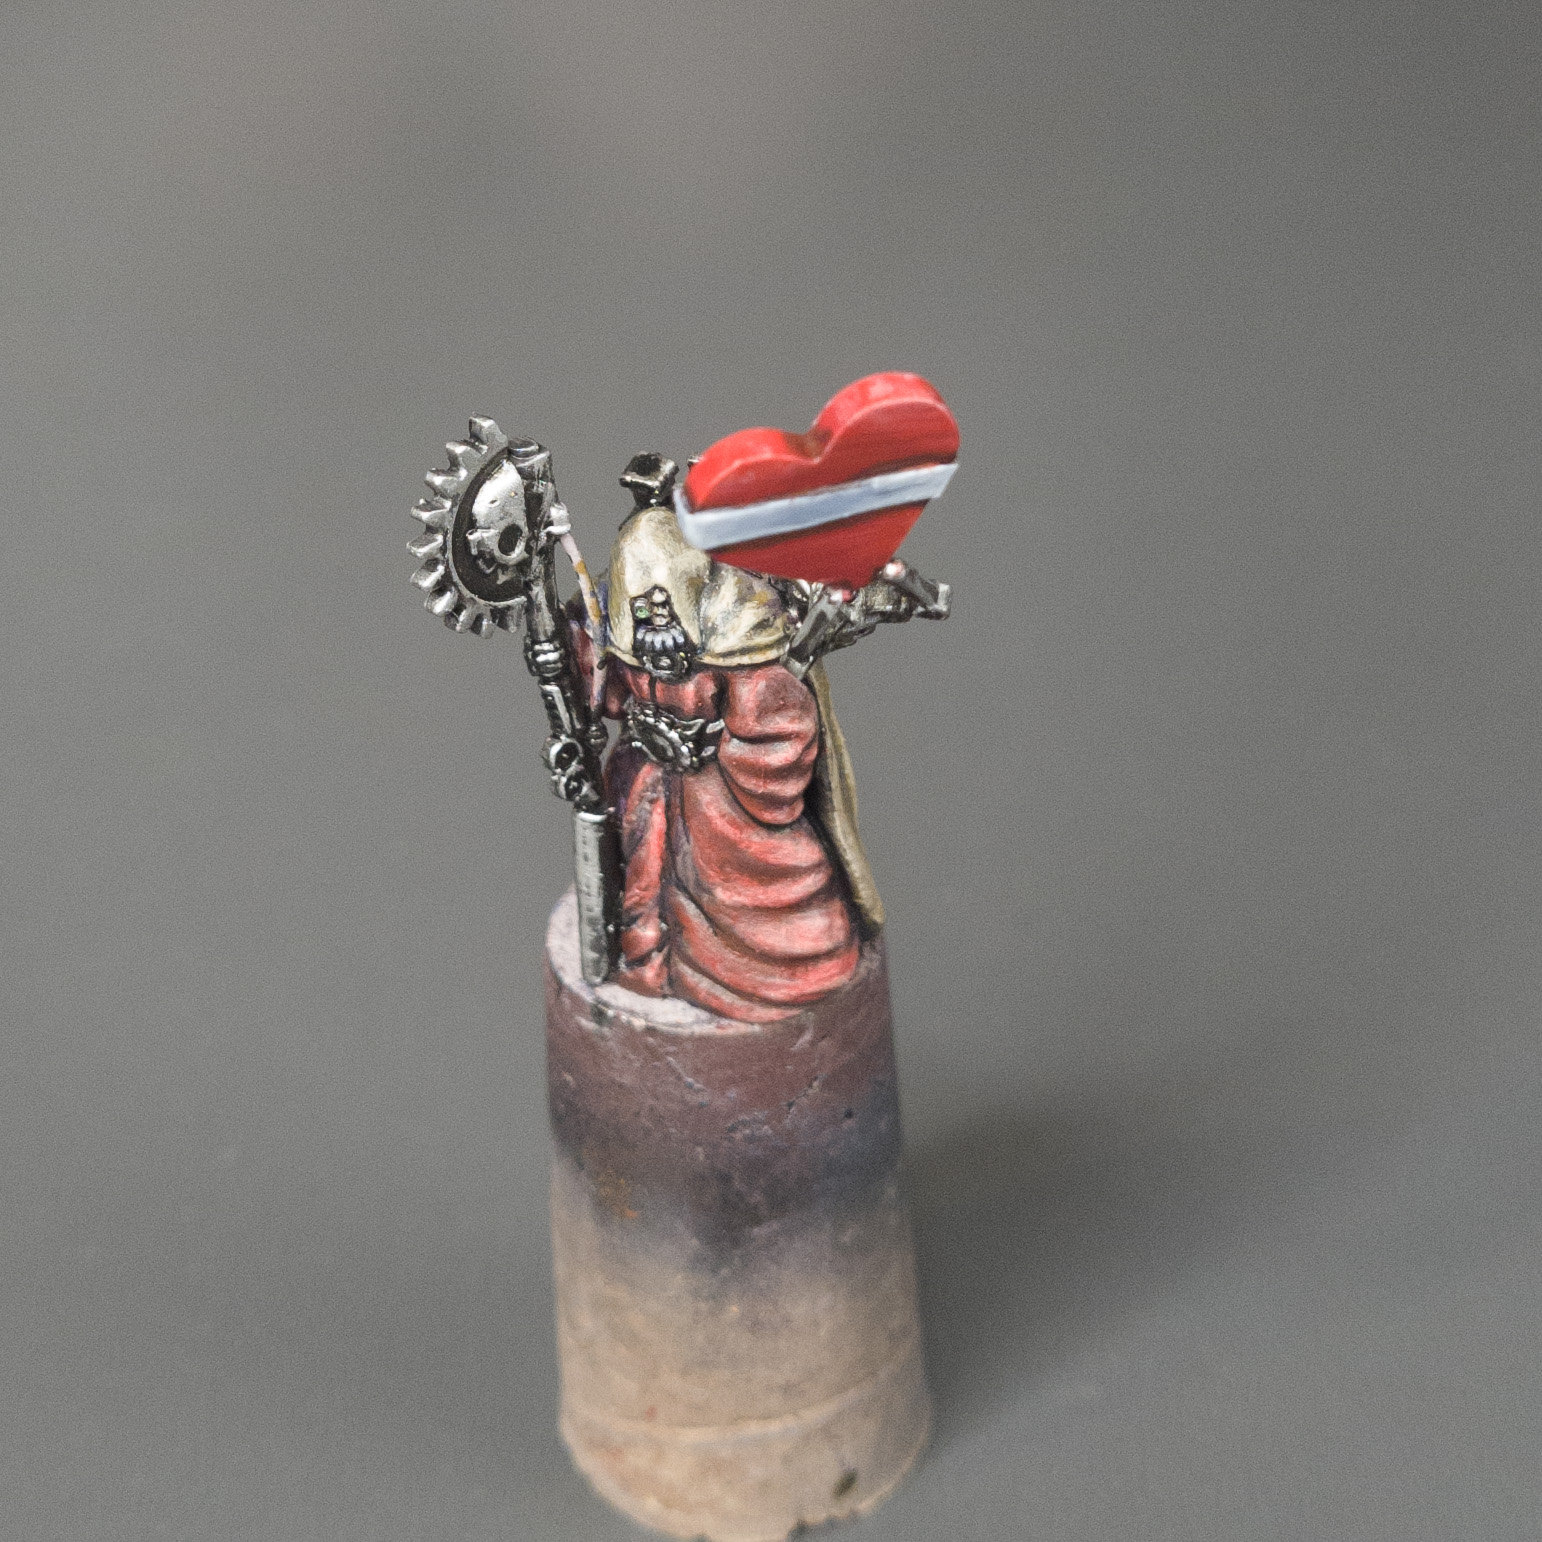
After clipping away the base, robes were sculpted with Milliput to hide the imperfections. A 3D-printed servo arm was attached to him. The final touch was a charming box of “chocolates” for him to present. It was cut from acrylic plastic and wet-sanded with 800-grit sandpaper for better paint and glue adhesion. The ribbon was cut out of regular printing paper. It was dipped in liquid superglue and attached to the heart. With that, the model was ready for painting.
Painting the Priest
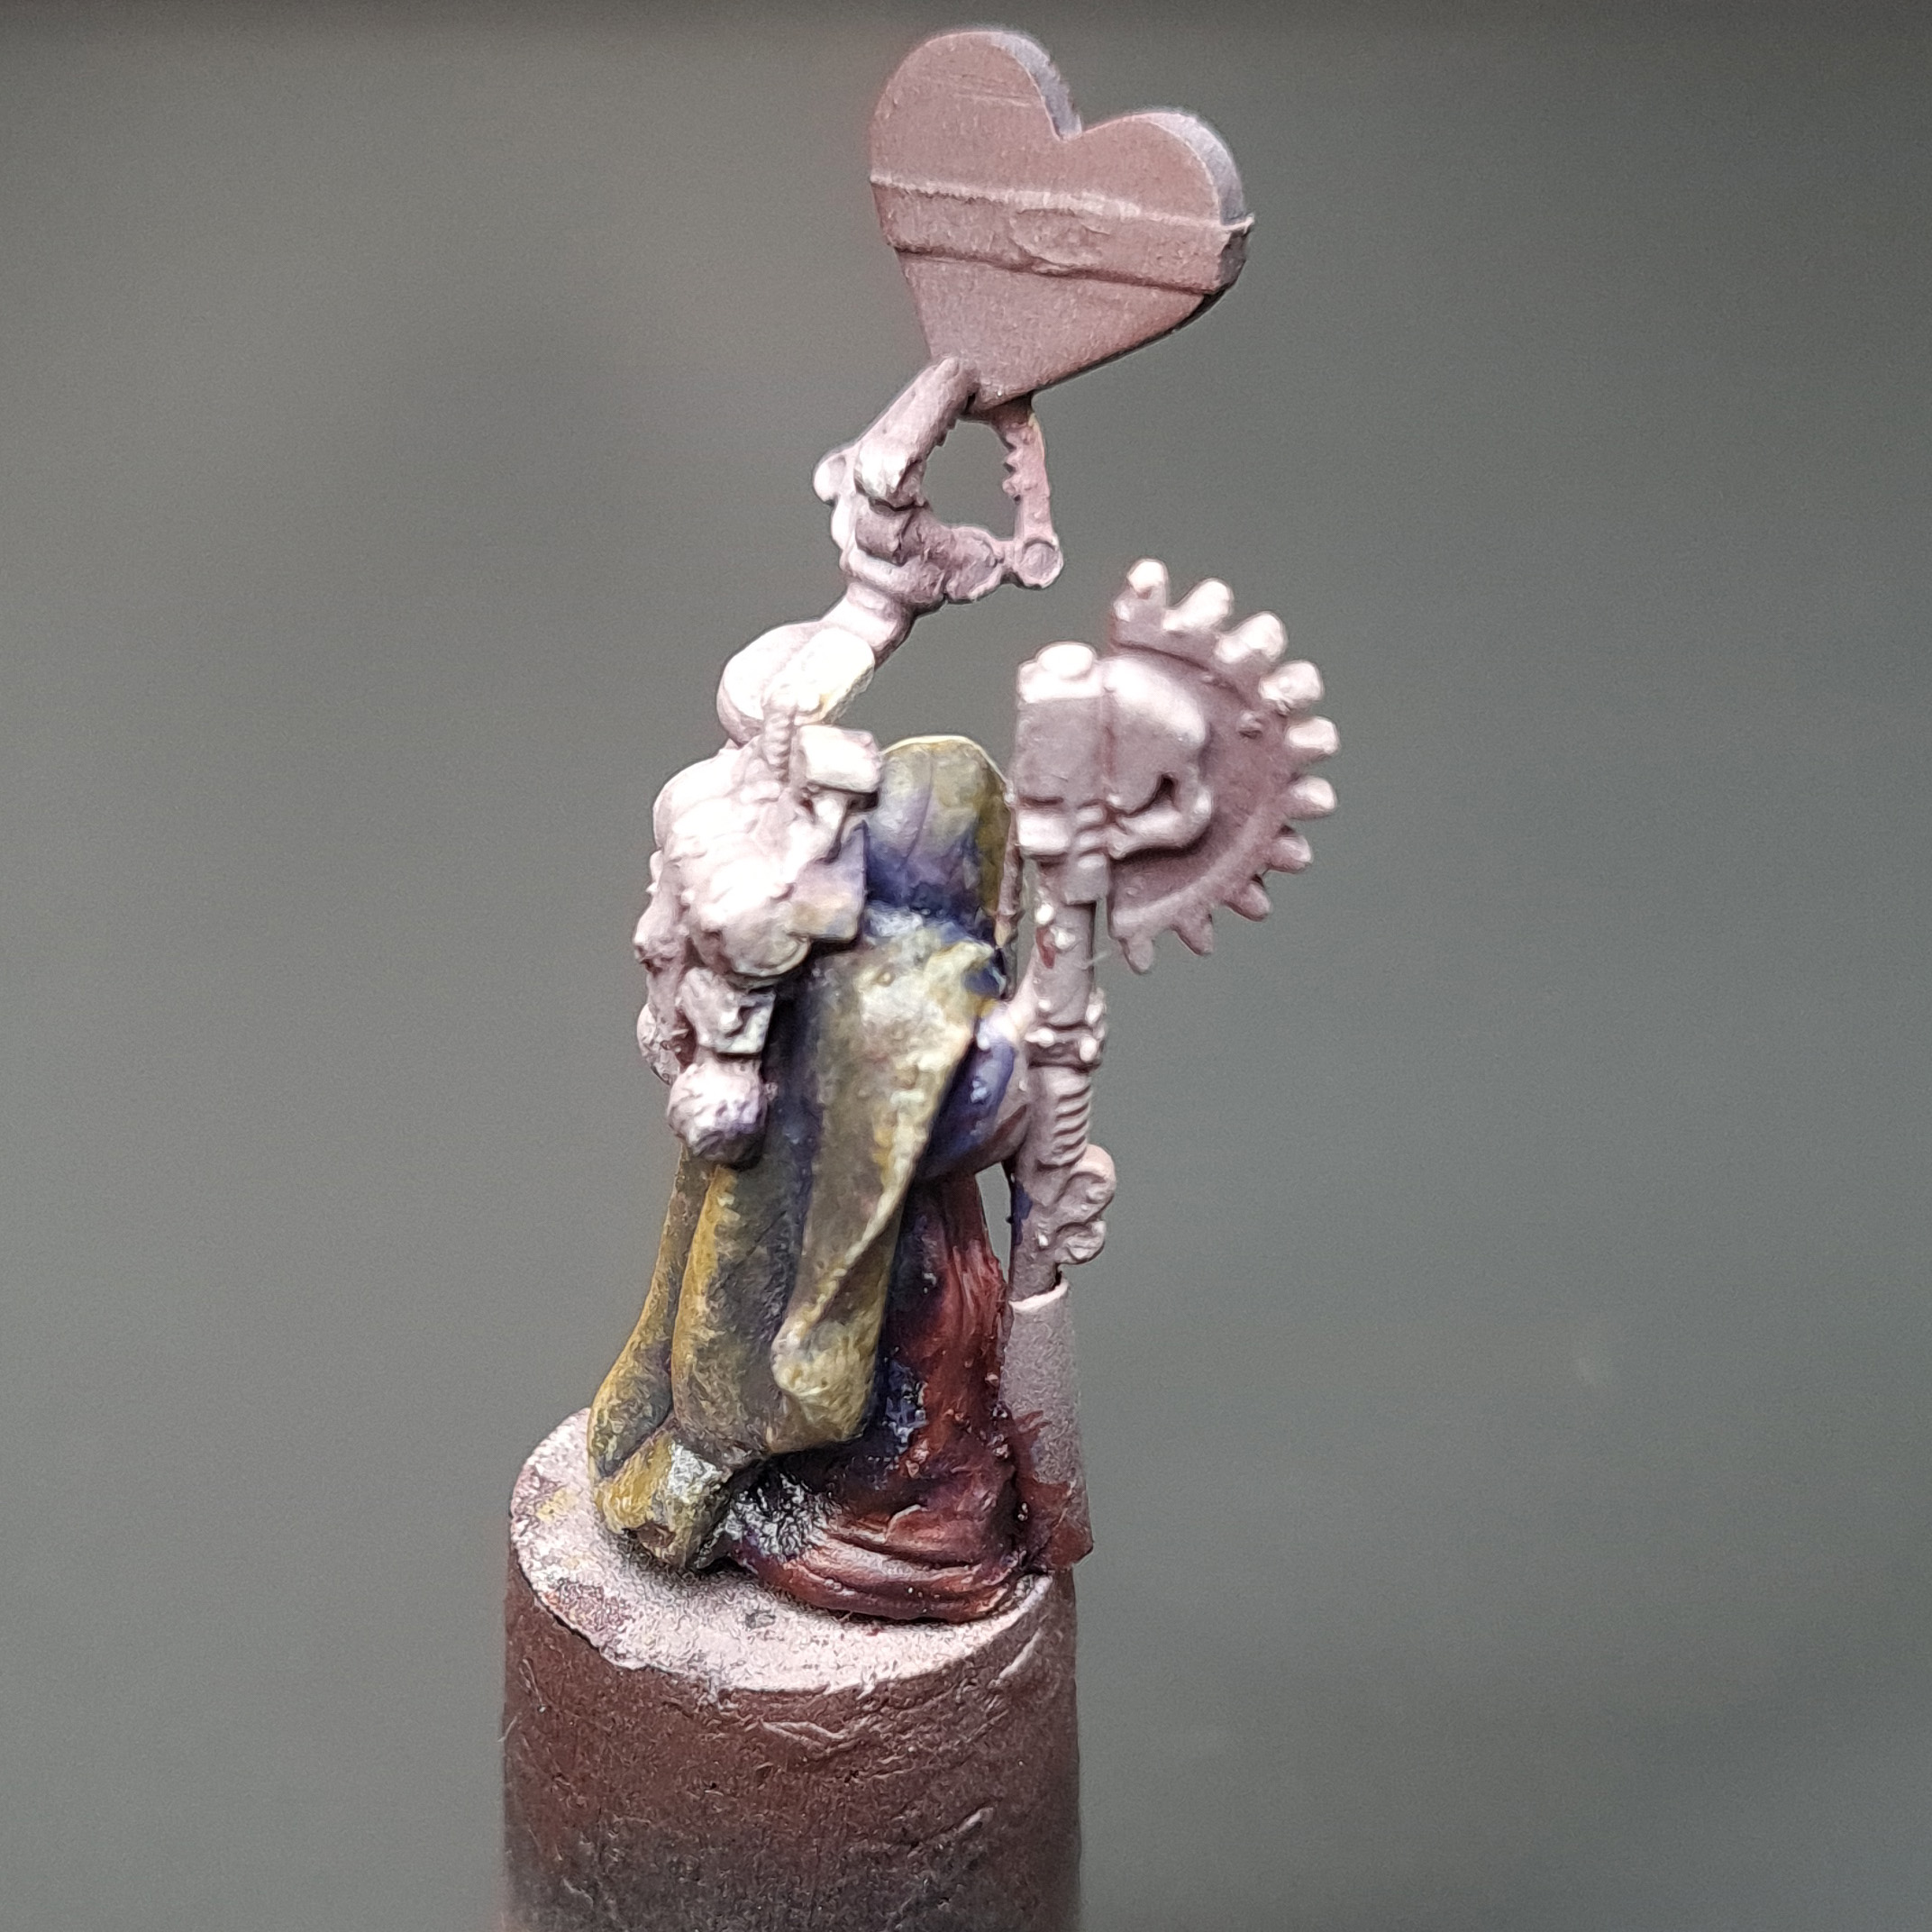
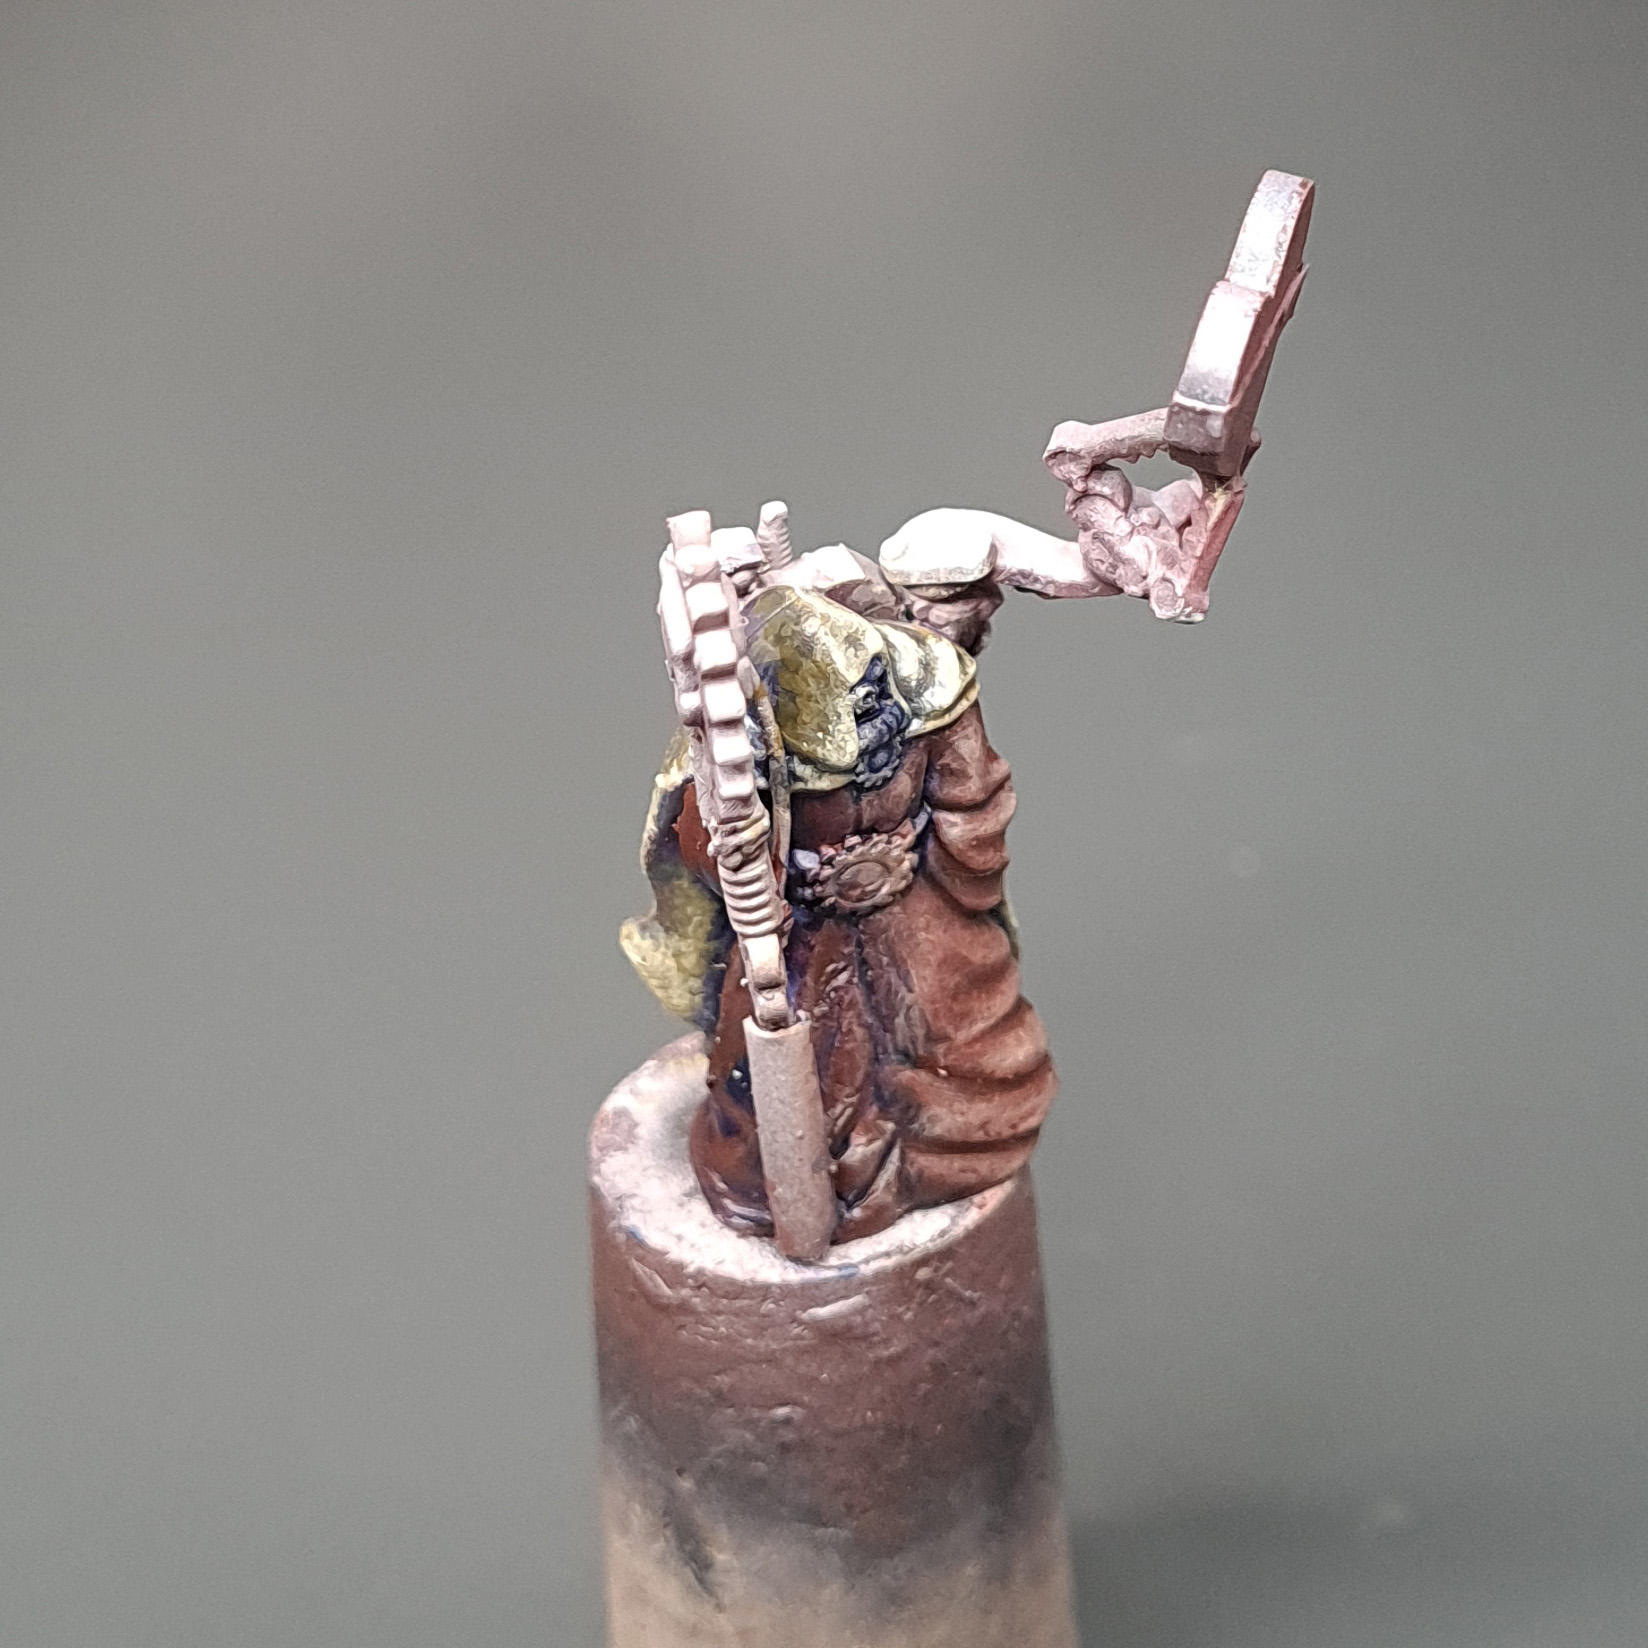
To begin the painting process- the model was first primed in black before a zenithal highlight of Liquitex Titanium White ink was applied. At this stage, my vision for the final color scheme was still somewhat vague – I knew that the model needed to stand out without drawing all of the viewer’s attention. Ultimately, I decided to go with a more muted color scheme. To test it out, I applied a few base colors to see what worked best. After some experimentation, I settled on a brownish-red hue for the main robes, an off-white color for the hooded cloak, and regular metallics for the metal components. I used a Wet Palette throughout the process to make mixing the paint easier. It allowed me to keep track of the various colors I mixed during the painting process. Not only did it make it much easier to correct any mistakes made, but Wet Palette also helped me apply the paint more smoothly and evenly.
Red Robes
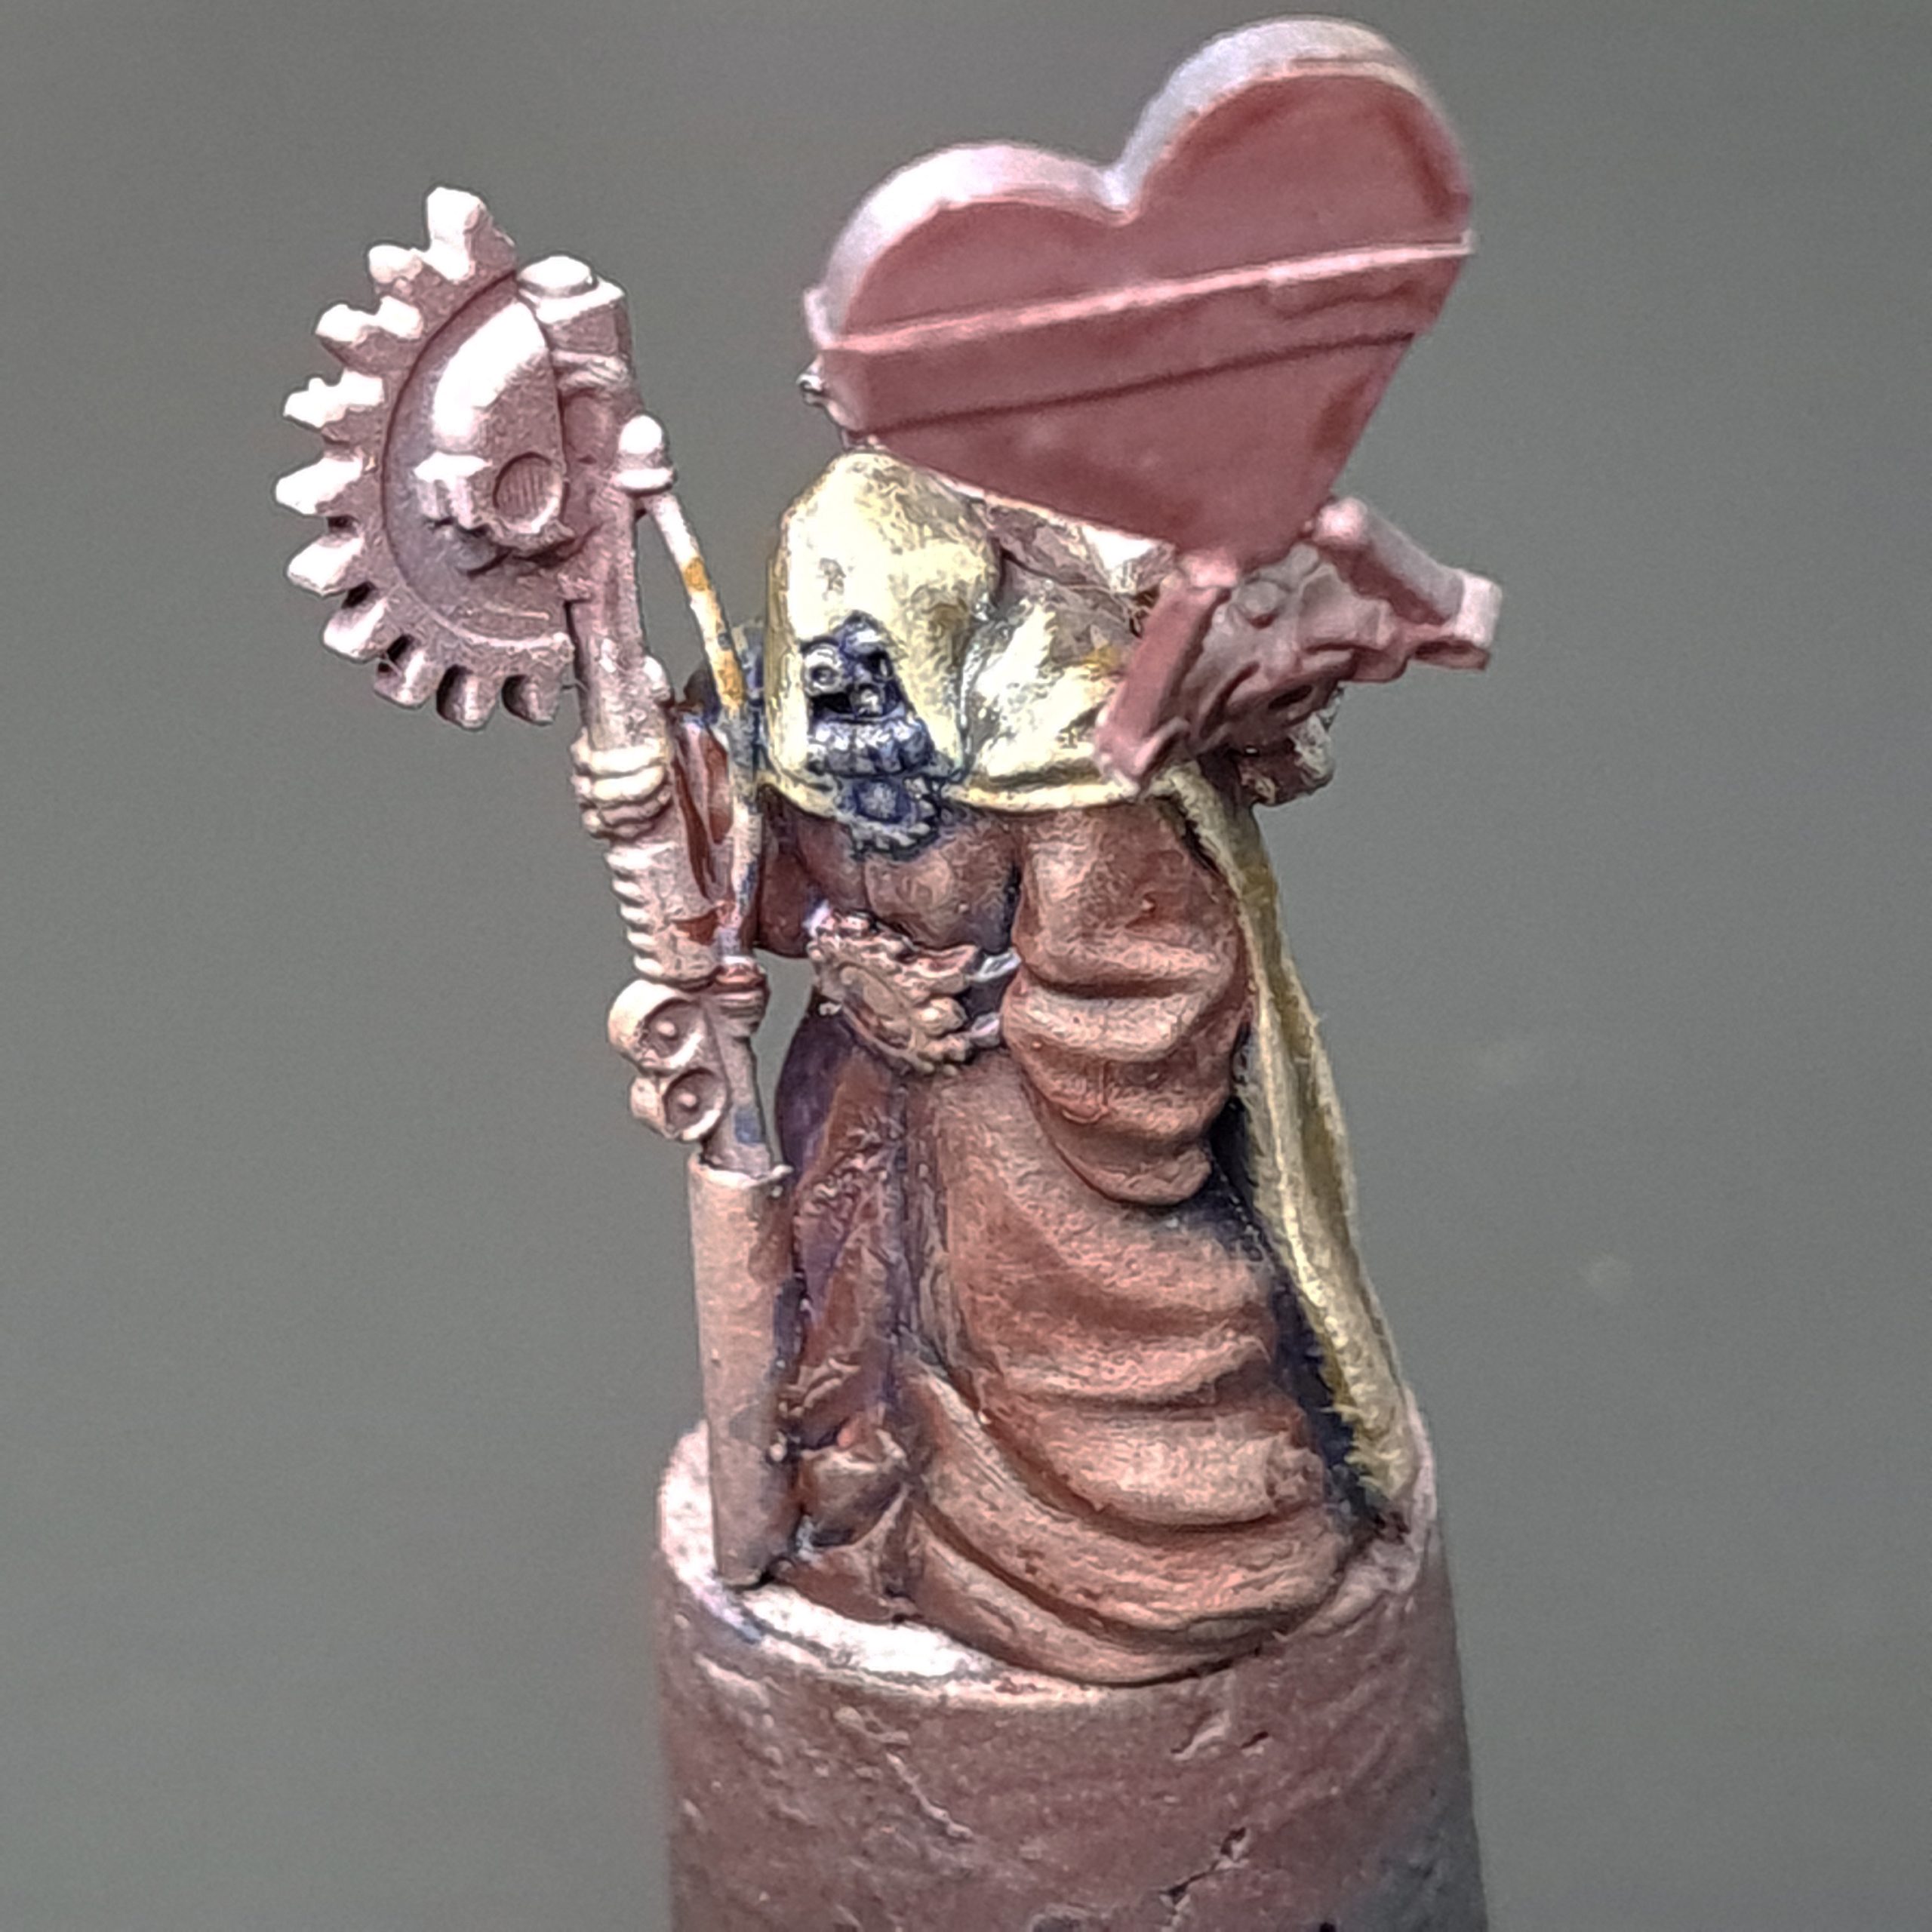
The technique used to paint the robes is similar to Slapchop. First, I sketched out the lights and shadows through layering and then applied a glaze to achieve the final color. All the highlights were painted pointing toward the front of the model since that’s where the main light source would be on the diorama.
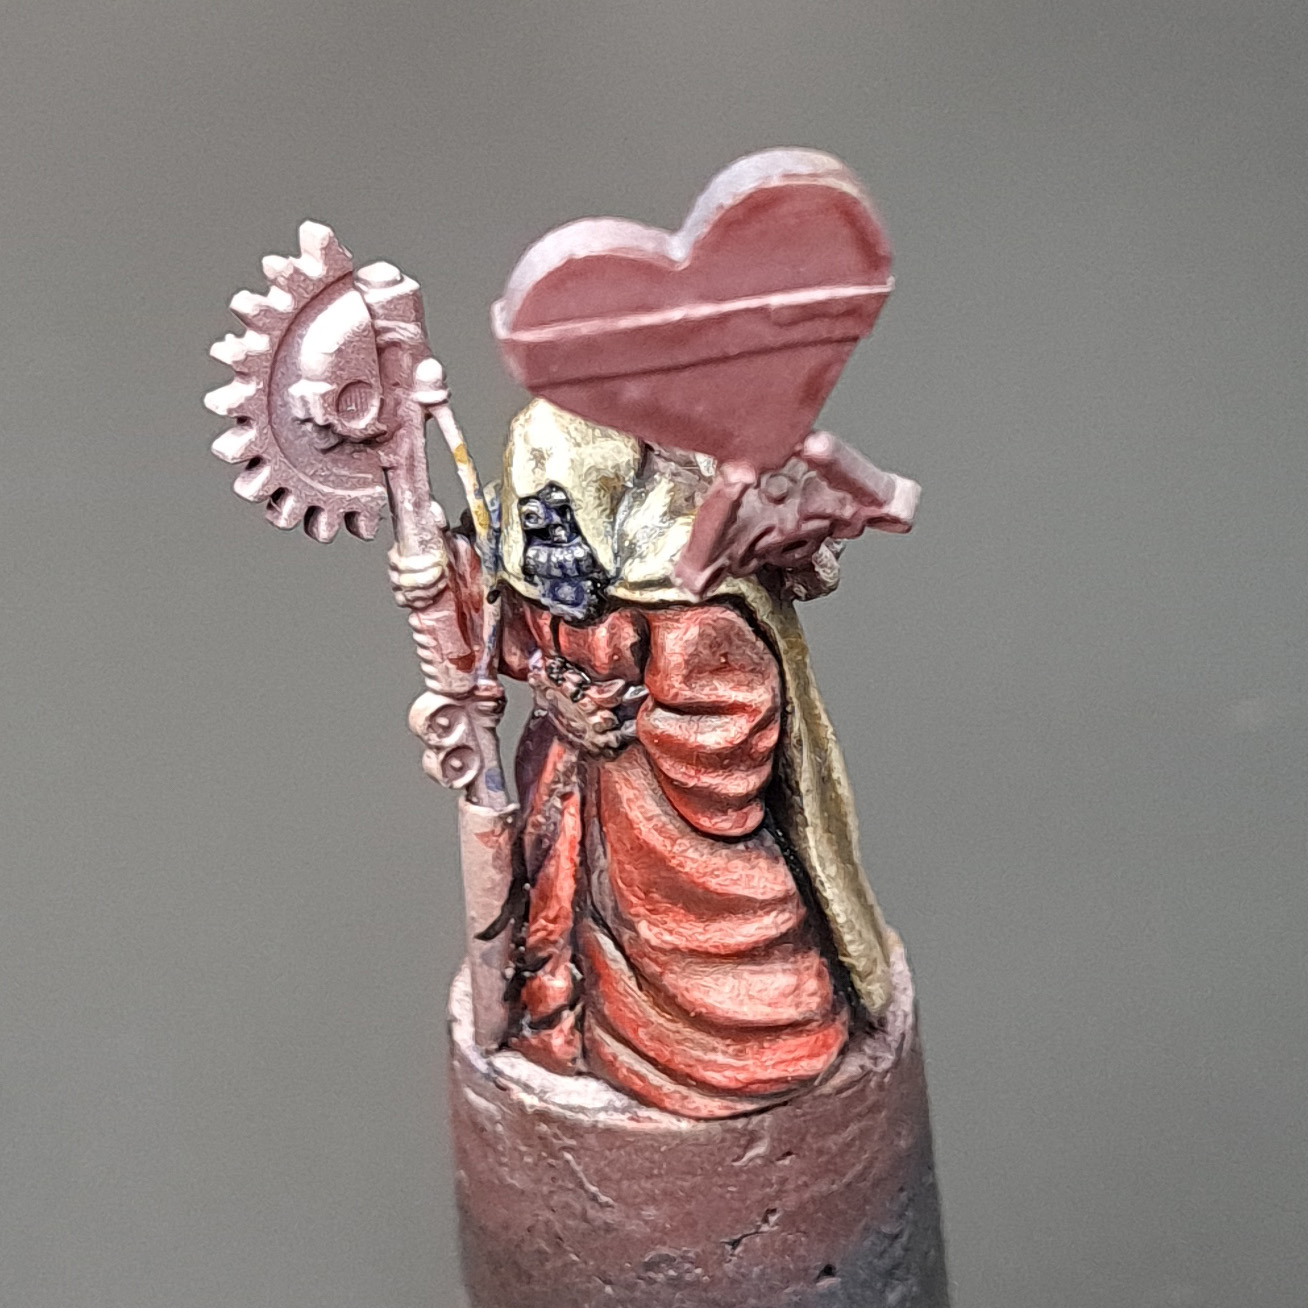
- A basecoat of Scale75 Tindalos Red was applied over the entire robe.

- Scale75 Orcish Dermis was added to the basecoat color for highlights. This step was repeated several times, adding more Orcish Dermis to the mix with each pass.
- Scale75 Moonray Flesh was added to Orcish Dermis to create the final highlights, repeating the same method as before.
- Diluted Liquitex Pyrrole Red Ink glaze was applied over the entire robes to create a more vibrant red.
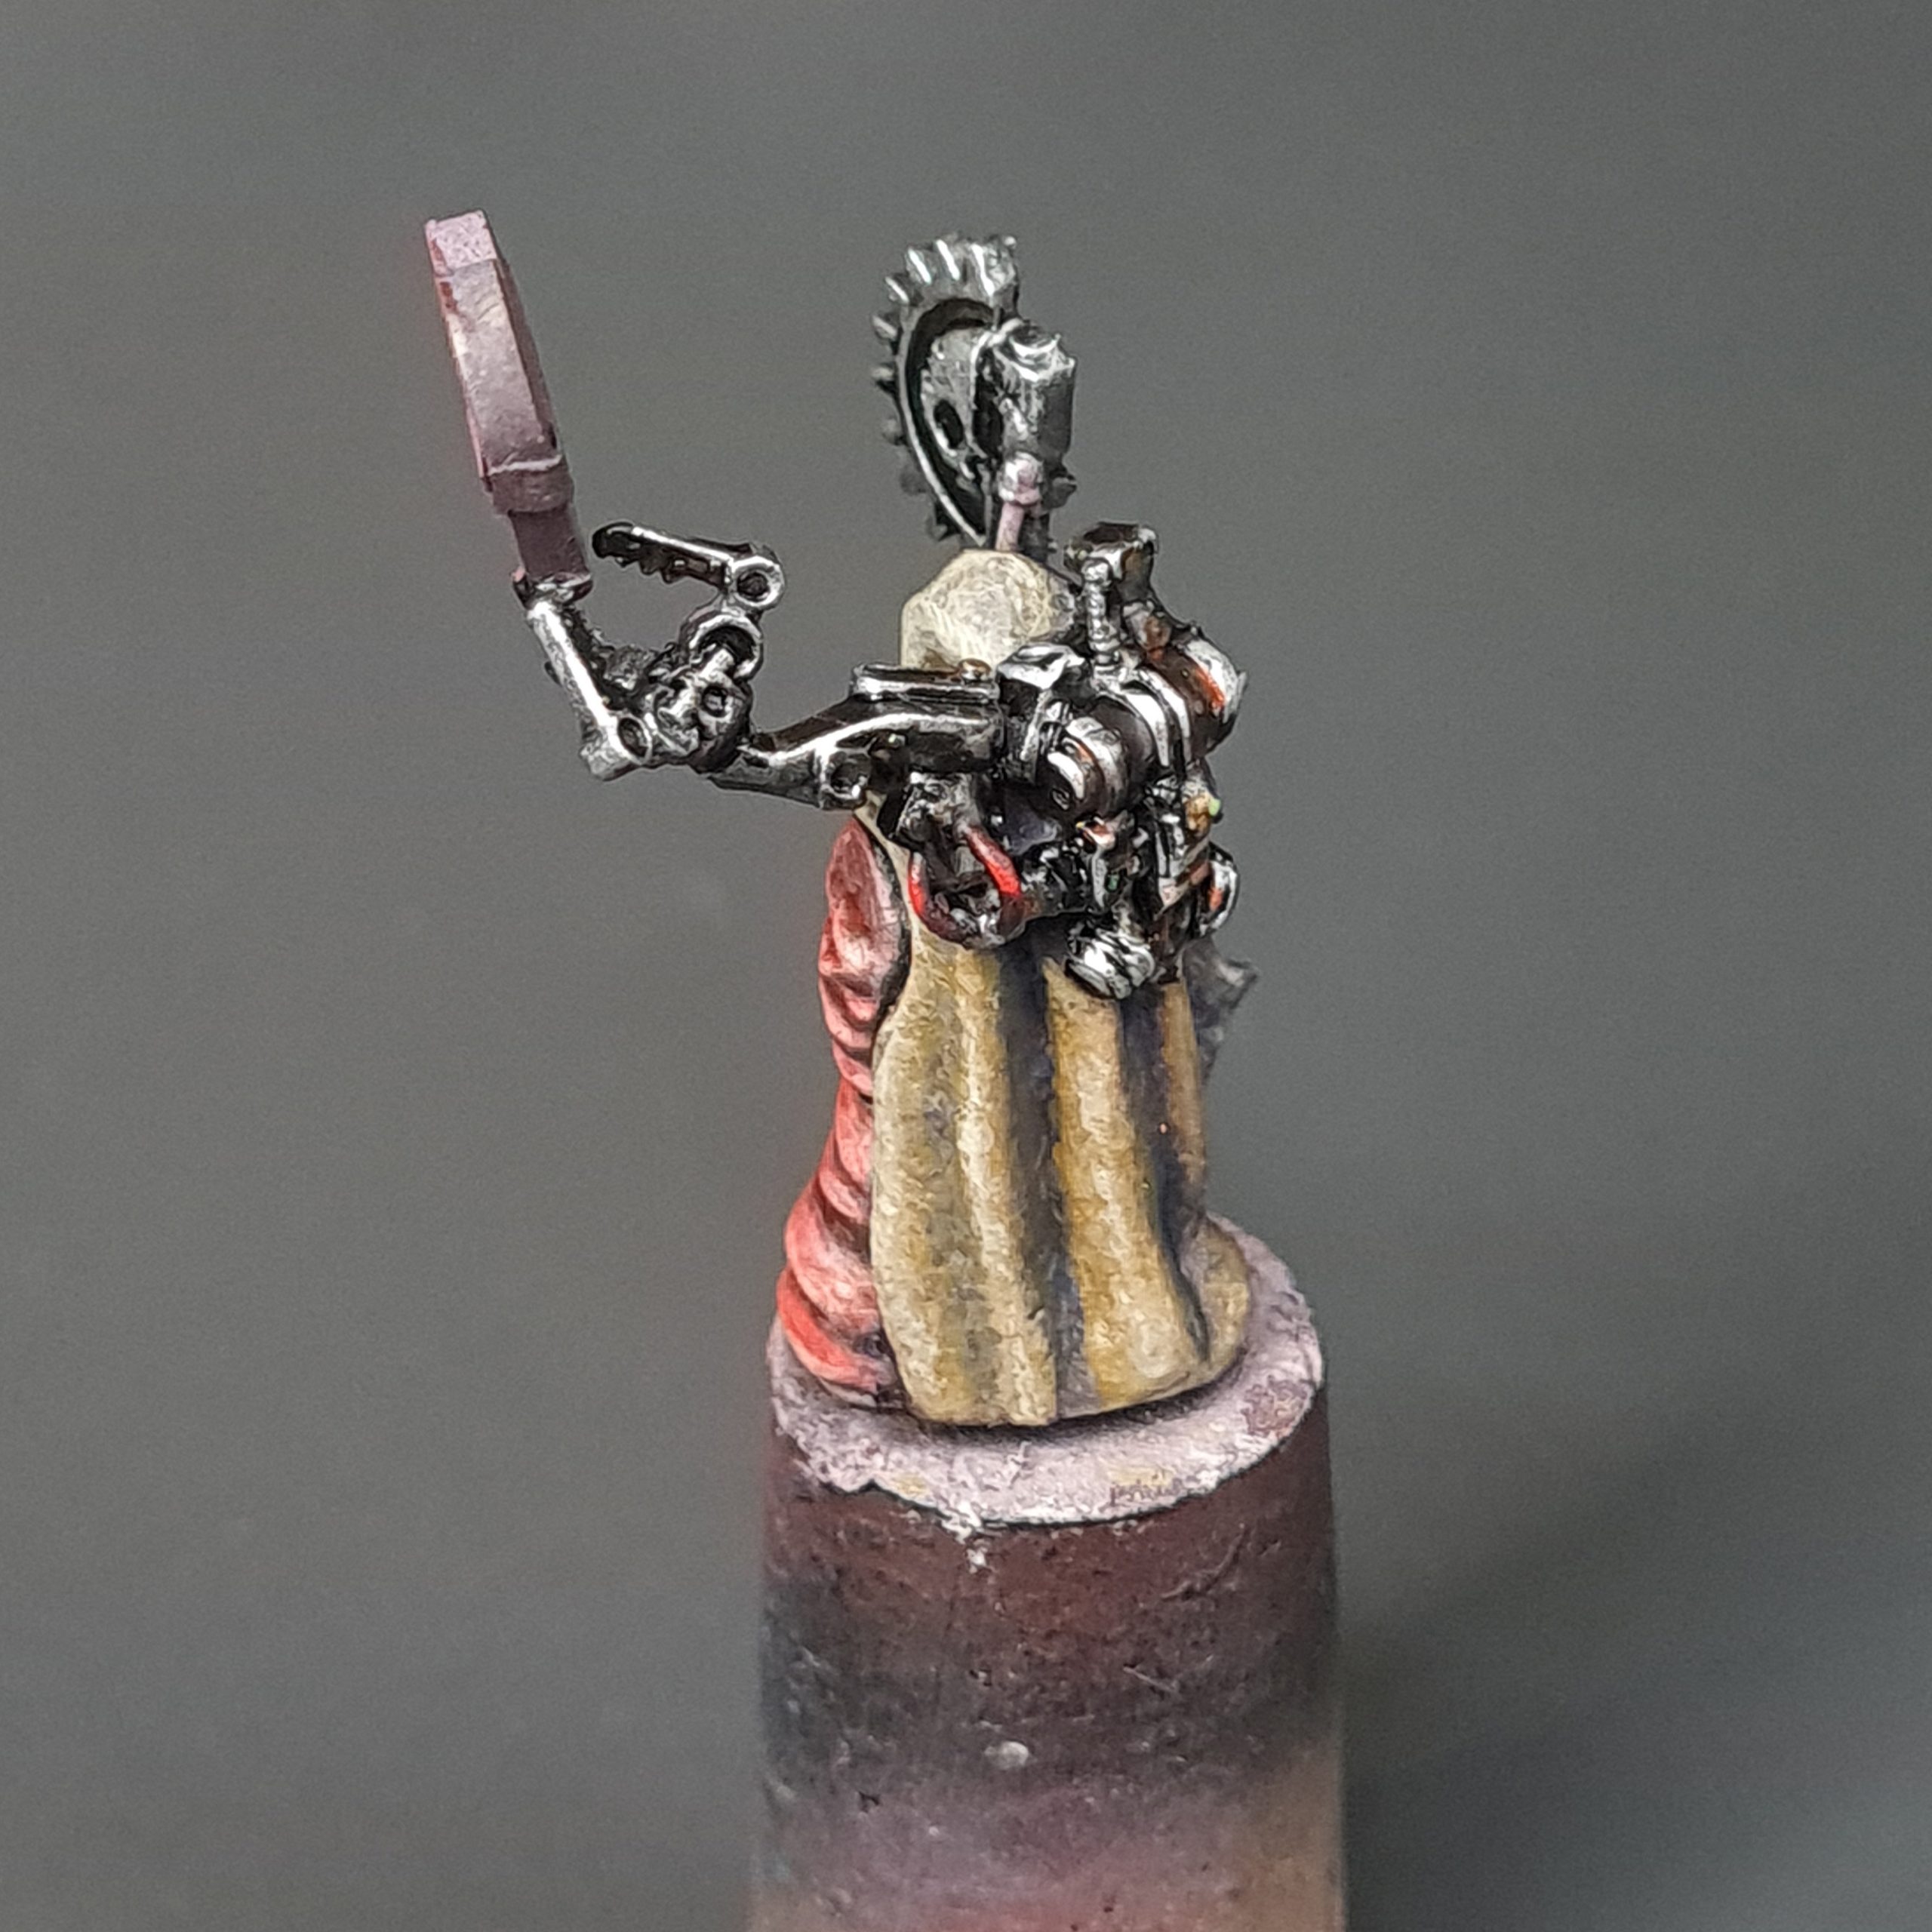
The Hooded Cloak
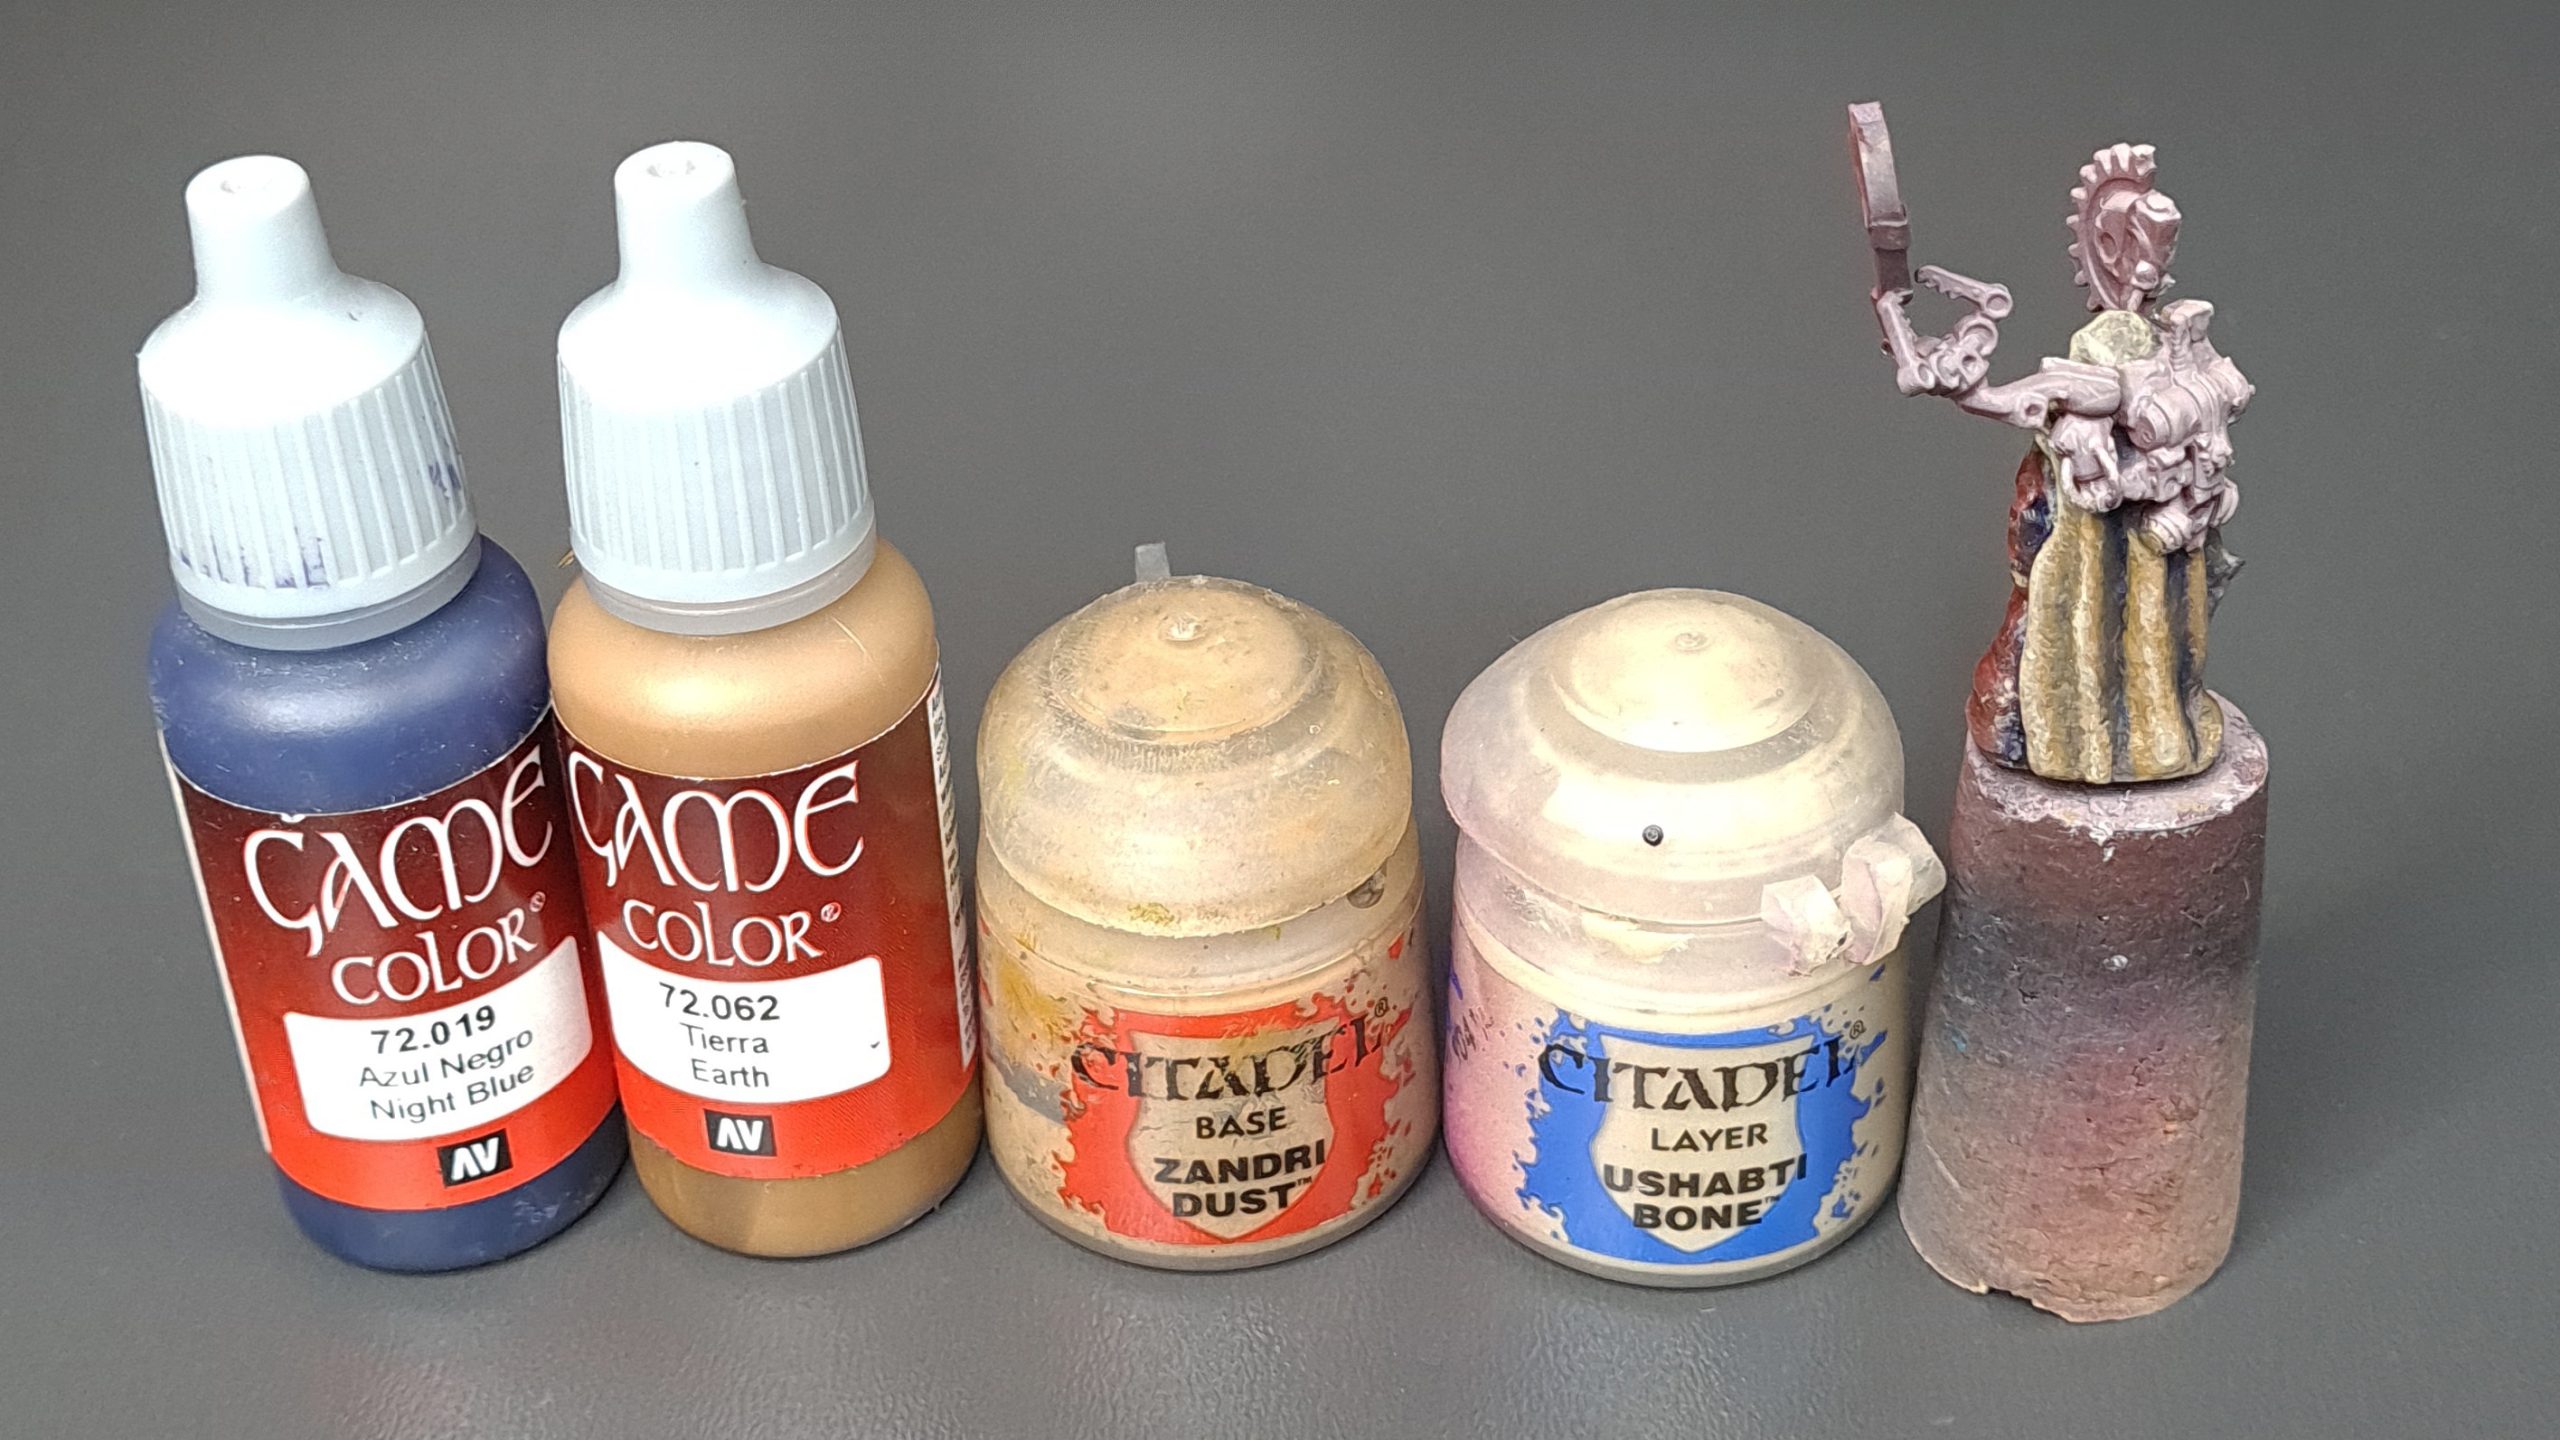
- A basecoat of Vallejo Terra was applied over the entire hooded cloak.
- The deepest shadows were painted with a 50/50 mix of Terra and Night Blue.
- Everything was highlighted with several passes of Citadel Zandri Dust, including the skull-face of the priest.
- Citadel Ushabti Bone was used for the final highlight on the robe and the face-skull.

Metal Bits
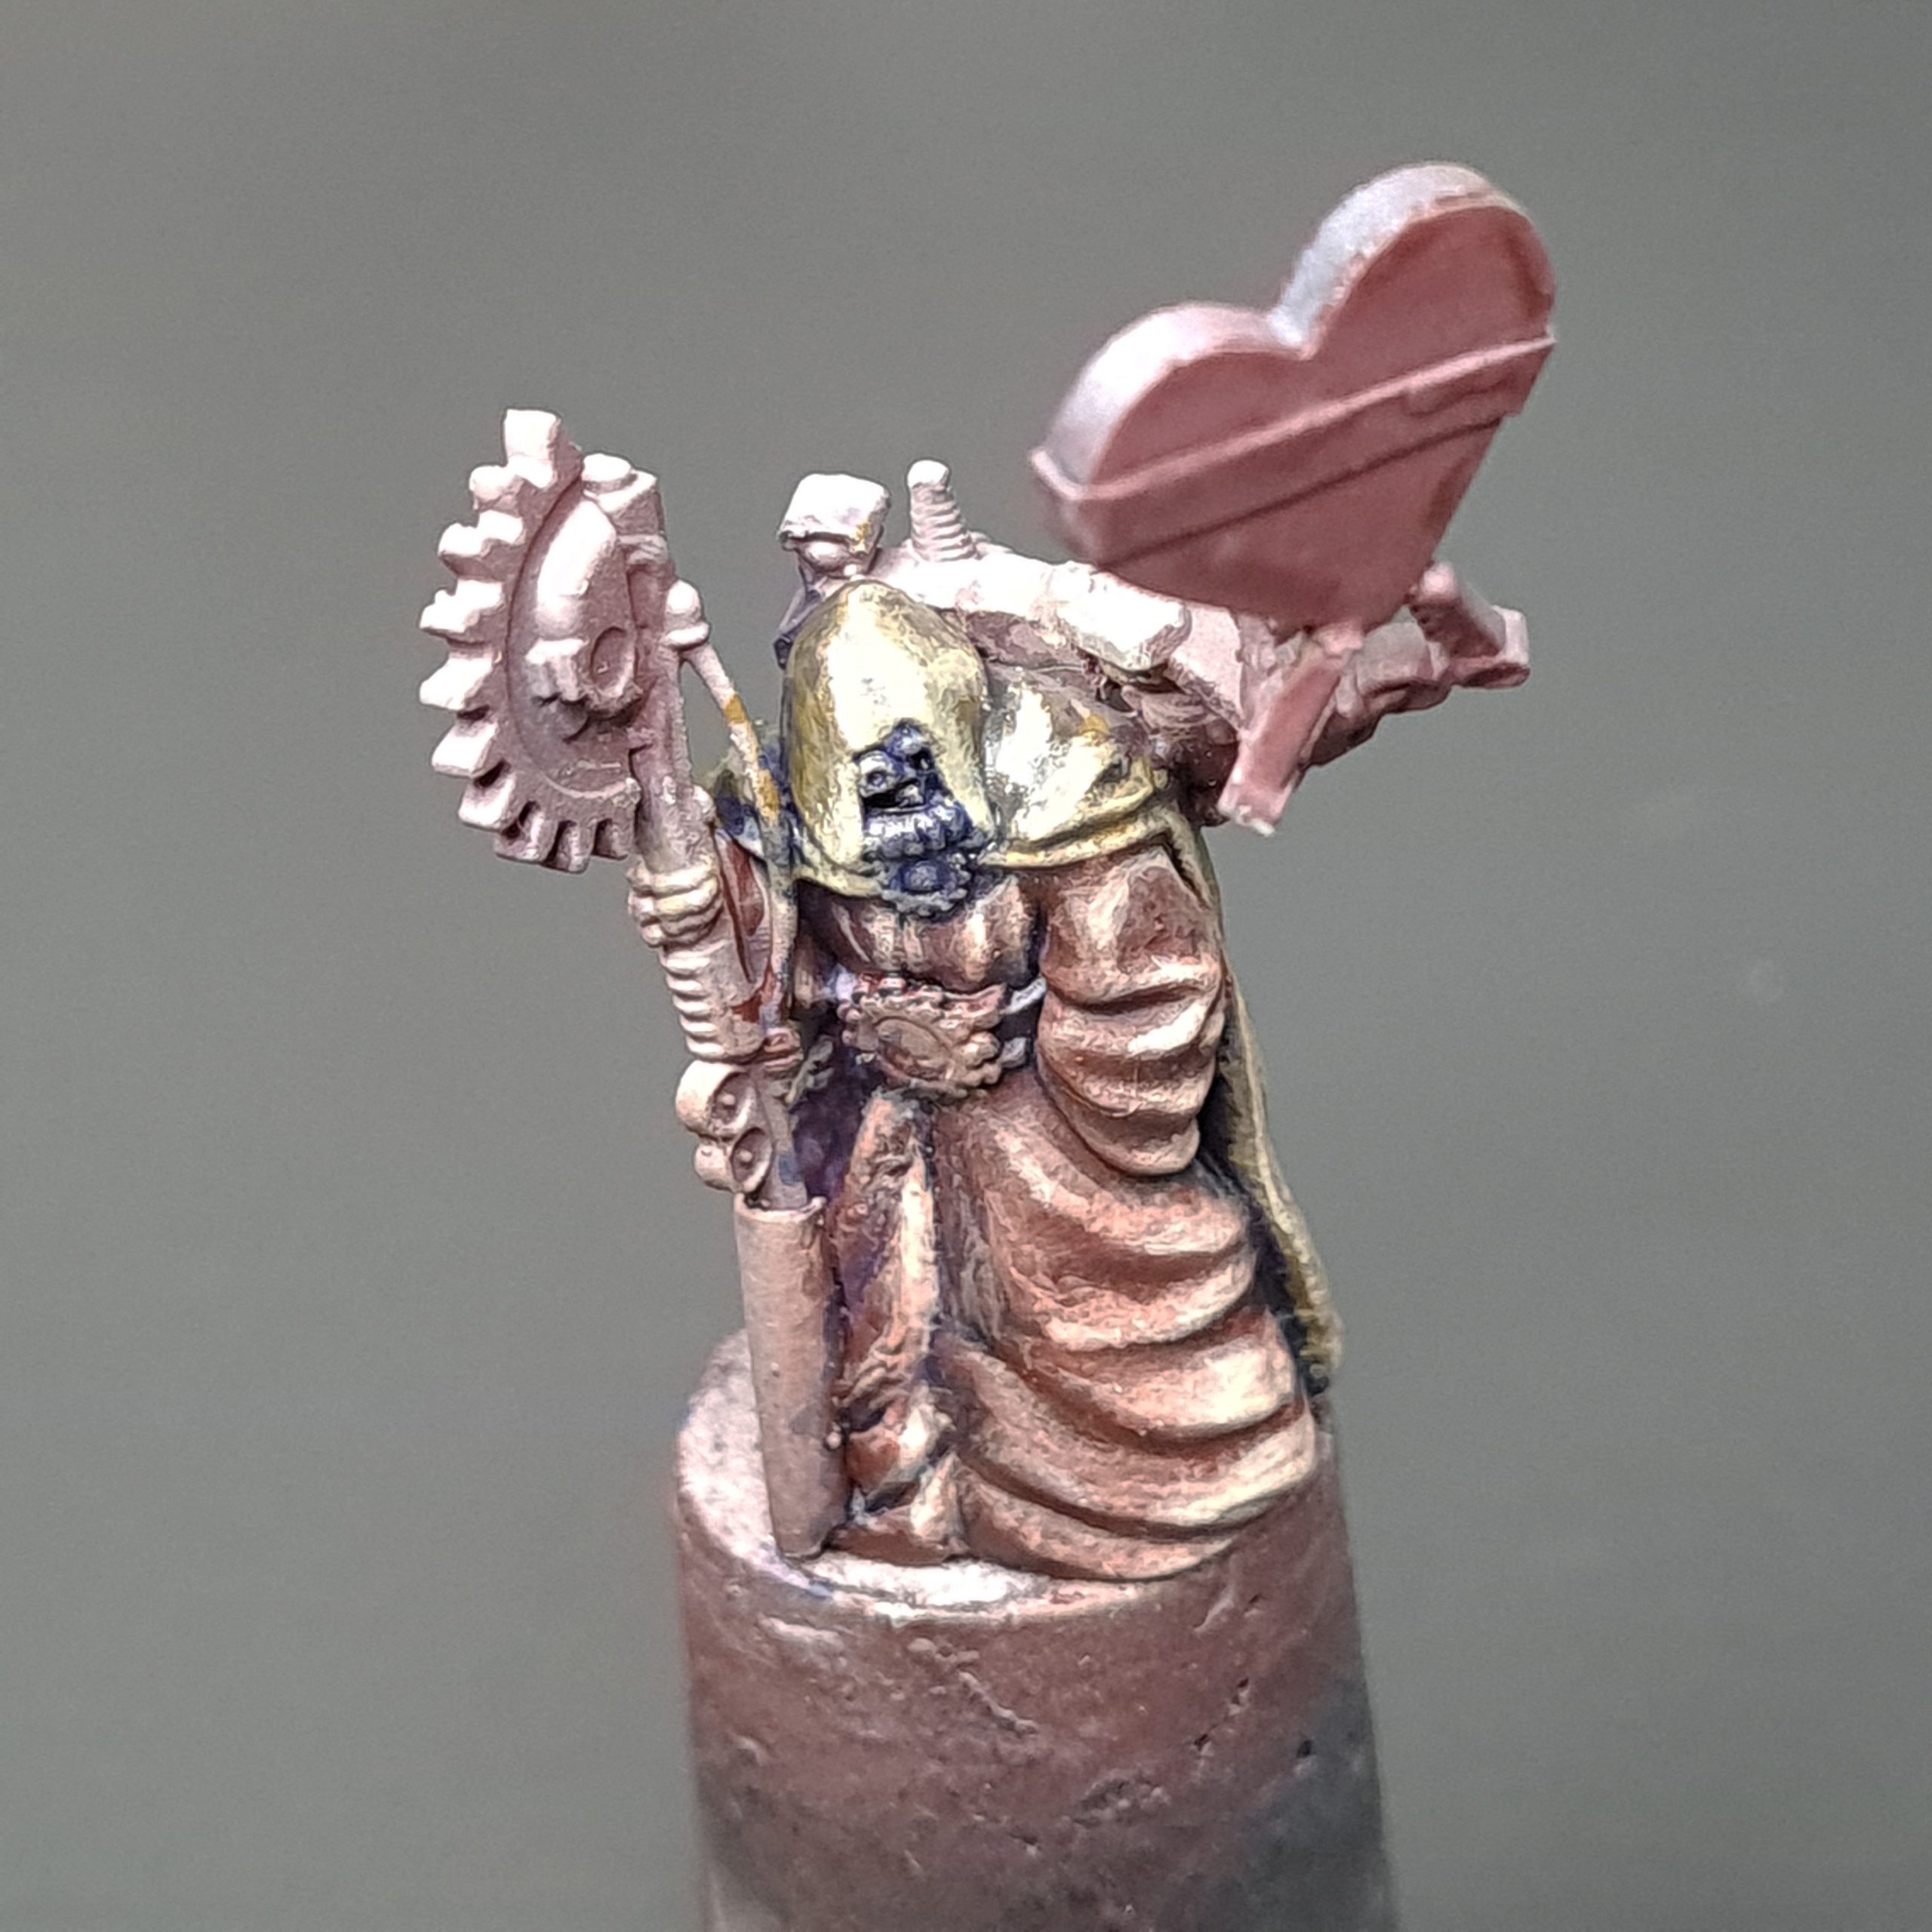
All the metal parts were painted using a simple TMM technique.
- Basecoat with Vallejo Air Steel.
- Highlight with Vallejo Air Silver.
- Apply Liquitex Carbon Black Ink to the shadows and recesses.
- Edge Highlights were reapplied using VA Silver, where necessary.
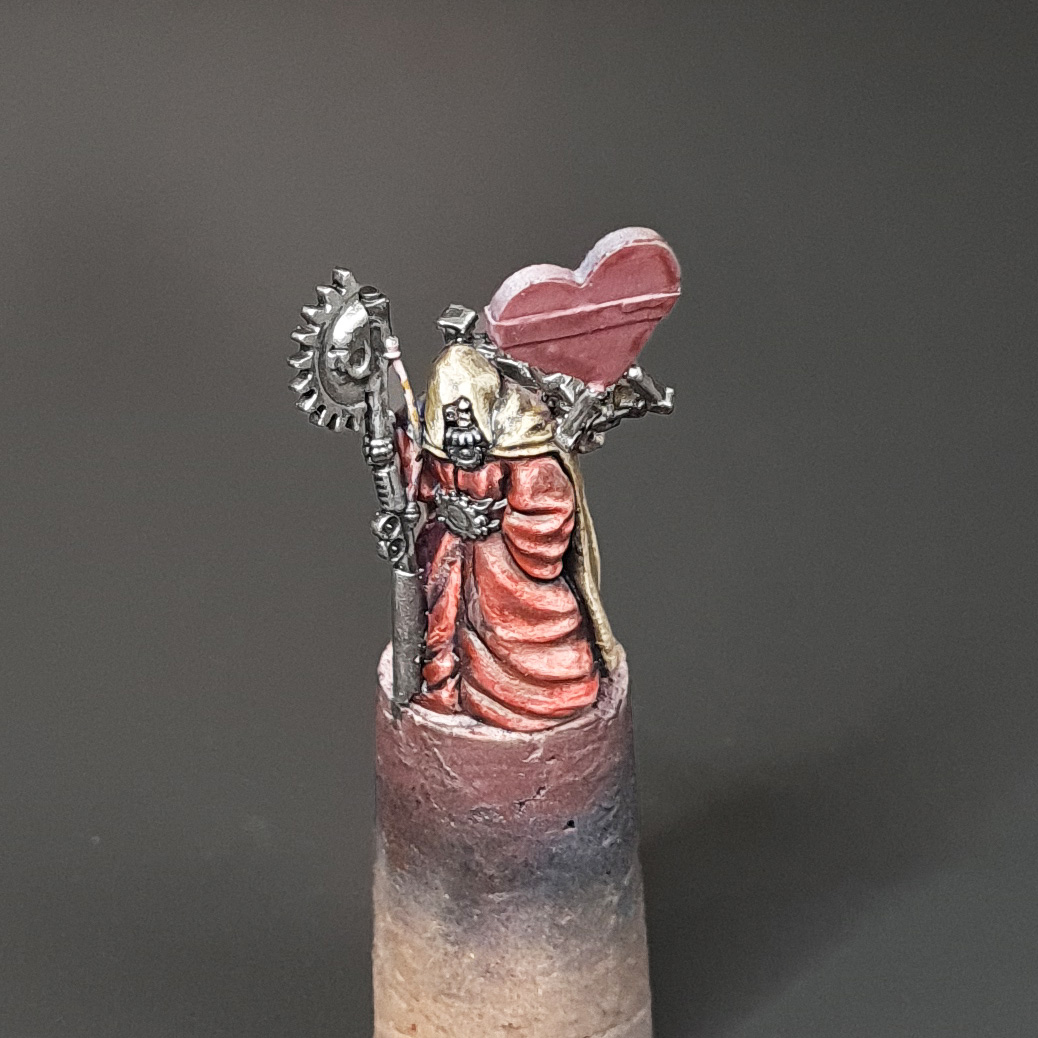

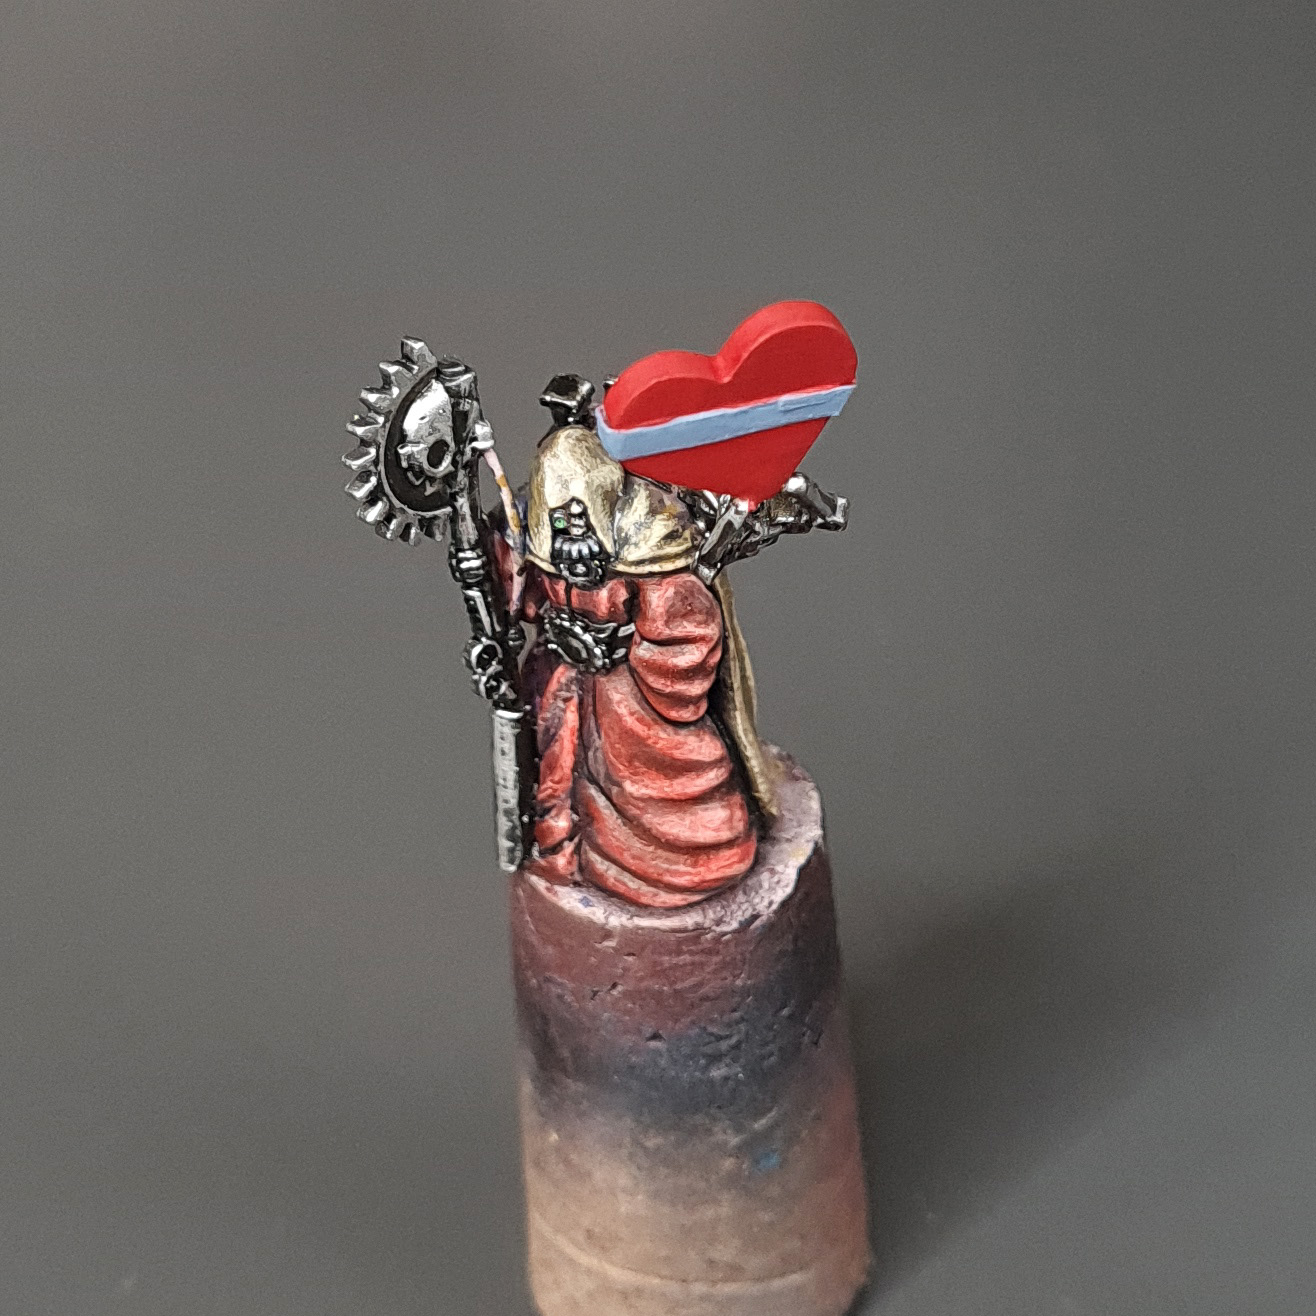
The Heart Shaped Box
Choosing a color scheme for the heart-shaped box was simple. I imagined a red box with a white ribbon and decided to go with that.
- The box was base-coated Citadel Mephiston Red. The ribbon was base coated in Citadel Fenrisian grey.
- White was added to both basecoats and applied in several passes. Each time I added more and more white. The edge highlights were done using almost pure white.
- Black ink was added to Mephiston Red, and a line was painted to help separate the ribbon from the box.
- Liquitex Pyrrole Red ink glaze was painted over red to help blend the transitions and create the final color.
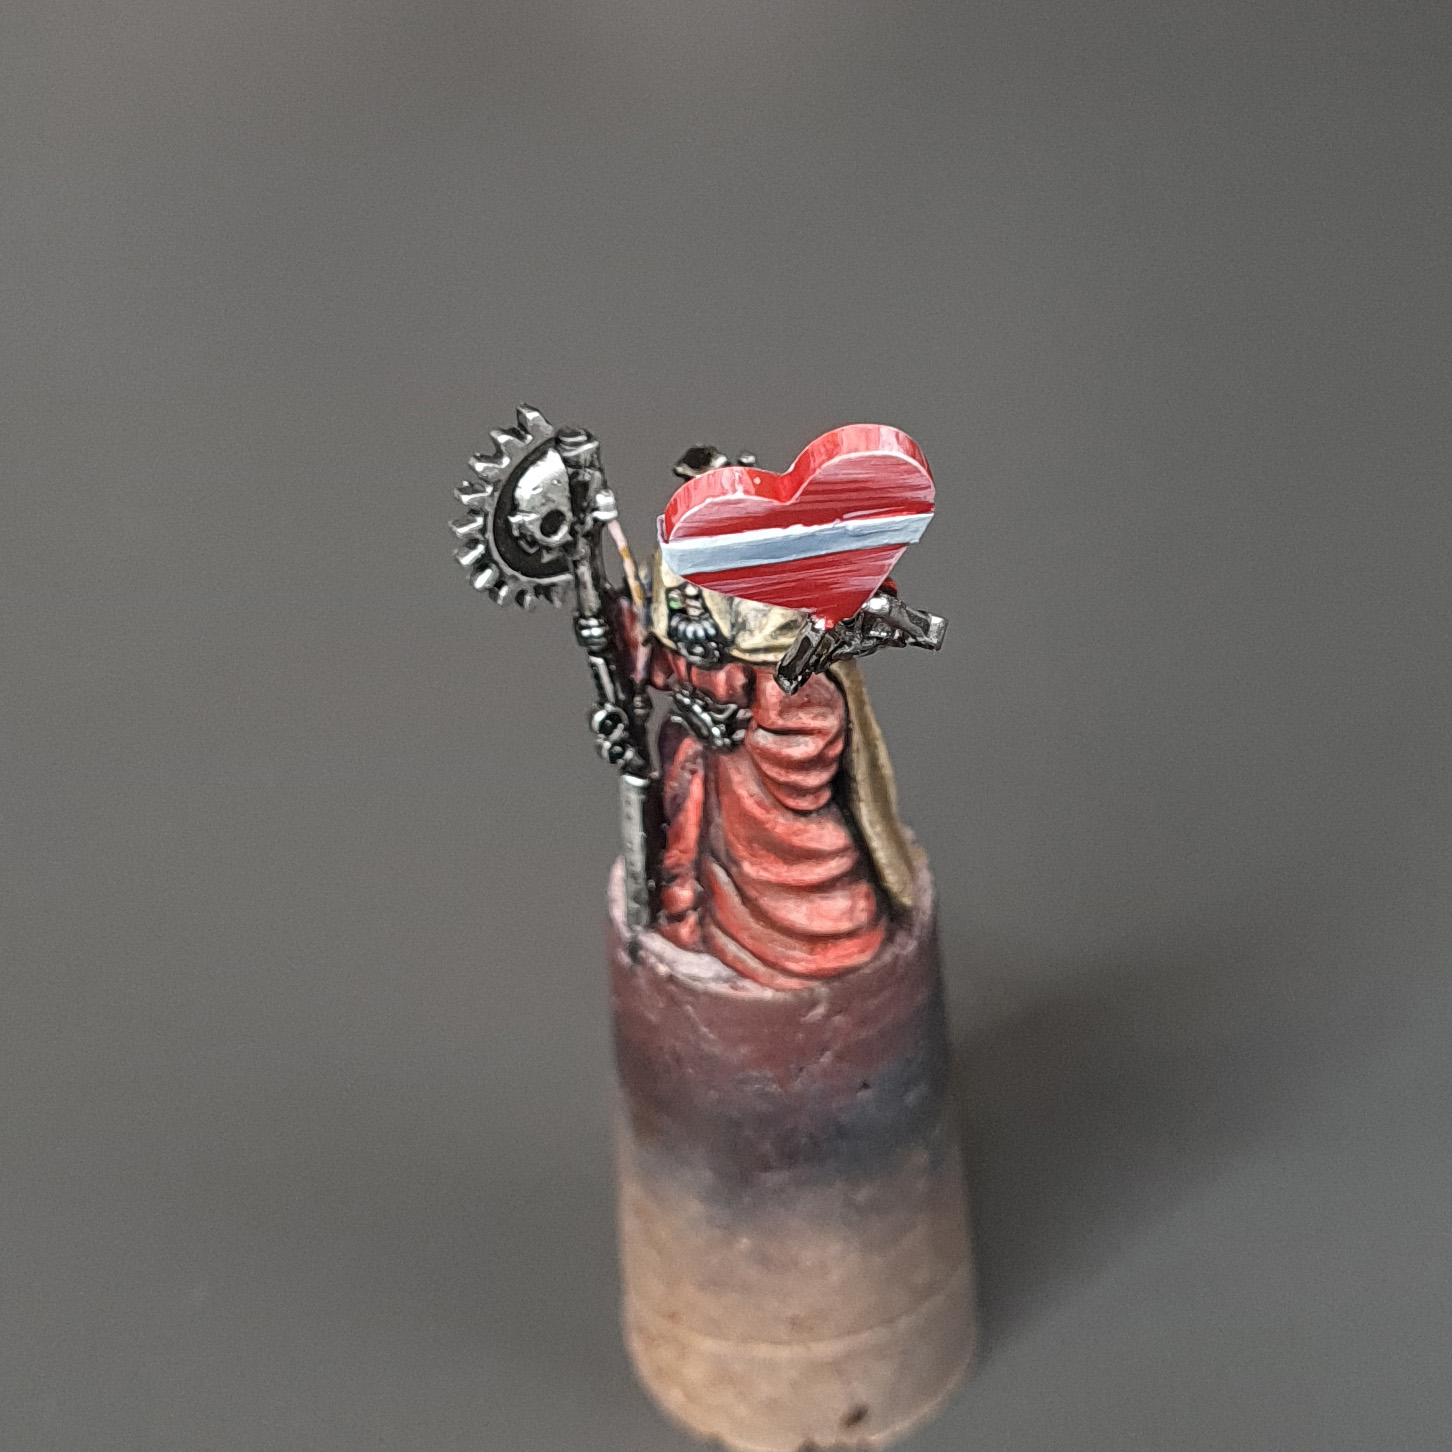

With this, the tech priest was pretty much done, and all that was left to do was paint the smaller details like wires and the eye.
Join us next time as we paint a freshly destroyed Castellax Robot.