Miniature Painting Tutorials, MPC #007
Creating a Diorama Pt. 4 – Painting Castellax
Mar
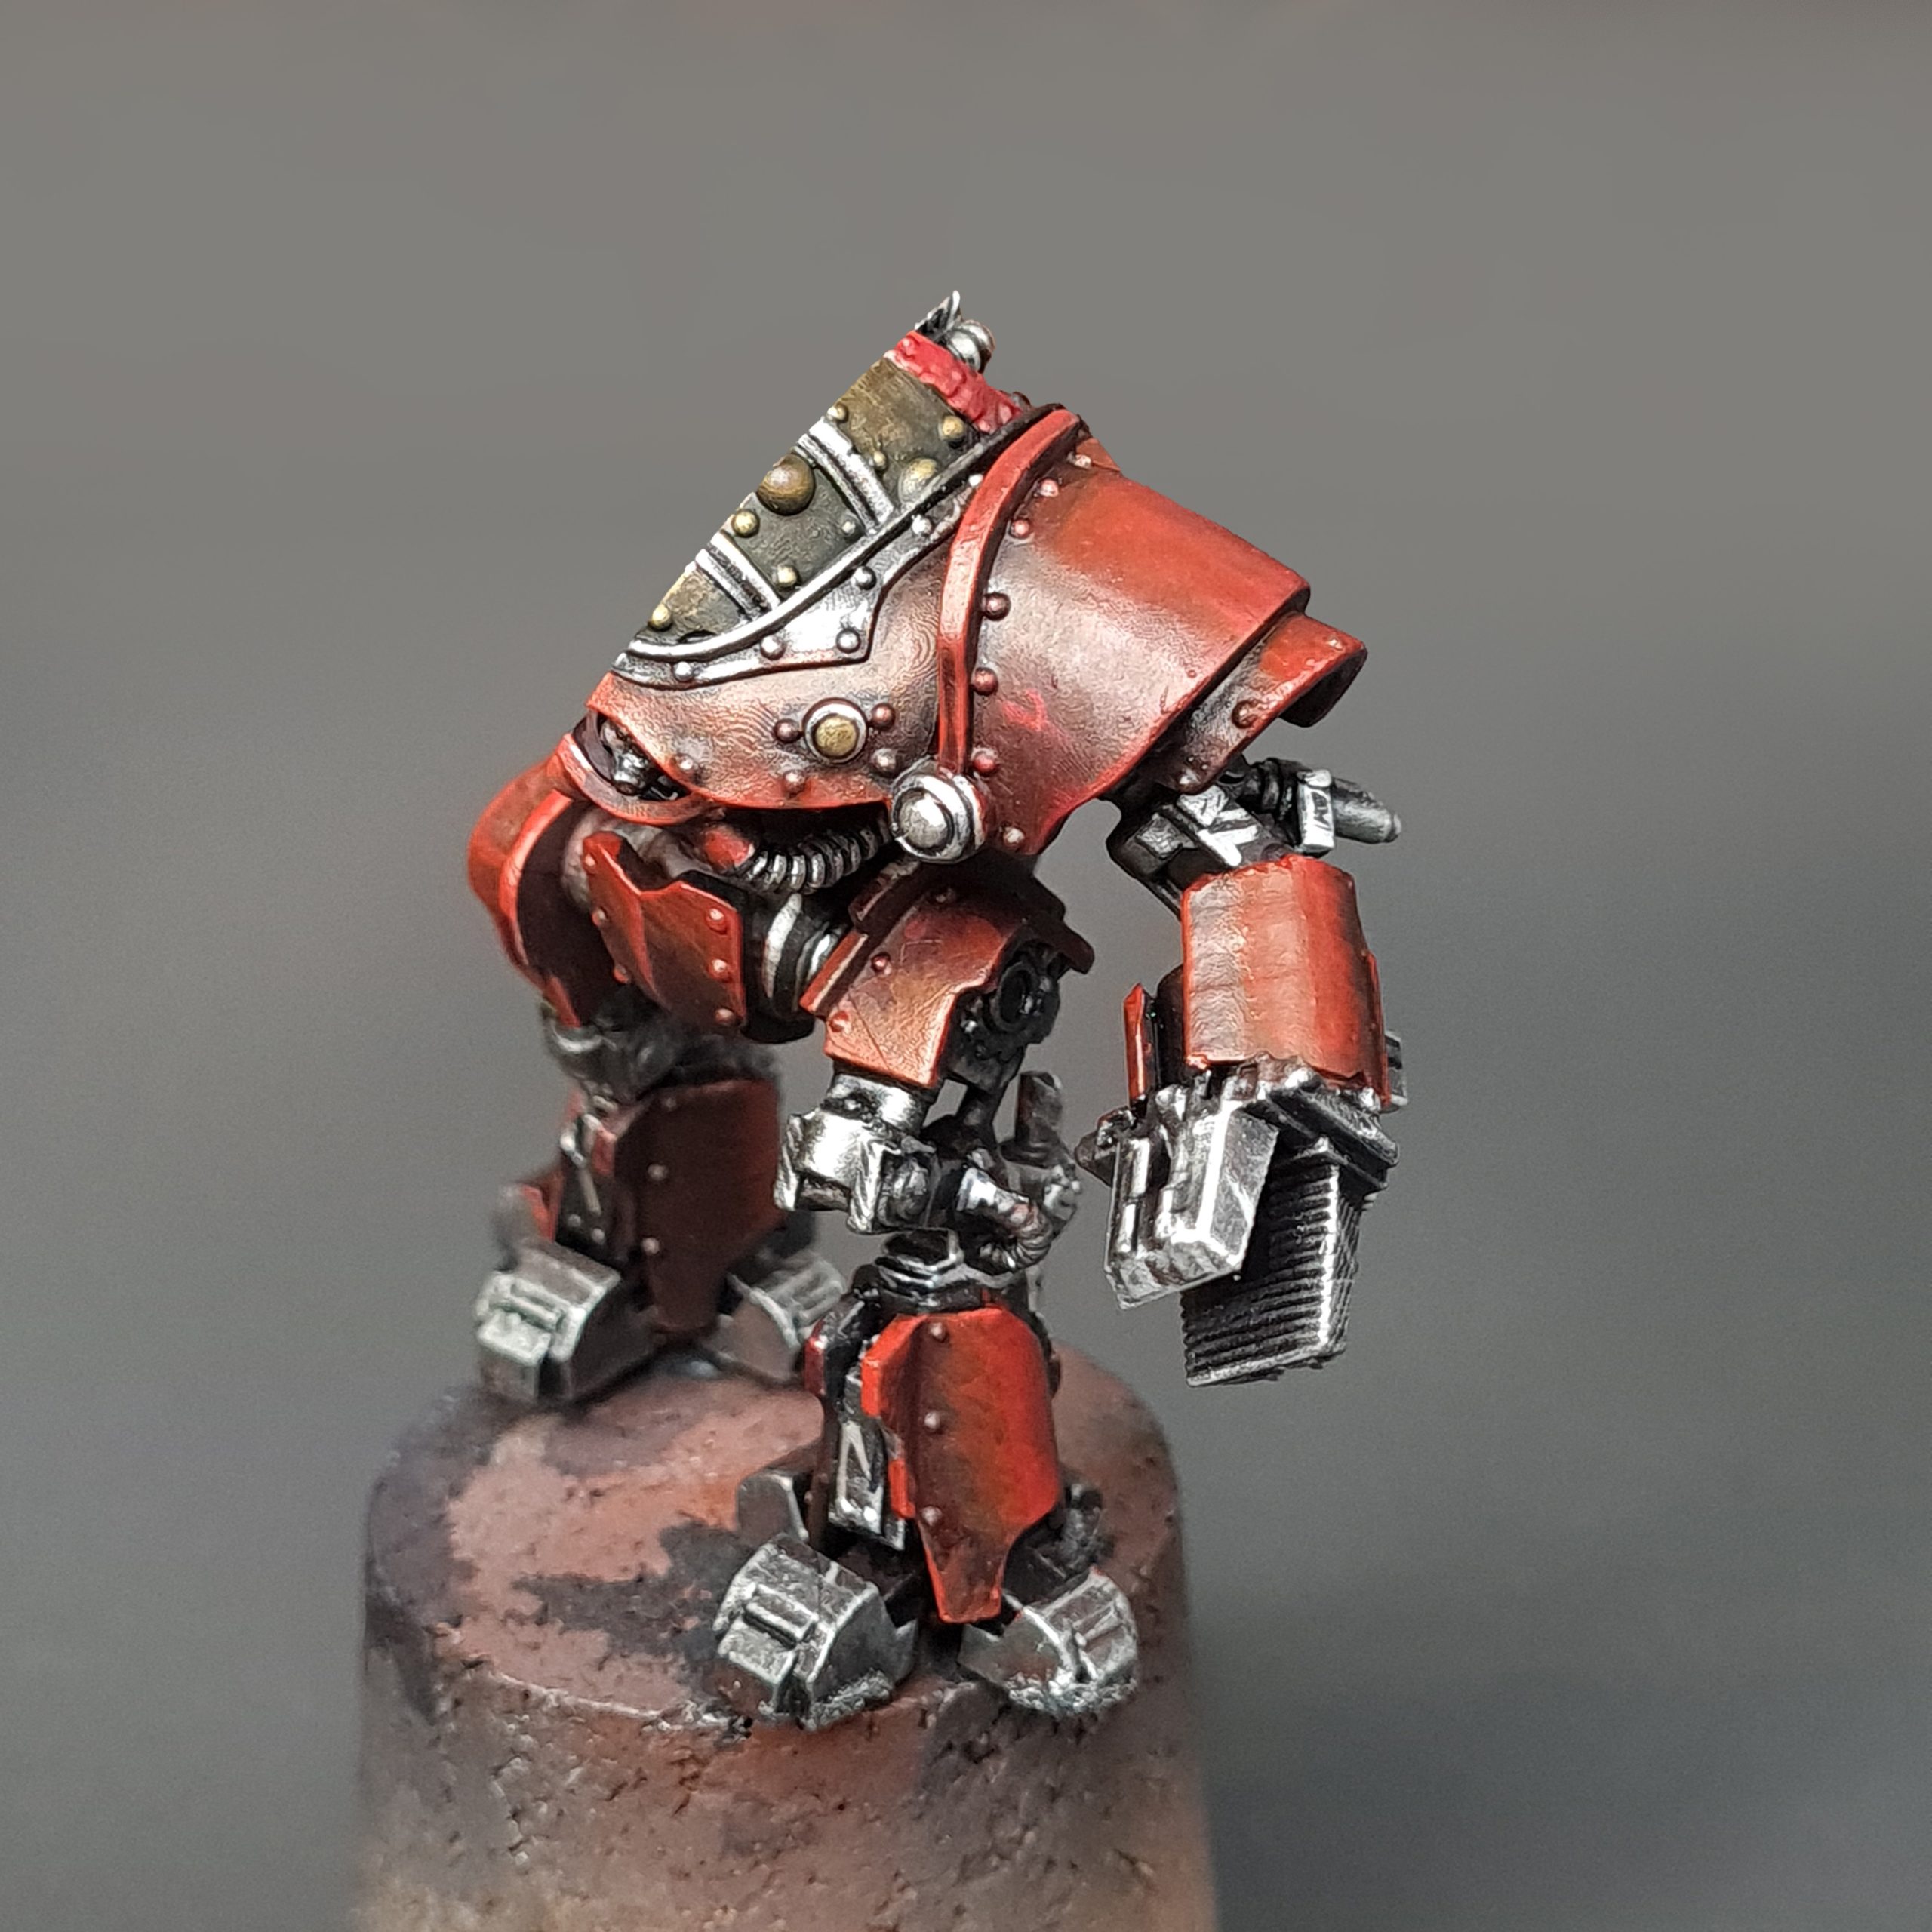
Welcome to the fourth installment of our captivating “Creating a Diorama” series. In this issue, we unveil our intricate painting process for the decimated Castellax Battle Automata and provide valuable insights on painting battle damage and techniques such as TMM.
To streamline the painting process of the Castellax, we have divided it into three manageable segments. We will start with the metallic colors since they take up a huge chunk of the model and are the messiest to paint, followed by the armor, and finish it off with battle damage for a final touch of realism.
It’s best to use a makeup brush for dry brushing. A sponge will be used to apply some weathering and other special effects. To prepare it, tear the sponge into random pieces. Use tweezers to hold the sponge while using it.
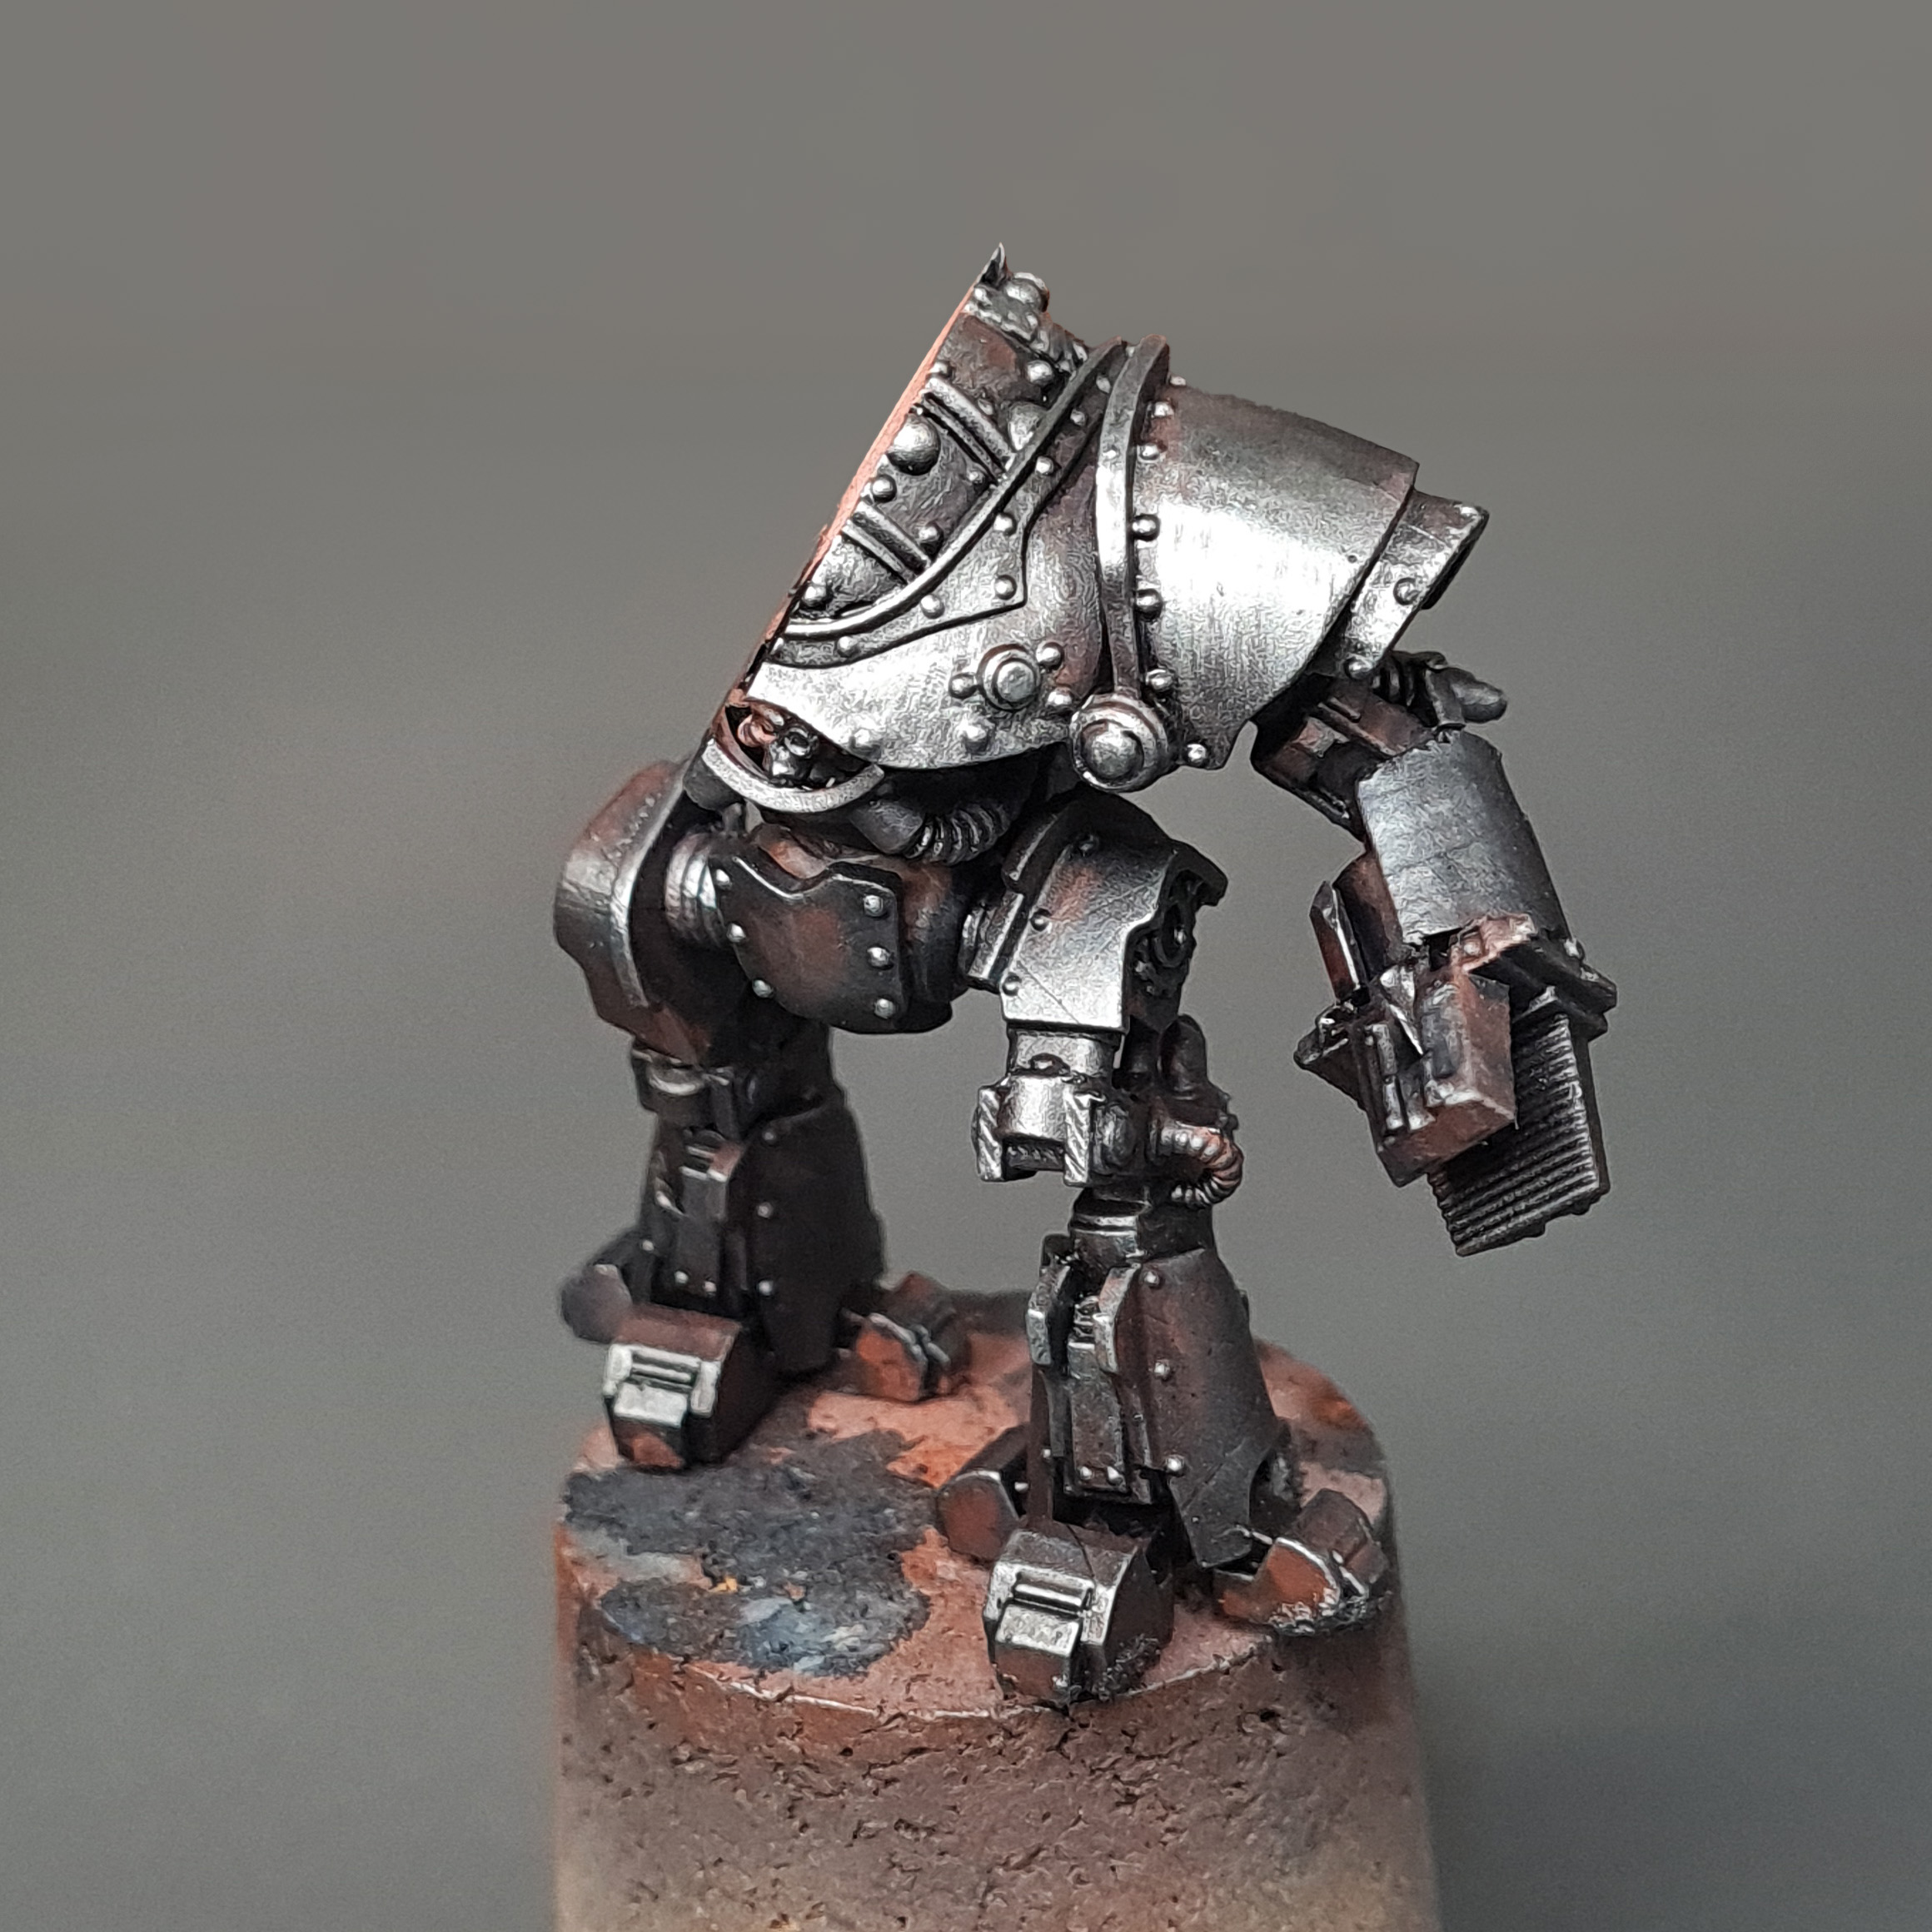
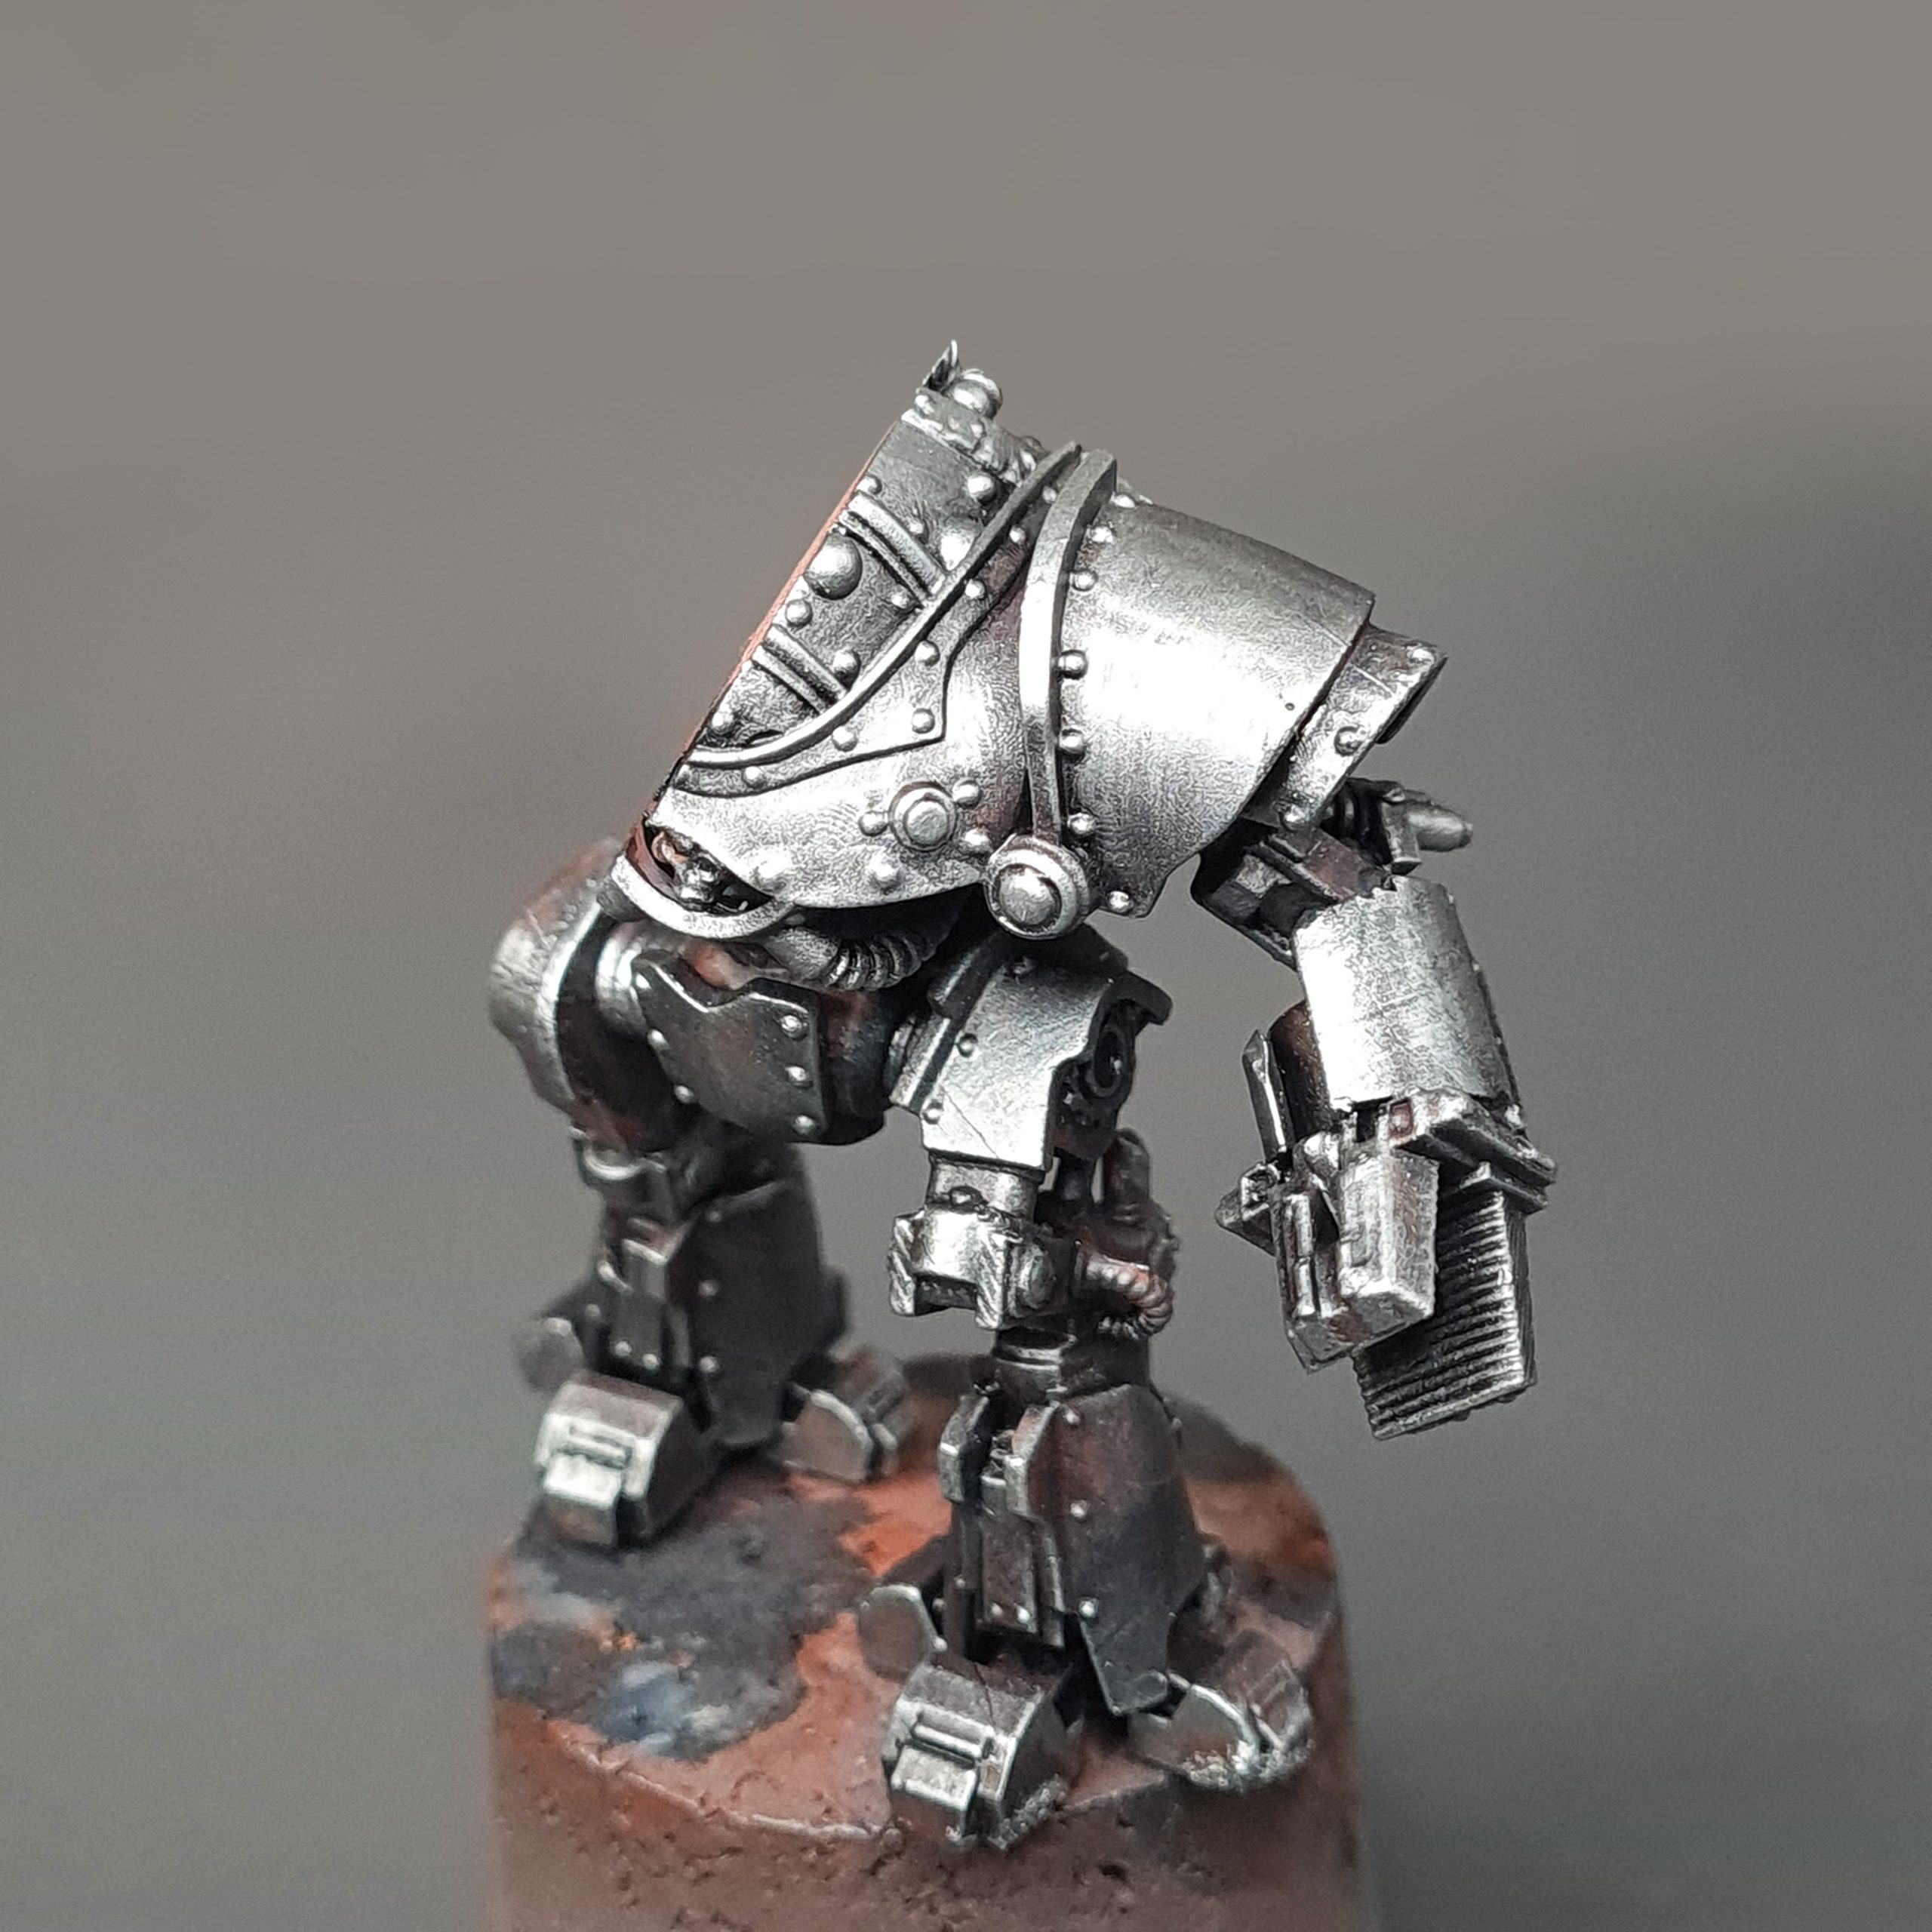
True Metallic Metals
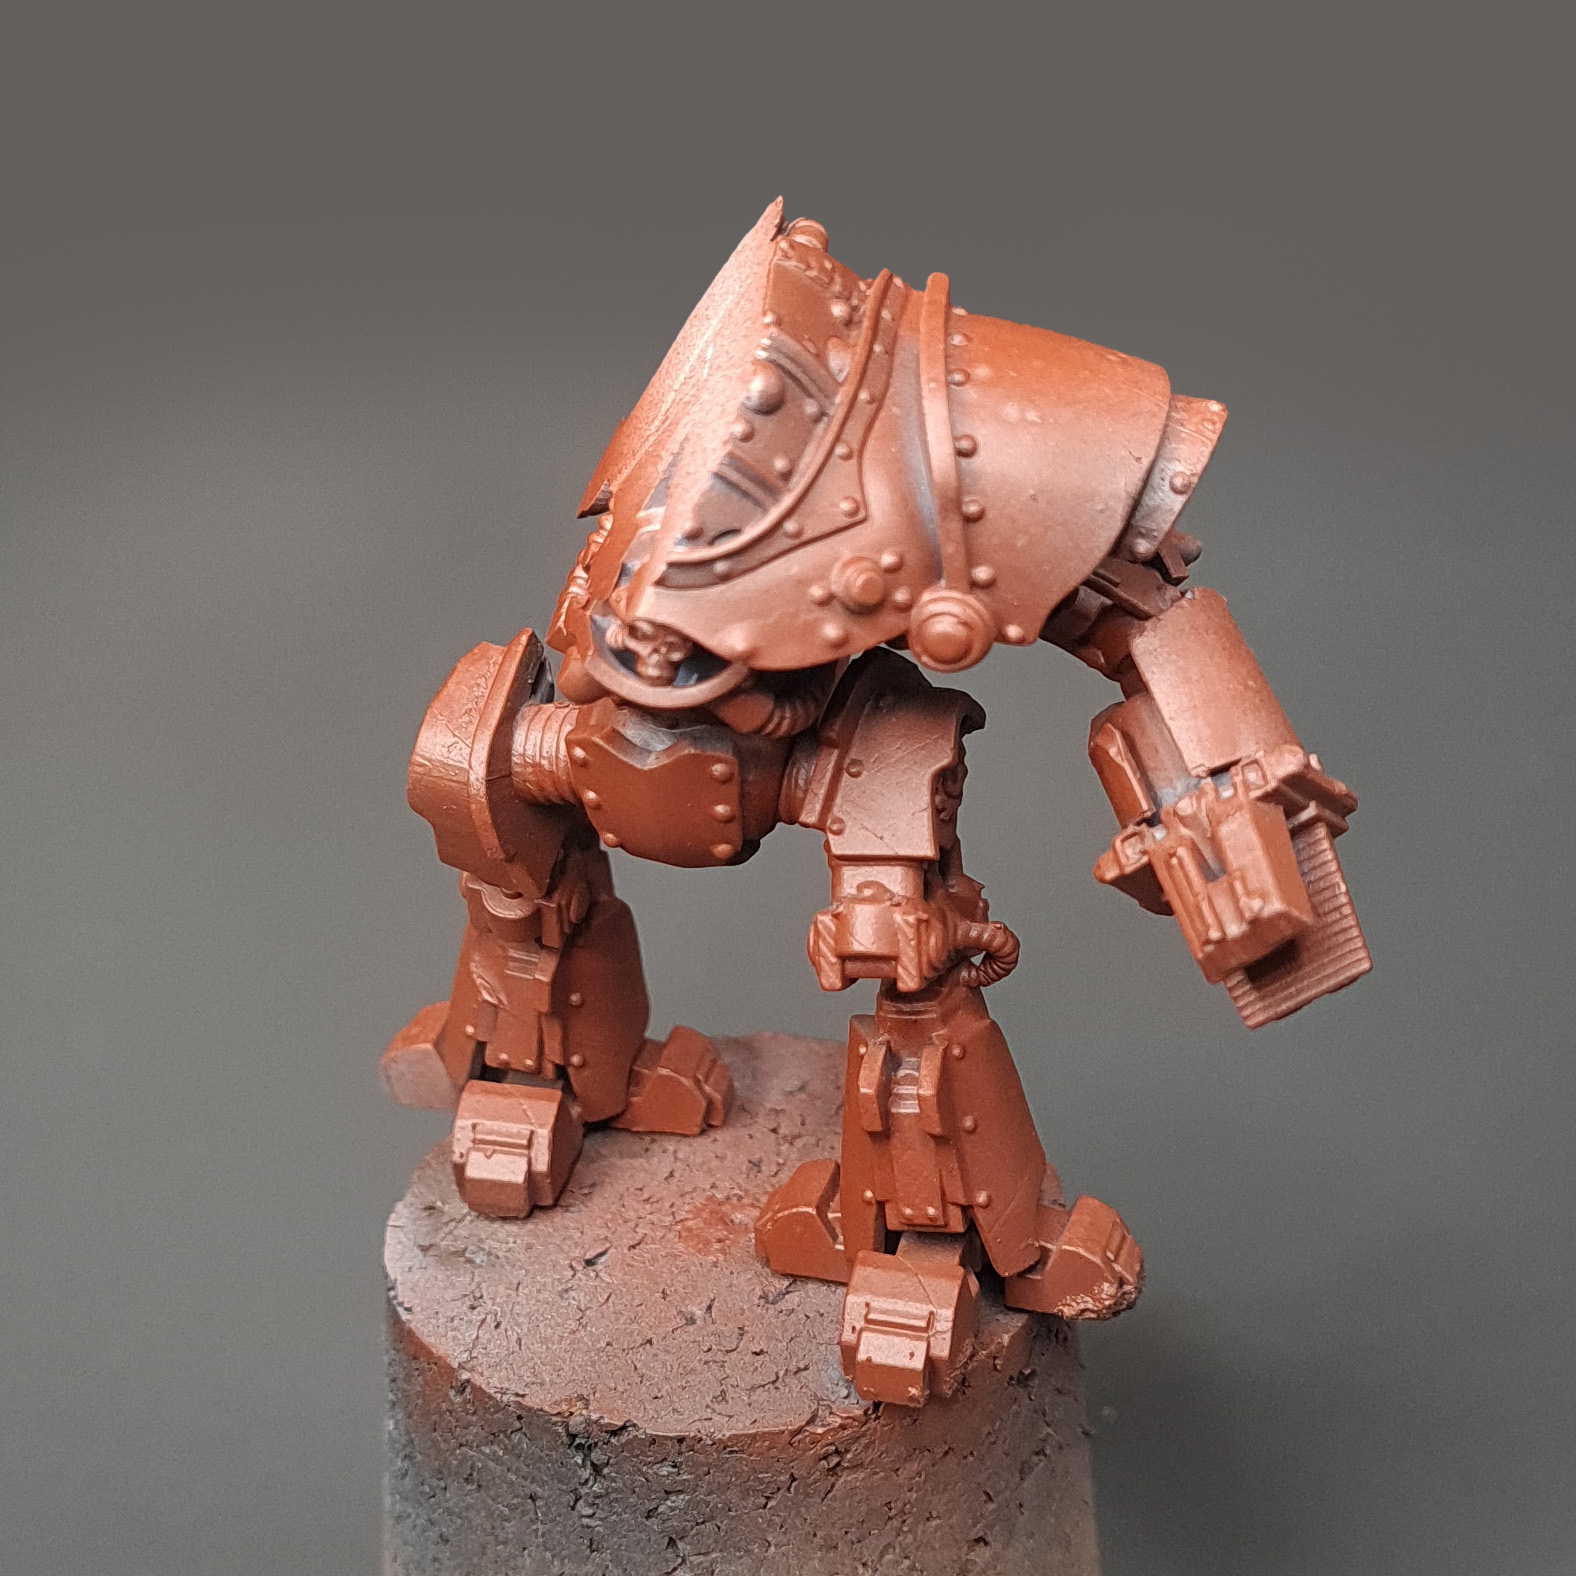
- Vallejo Air Brown was used as the base coat for the entire model. This creates an undercoat for our metallics and leaves room for error, as any missed areas will come off as weathering.

- Black wash was applied over all the parts to create deeper shadows.
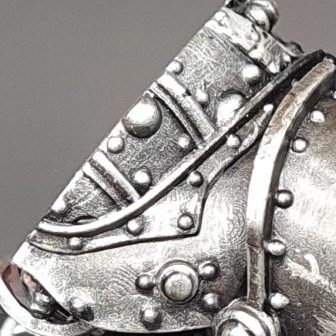
- The entire model was dry-brushed with Vallejo Metal Air Steel.
- A light dry brush of VMA Aluminum was applied over the raised edges.
- VMA Silver was lightly dry-brushed on the edges. Some edges and pistons were painted with a regular brush.
- A light glaze of Agarax Earhtshade was airbrushed over the entire model to give the metal some grime. This can be manually done with a brush.


Gold
- Vallejo sepia ink was applied over all the gold parts.


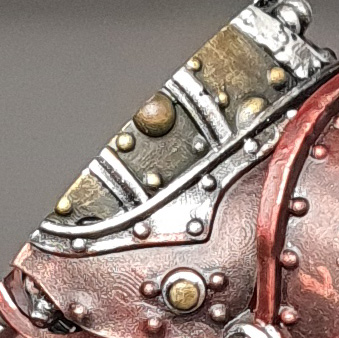
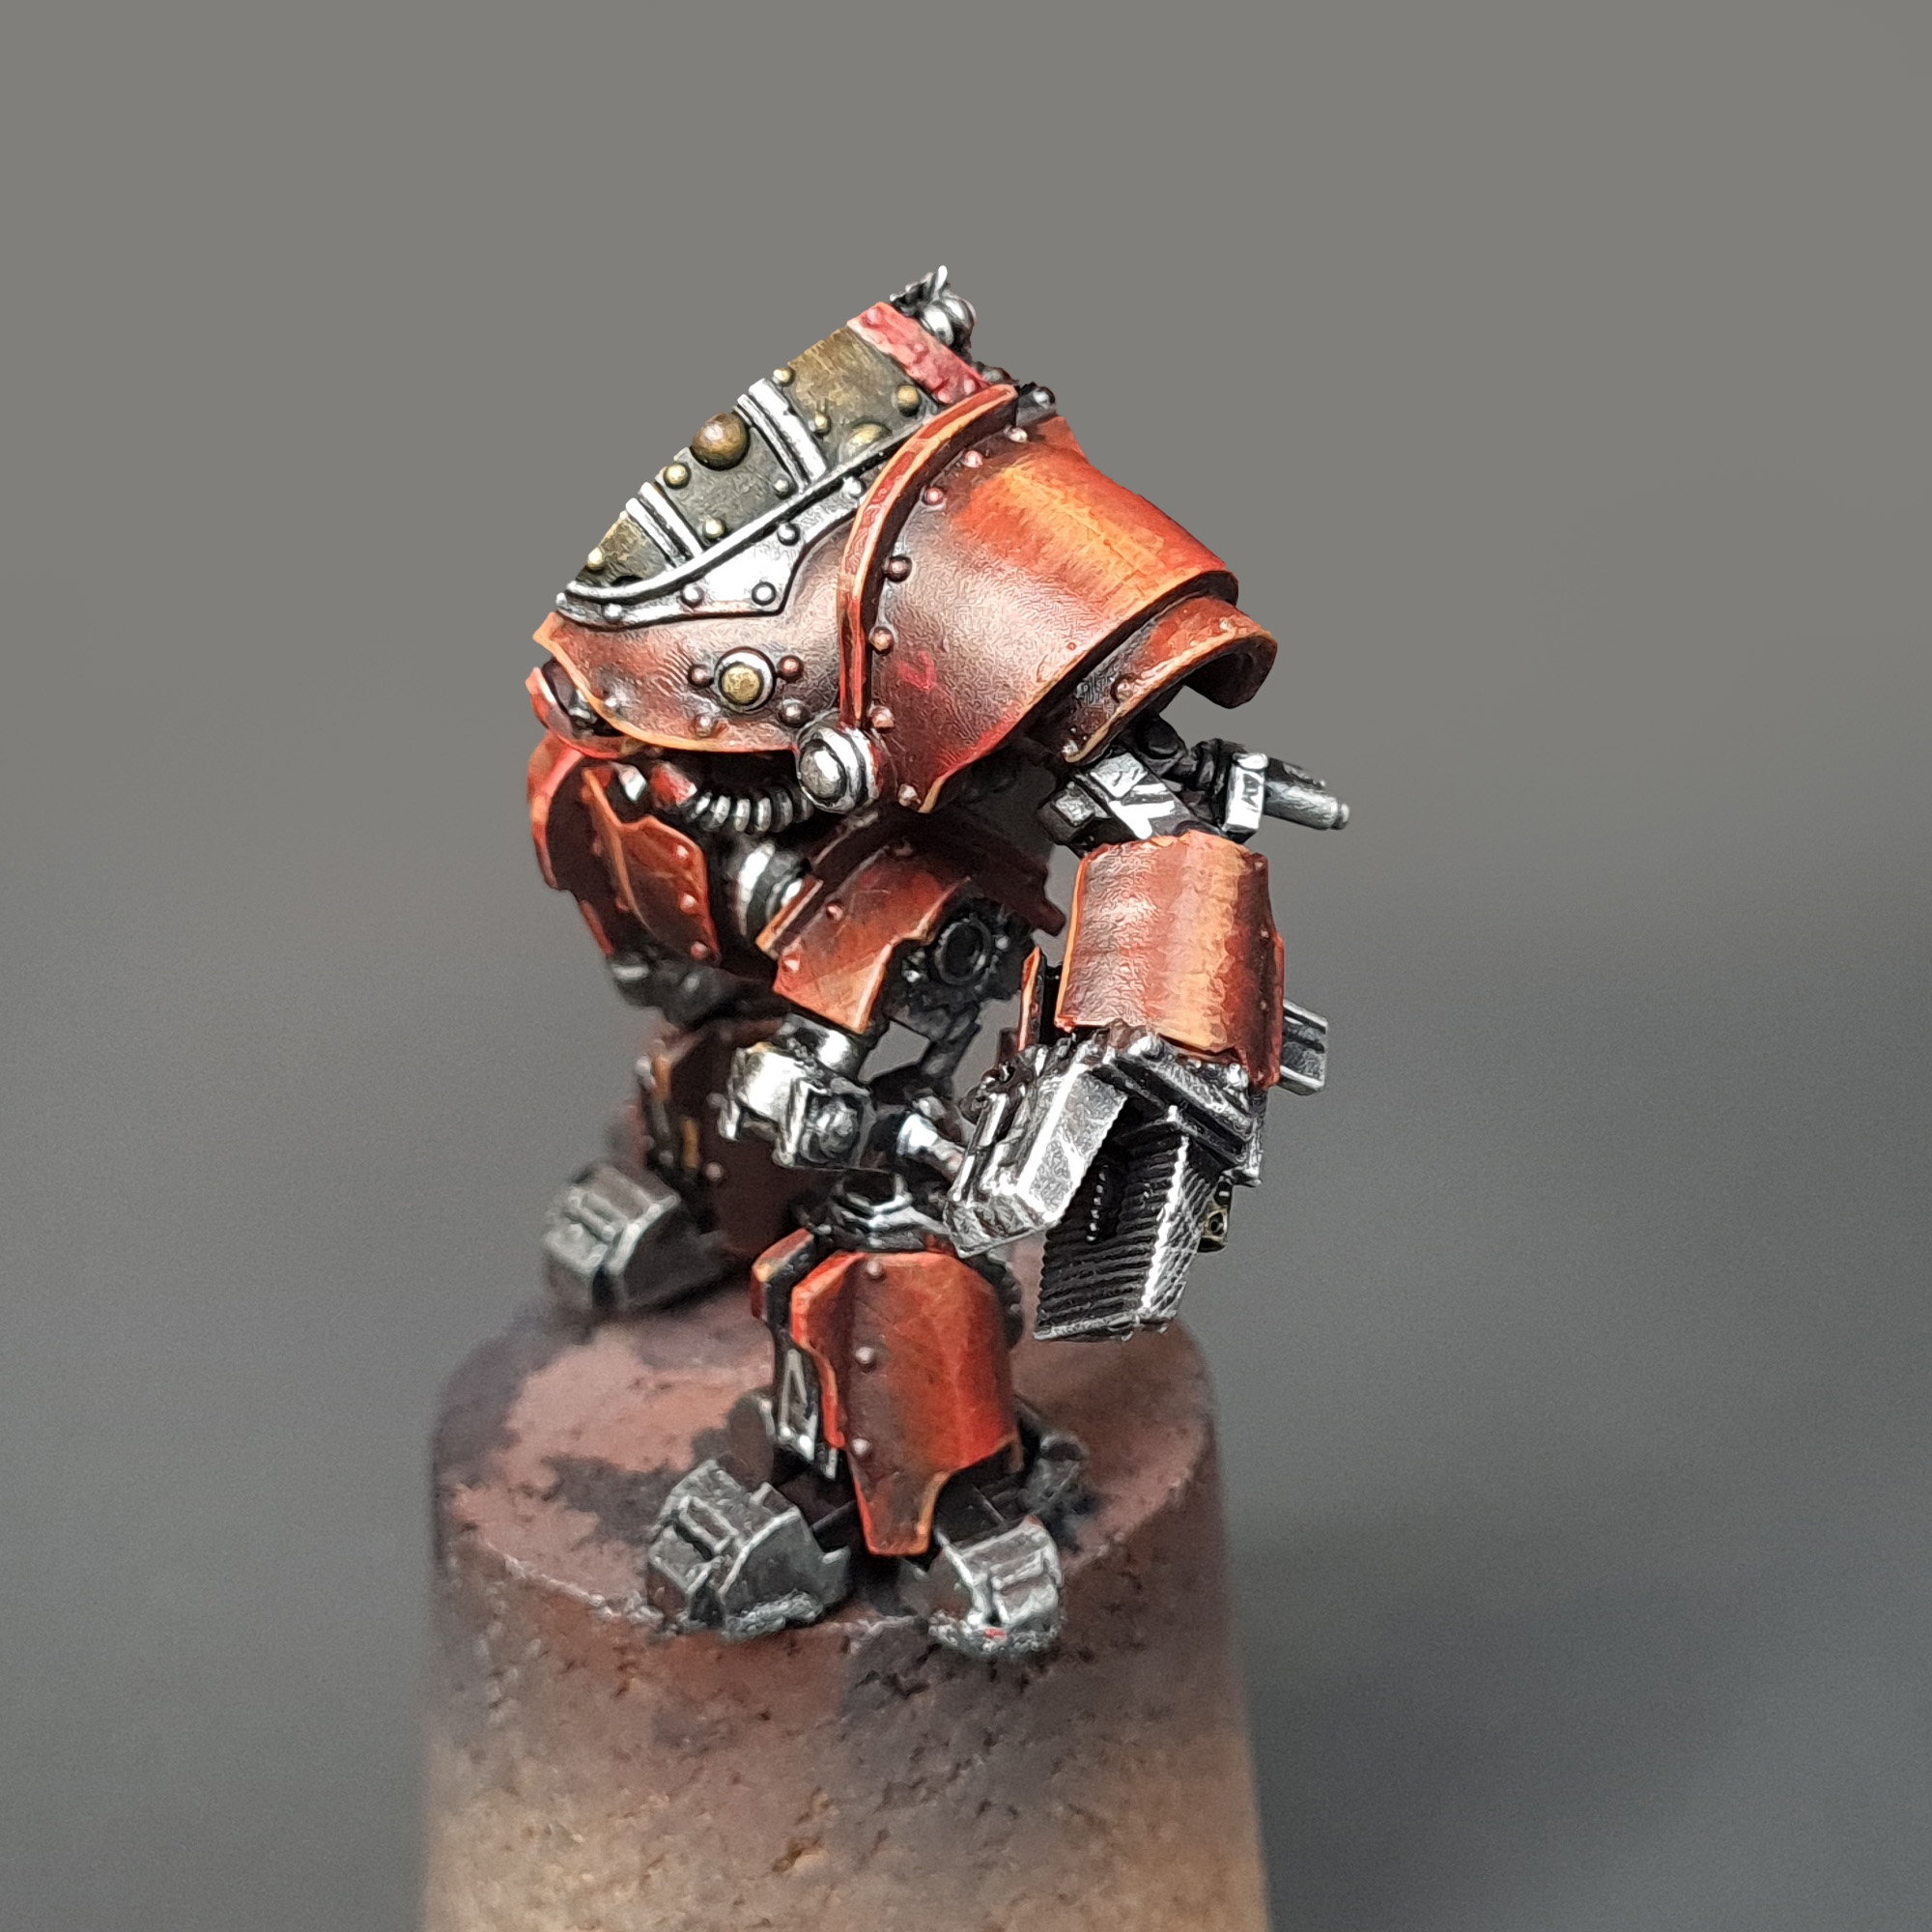
Red armor
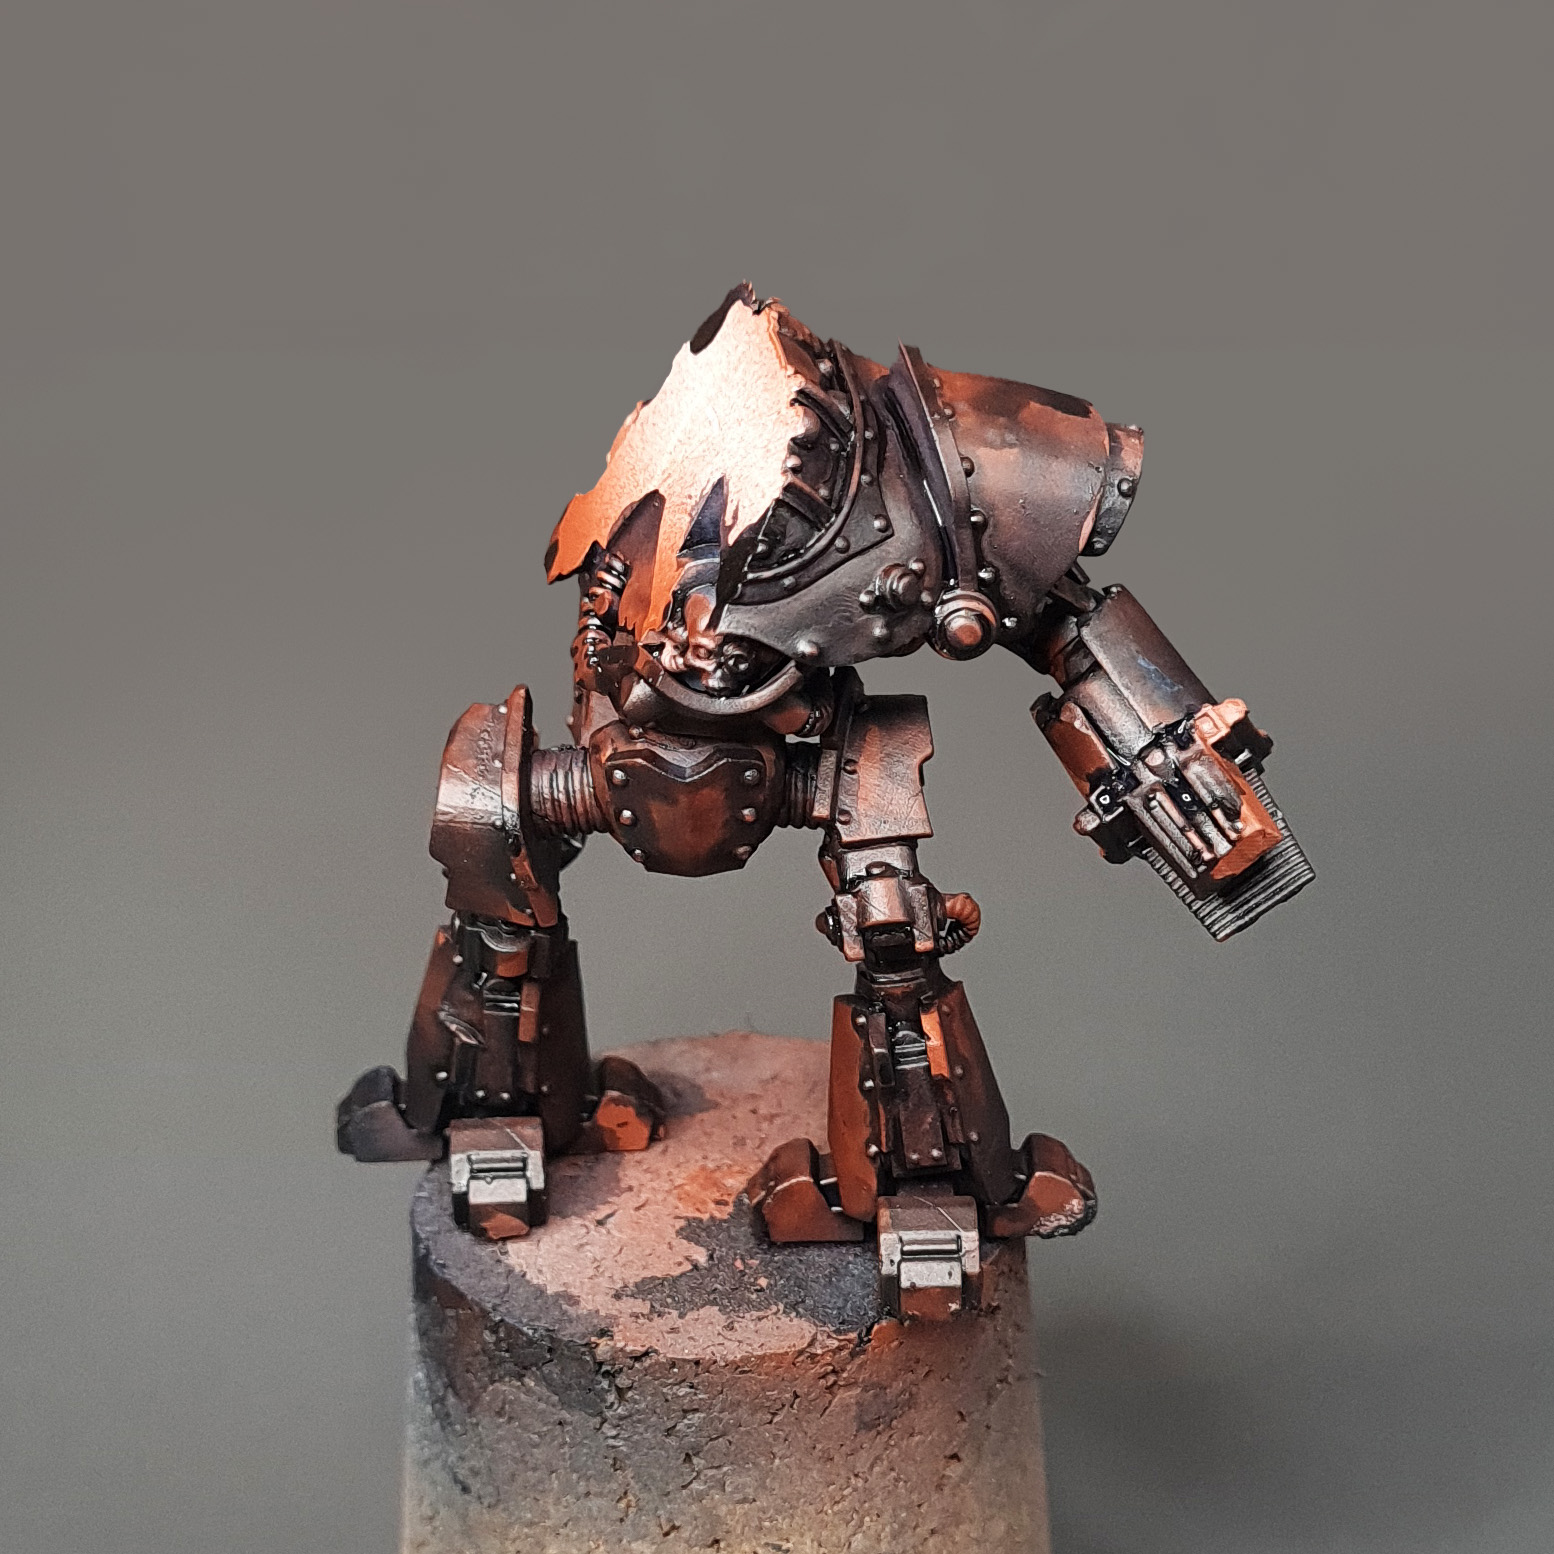
- Contrast Flesh Tearers Red was applied over all armor parts.
- A highlight of Vallejo Game Color- Scarlet Red was applied over all the red parts in several layers. A smaller area was painted with each pass.
- Final highlights were created by adding yellow to VGC Scarlet Red. This was done in several passes building up the intensity with each pass.
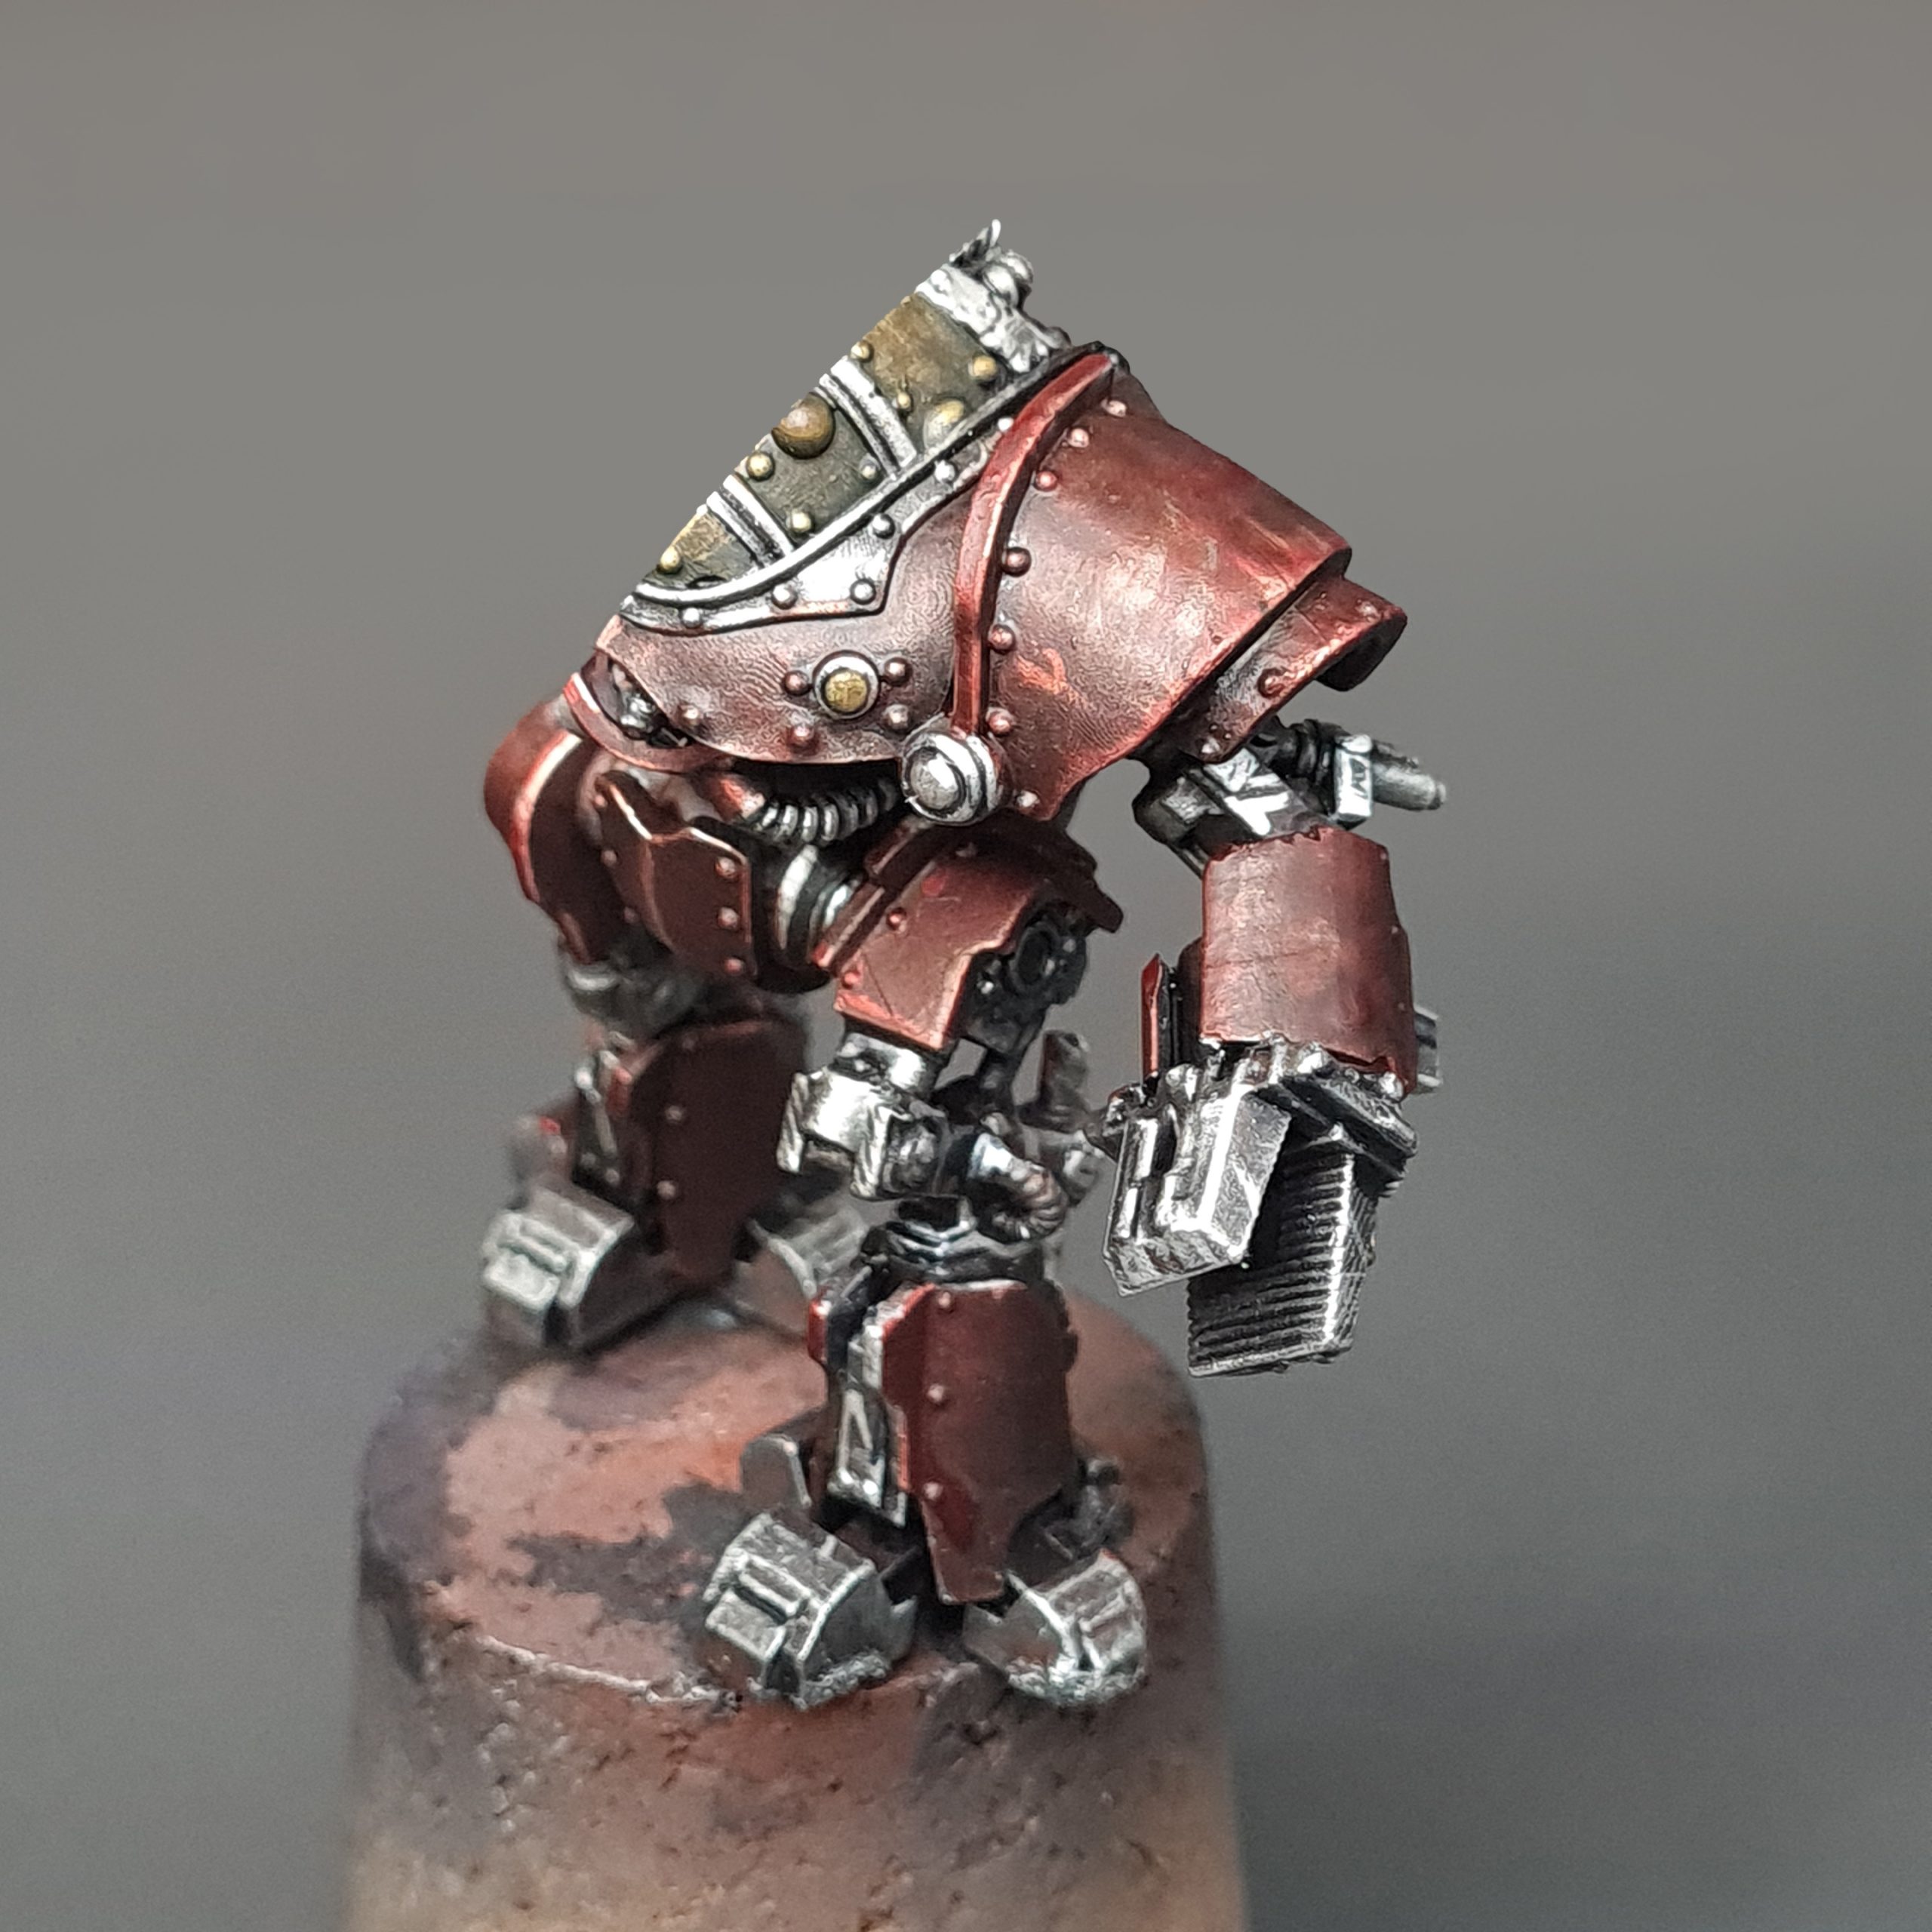
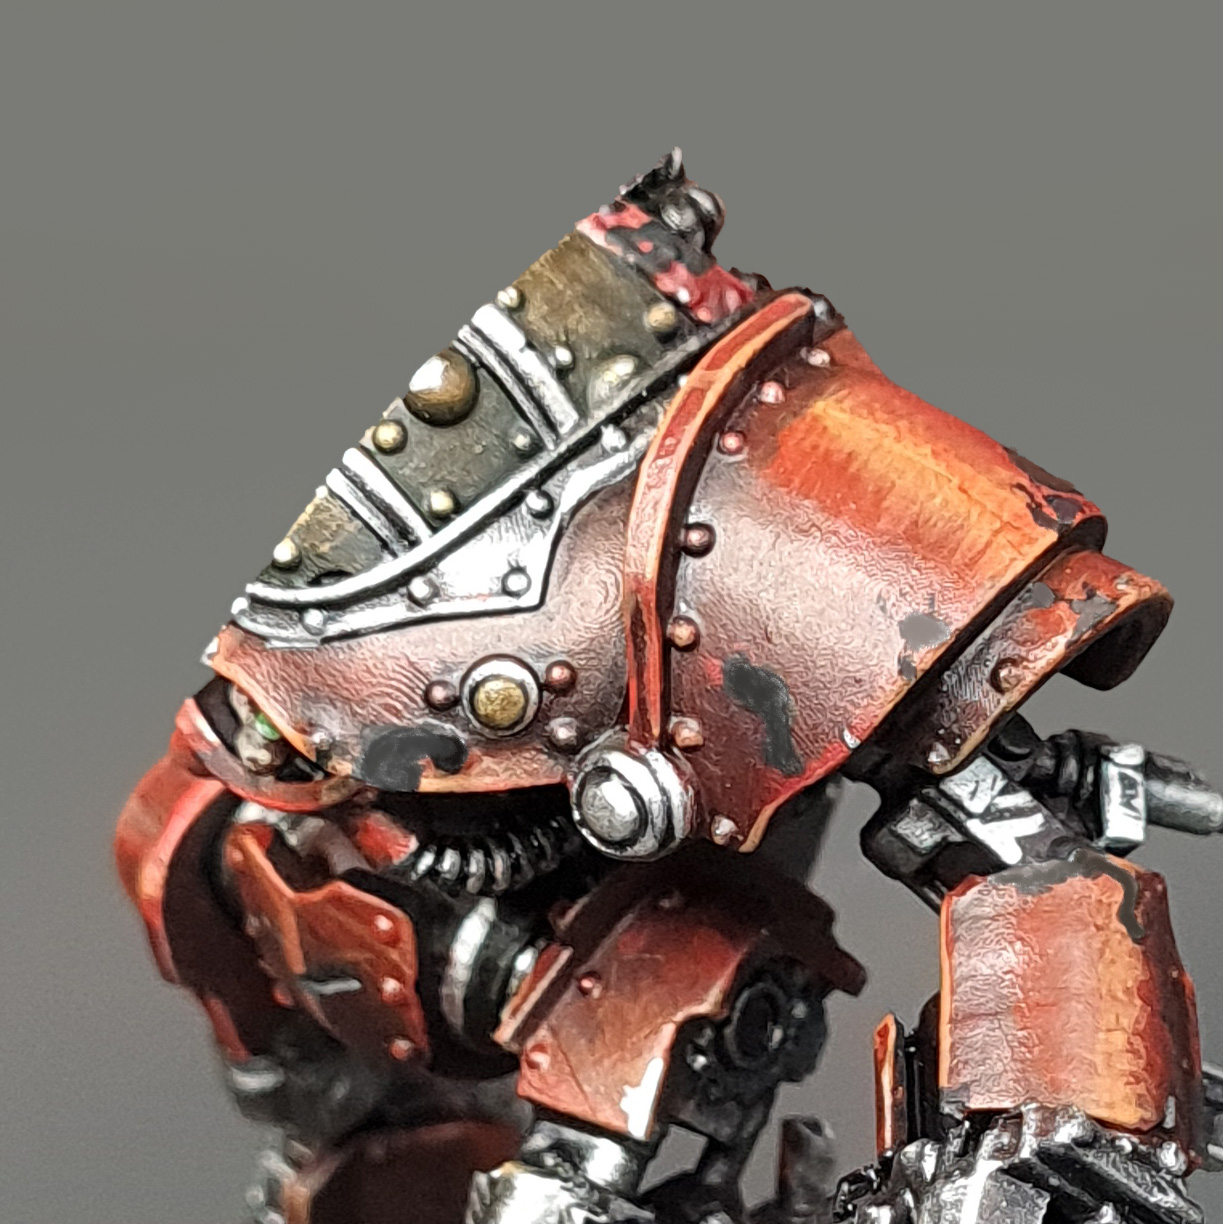
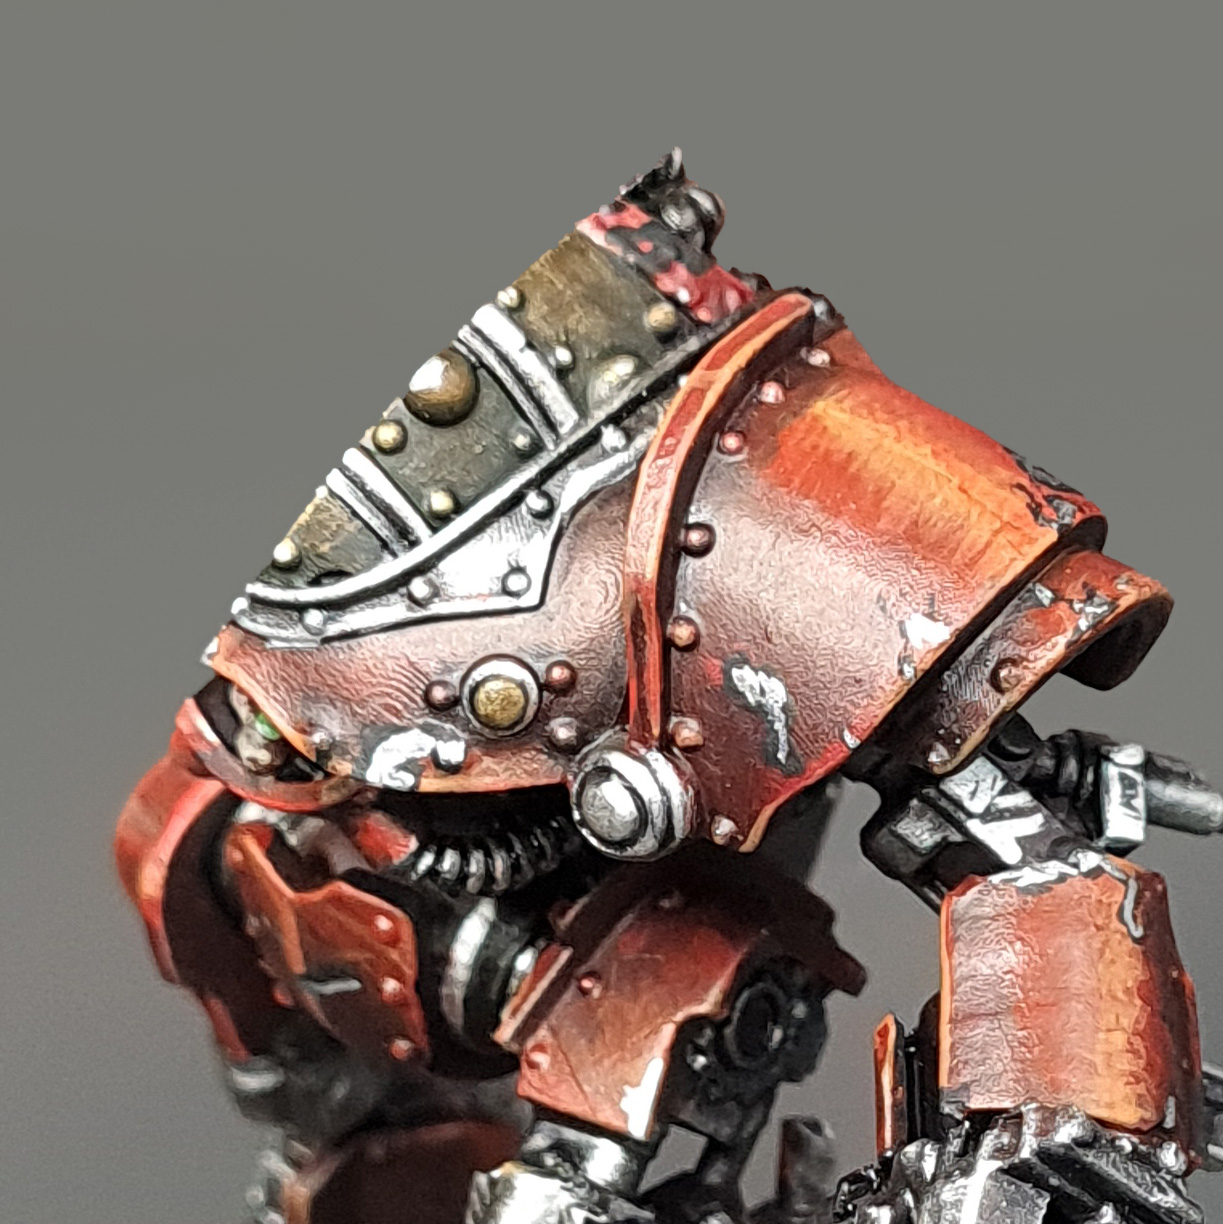
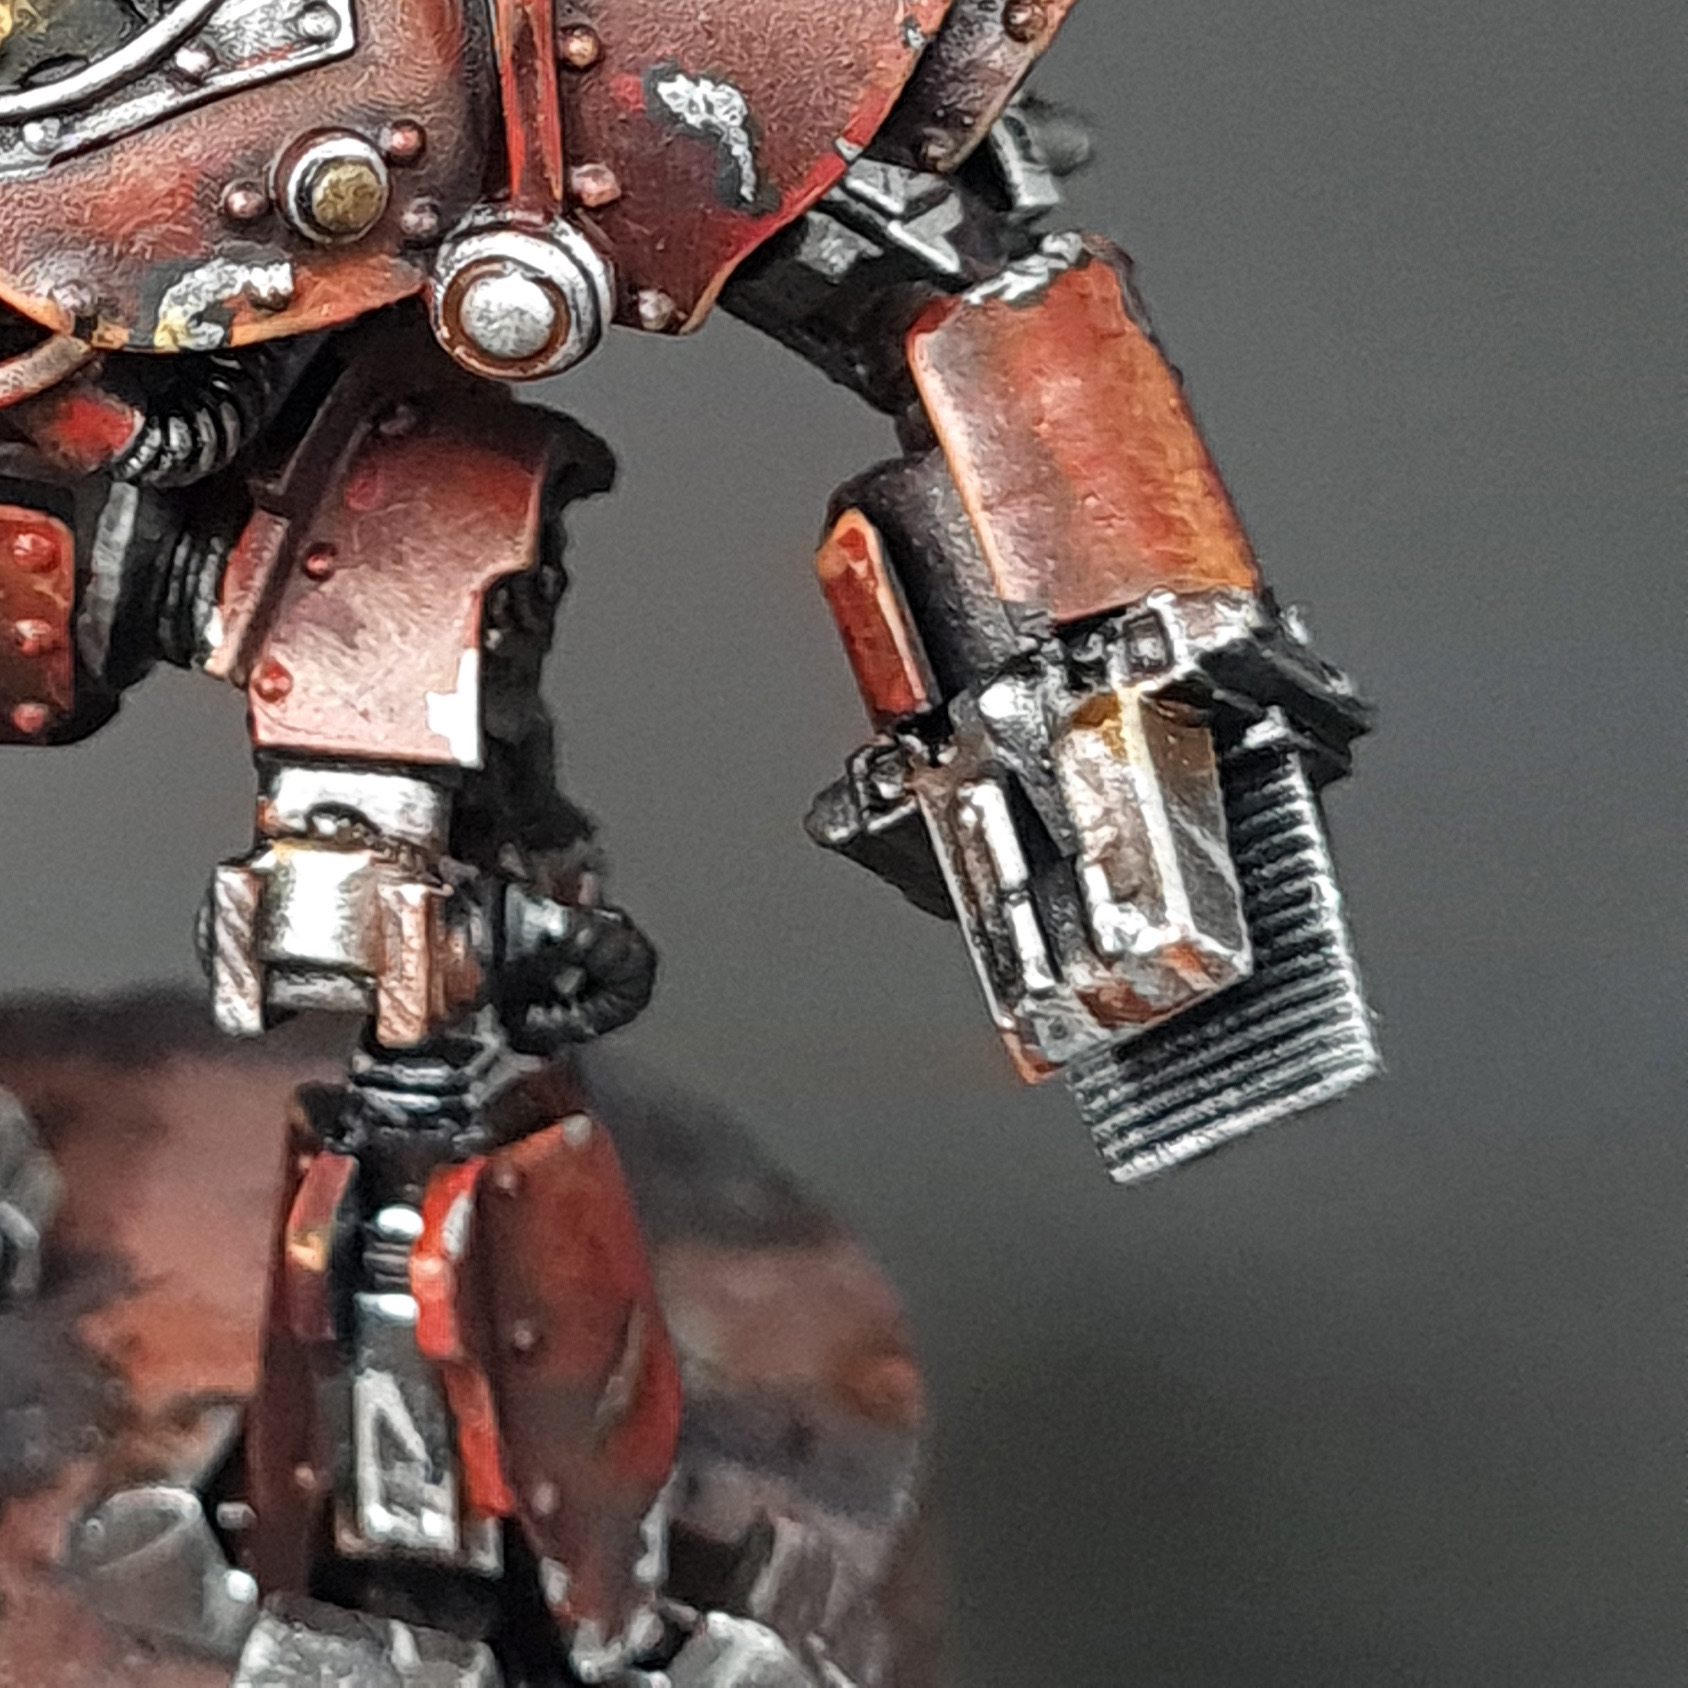
Chips and Weathering
- Black paint was applied with a sponge to create random chips.
- Those chips were filled with VMA silver. A black edge was left to help the chips pop against the armor.
- Liquitex Rust Ink was applied in random spots to simulate rust accumulation.
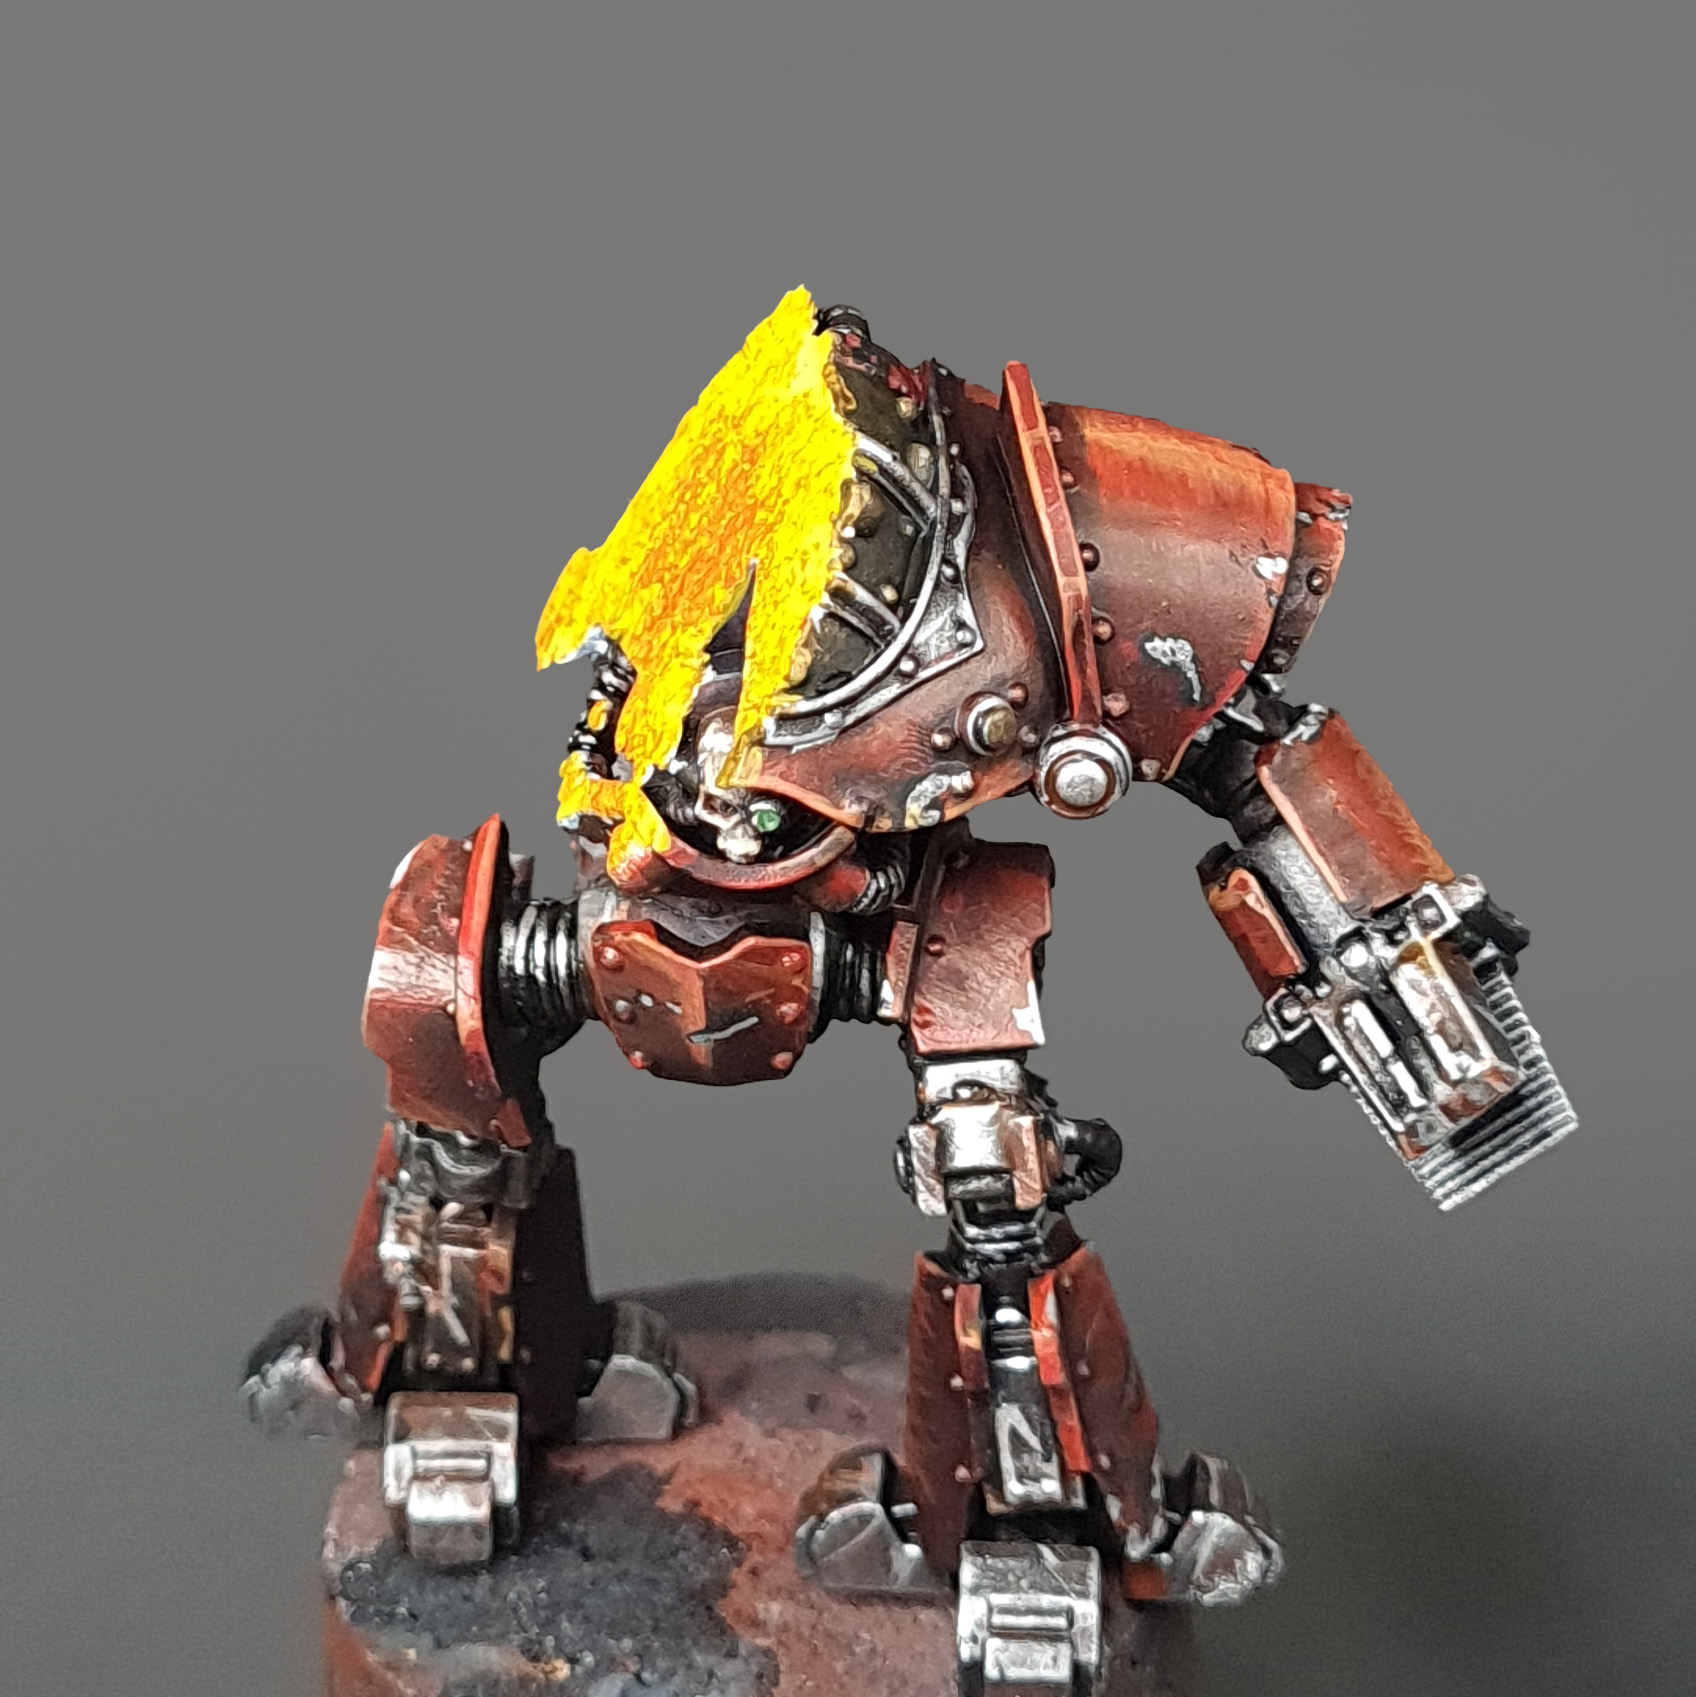
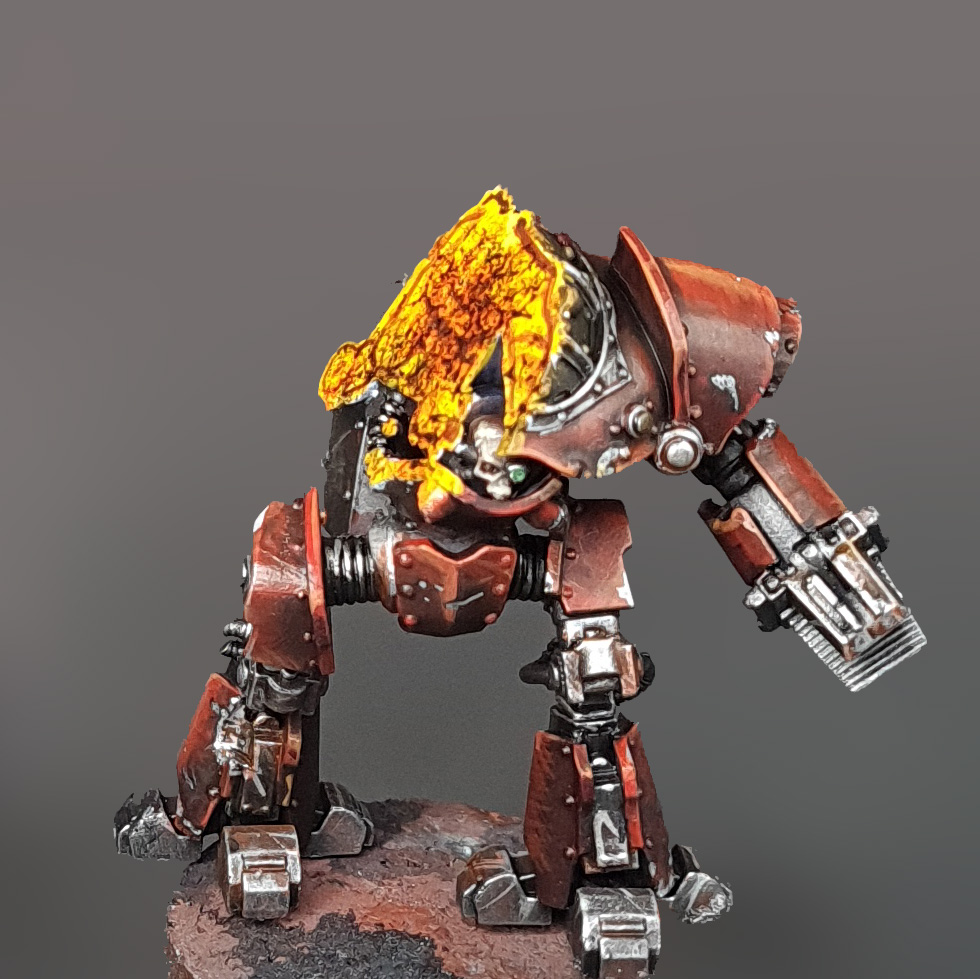
The “CUT”
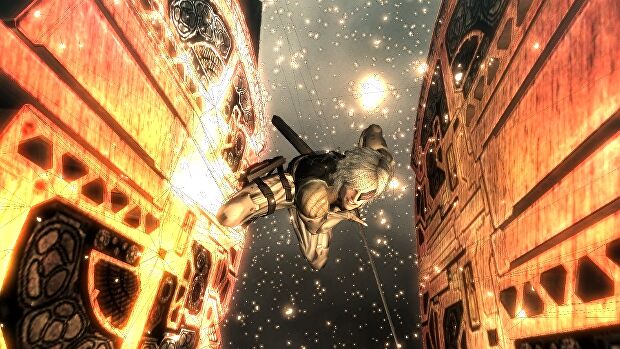
This effect was directly inspired by Metal Gear Rising: Revengeance. To those who don’t know, it’s an over-the-top game where you play as a cyborg samurai who can slice through any enemy leaving a blazing hot cut.
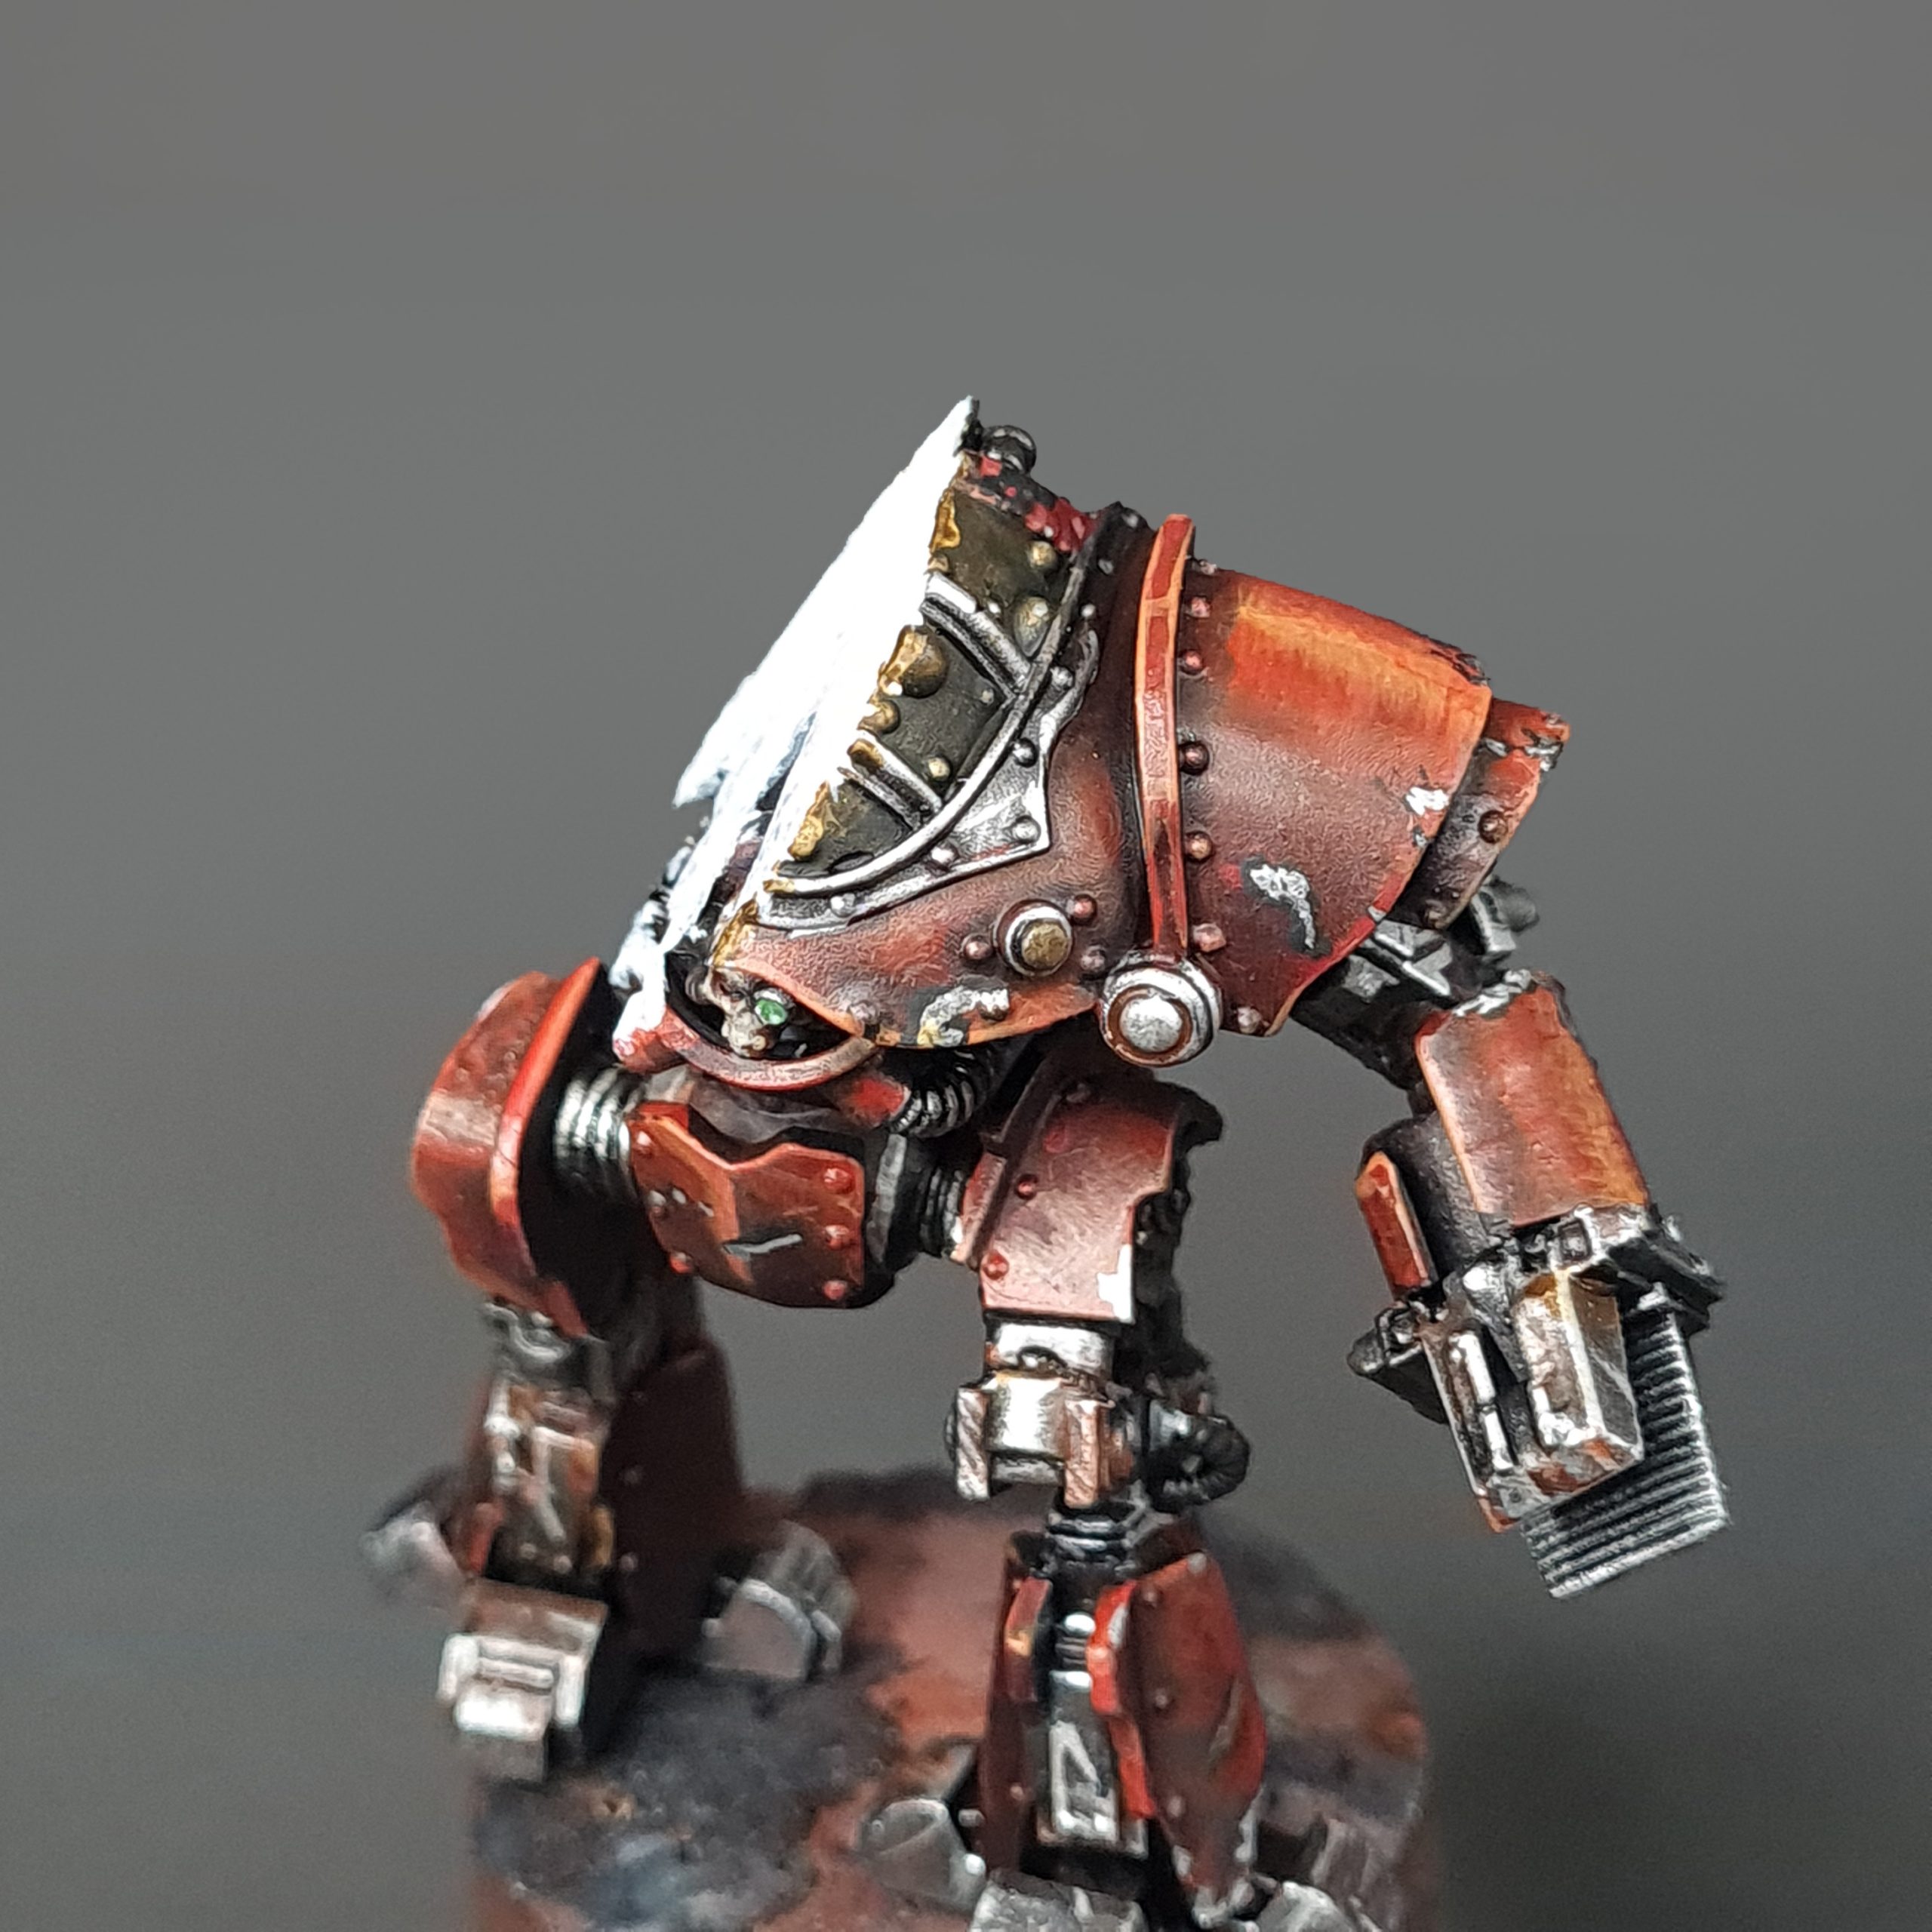
- Basecoat the cut White.
- Paint the cut yellow.
- Stipple orange in the middle, leaving the edges yellow.
- Apply a light stipple of black with a sponge.
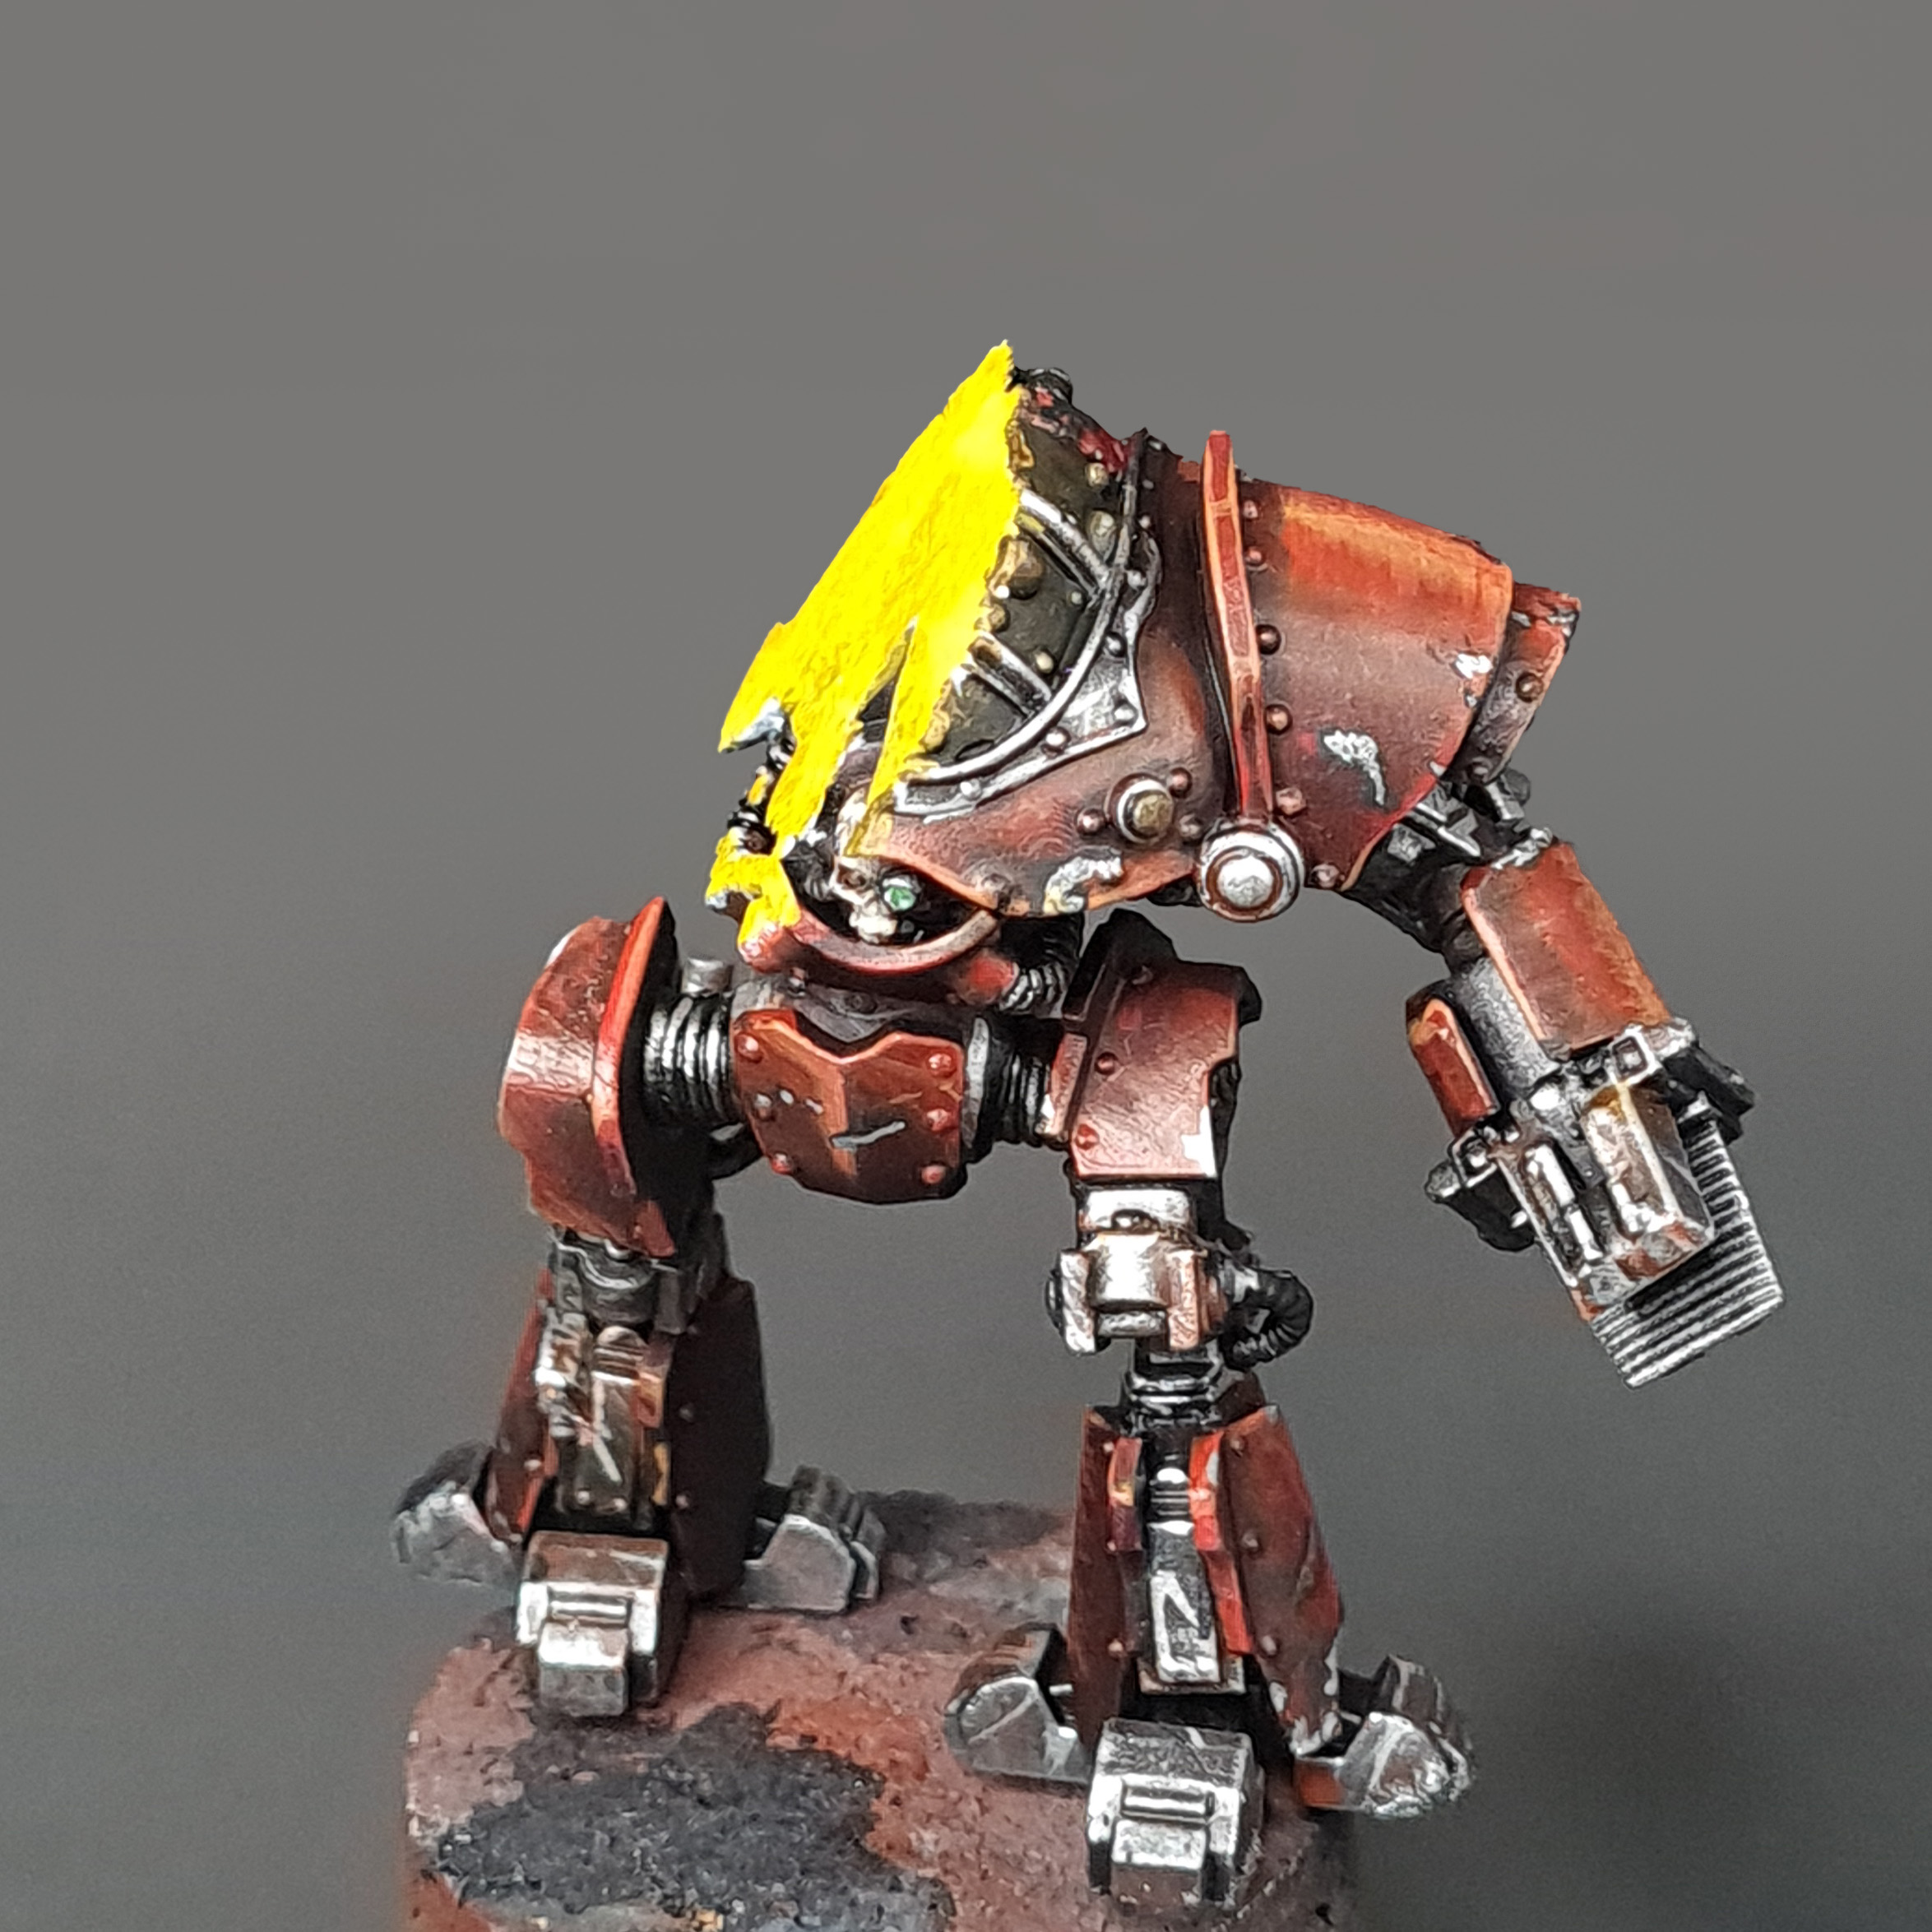
With this, both Castellax were ready to be glued to the diorama and receive final touchups.
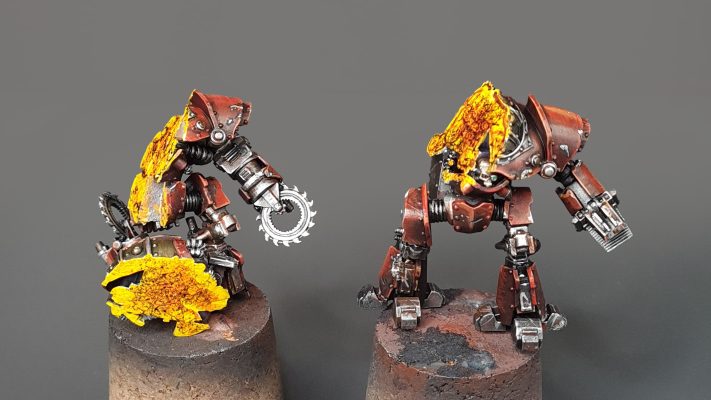
Join us next time as we tell you how we painted the chrome maiden.