Miniature Painting Tutorials, MPC #007
Creating a Diorama Pt. 1- Basing The Plinth
Feb
With the launch of MPC#007 and the reveal of our studio diorama, we can finally go over how it was created.
This series of blogs will show you the process of making and painting our diorama and hopefully inspire you to make your own. In this entry, we’ll cover the thought process and the creation of the plinth.
The Idea
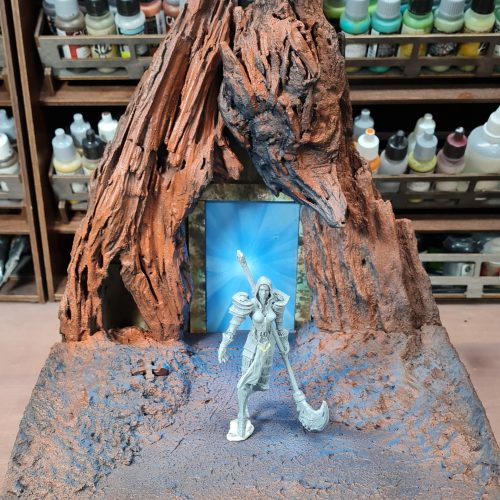
The idea came one day when digging through “the pile of shame” and finding a cool model in a plastic bag. It was a 75mm mechanical steampunk lady with a scythe. Neither the model’s name nor manufacturer was known. All I managed to find out about it is that it was given as a promotion at some convention. But I knew it would make an awesome 40k diorama with some Adeptus Mechanicus-themed diorama.
The second part of the inspiration came when deciding on our next painting challenge theme “Love, Death, and Robots”.
That’s when the idea started to take its final form. “An ancient tomb that was uncovered in a mountainside. A giant mechanical figure towering over destroyed Adeptus Mechanicus units after exiting the tomb. A tiny tech priest proposing its love or admiration to the towering death machine”

With the idea lined out a photoshop mock was made. Now it was time to create the diorama.
Materials
With a solid idea in mind, it was time to find the models that would star in the diorama and figure out the materials for it.
Since I already had the primary model I needed some destroyed Mechanicus units and a tech priest. After a quick search for Warhammer 40k models Kastelan Robots set seemed to fit. However, I did not like the look of Kastelan. Instead, appropriate STL files were found via a google search and printed to scale. After assembly, each robot was cut or “battle damaged” using a Dremel tool.
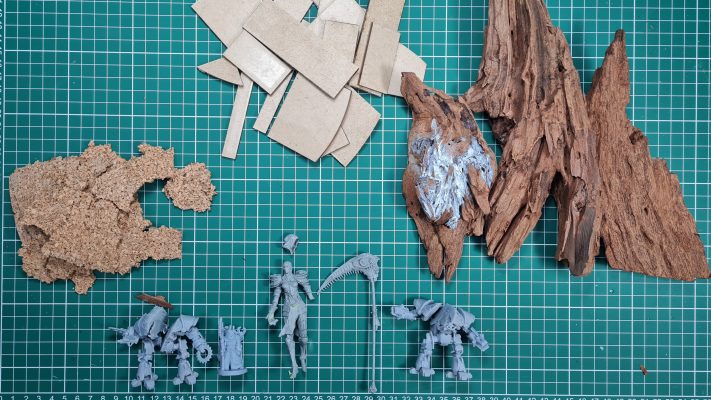
Basing materials included stuff you can find in a construction store.
- Corkboard for terrain
- Regular putty for building slopes on terrain (wood putty since I already had it on hand)
- Driftwood to simulate the “alien rock structure”. You can get a large variety in the animal section.
- Plywood for the base and the backdrop.
- MDF for marble tiles
- Vallejo red oxide passed to simulate the martian sand.
- PVA and superglue
Plinth
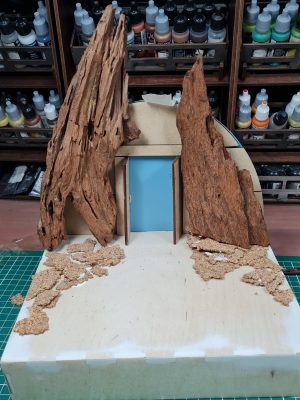
The plinth was the first thing to be tackled since it was the base for everything. It needed to be raised with enough space to fit all the models and the backdrop. A prototype was cut from plywood.

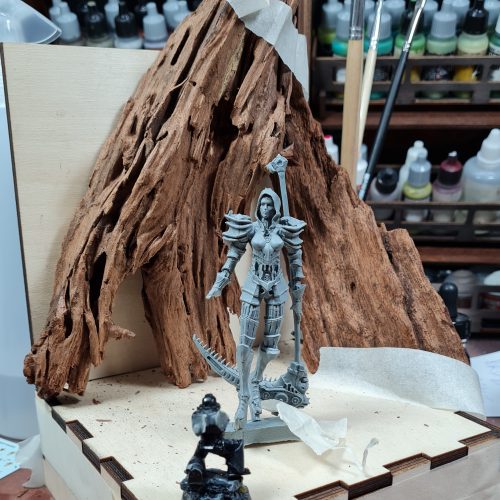

After some test fitting the plinth ended up being too small. It was remade and adjusted to fit the driftwood. Additionally, panels for the “ancient tomb entrance” were cut out of MDF. In the end, the final dimensions were increased to 250X200 mm with a 150cm backdrop.
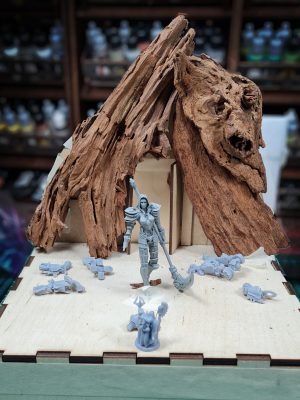
Basing
With everything prepared the assembly began. The process is straightforward. Apply materials, wait for everything to dry, and go on to the next step.
- Set driftwood into position. Create a slope using a corkboard and glue it in place with PVA.

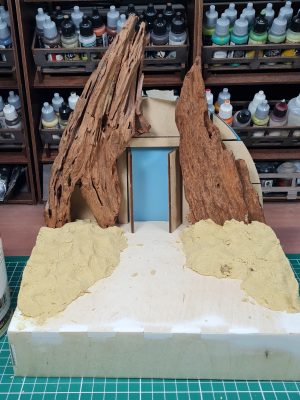
- Cover the cork with putty.
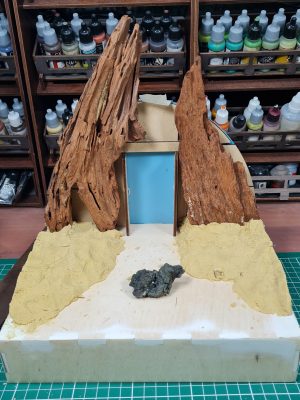
- Slam a piece of lava rock into putty repeatedly to give it some texture.
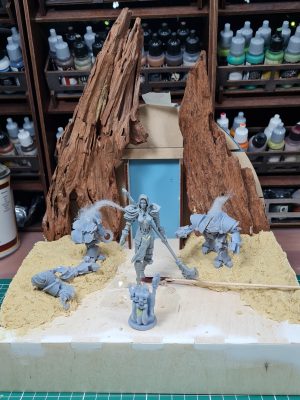
- Press the models into place to set their final positioning. Let everything dry overnight.
- Apply Vallejo Red Oxide paste and let it dry.
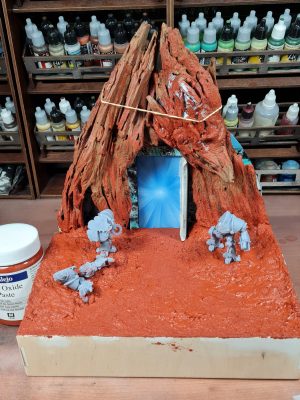
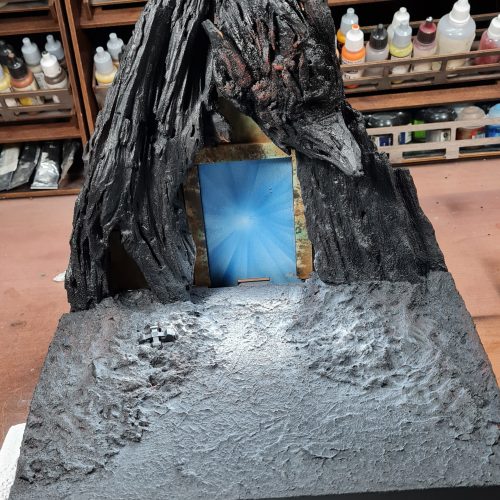
Priming
With the plinth ready for paint everything was primed and zenithal highlighted. The entire plinth received a coat of Liquitex Rust ink and an electric blue zenithal overspray to create the glow effect.

Read the next entry to learn how we did an amazing marble effect on the backdrop.